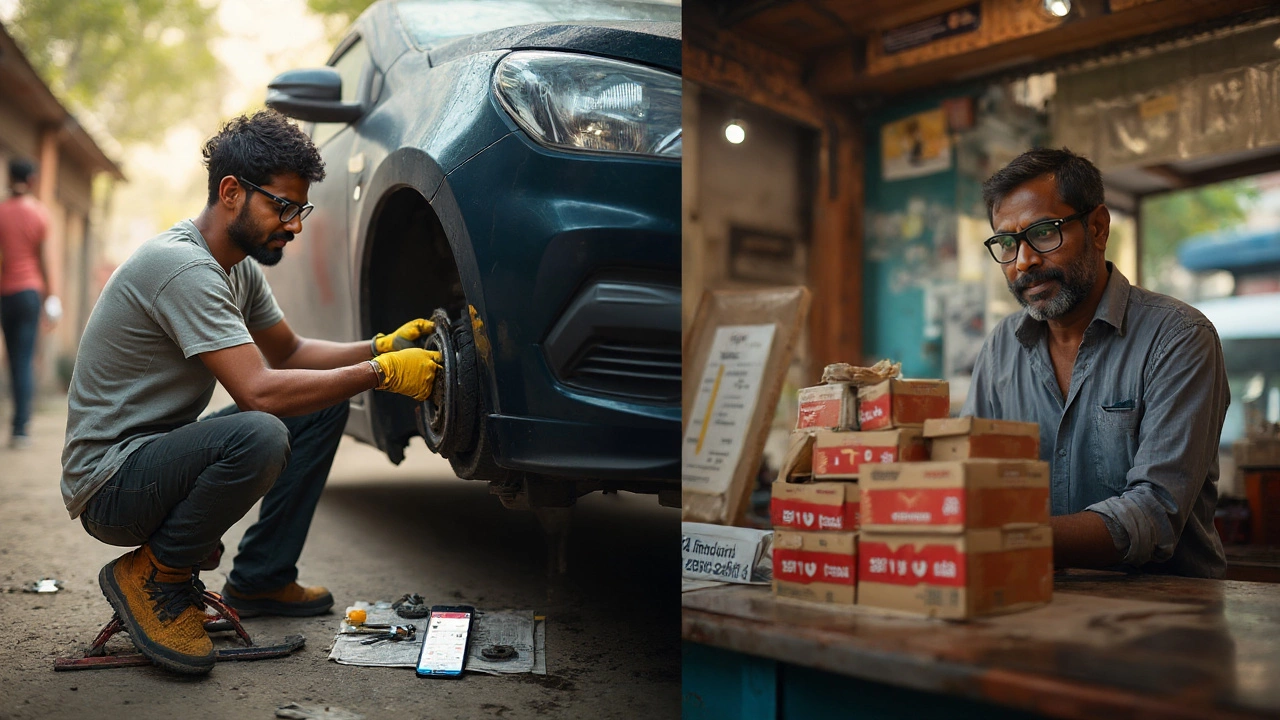
You’re trying to save real money, not a few bucks. So here’s the straight answer: yes, buying your own brake pads can cut your costs-sometimes by a lot-but only if you pair it with the right plan. The big swings come from labor rates, parts markups, and whether your car needs rotors or extra hardware. I’ll walk you through the math, the traps, and the smart shortcuts so you can keep the bill down without gambling on safety.
TL;DR: Is it cheaper to buy brake pads yourself?
- Buying your own pads can save 20-50% versus a full shop job if you do the labor yourself, and 10-25% if a shop installs your parts (when they allow it).
- In 2025, independent shop labor usually runs $120-$180/hr; dealers $170-$220/hr, based on recent shop rate surveys from IMR Inc. and common posted rates.
- Mid-grade pads cost $60-$120 per axle; premium pads $120-$180. Many cars also need rotors ($120-$300 per pair aftermarket for common models).
- You’ll pay less if you avoid parts markups, but some shops won’t install customer parts or limit the warranty if they do.
- DIY is worth it if you have basic tools, safe workspace, and 2-3 hours. If you have electronic parking brakes or heavy rust, budget more time and possibly a scan tool.
How to price it right: step-by-step cost check and decision tree
Here’s the quickest way to see if the numbers make sense for your car. Do the five checks below and you’ll know exactly where you’ll save-or where you won’t.
1) Get three quotes (parts + labor) for your exact car. Call two independent shops and one dealer with your VIN. Ask for two prices per axle: pads-only and pads+rotors. Make sure they name the pad type (ceramic, semi-metallic) and brand tier (economy, mid-grade, premium). You want apples-to-apples.
Why it matters: Parts markups vary. One shop might quote $420 pads-only; another quotes $320 for the same result because they use a different brand and rate. Without a few quotes, you’re guessing.
2) Price the same parts yourself. Look up a reputable mid-grade pad set for your car year/make/model. Check if hardware (clips/shims) is included. If your car uses wear sensors, add those too. If rotors are needed, price a matched pair. Stick to known brands. For 2025, look for copper-compliant markings (LeafMark “B” or “N” per California/Washington standards; “N” means near-zero copper).
Typical 2025 parts pricing (per axle):
- Economy pads: $25-$60
- Mid-grade pads: $60-$120
- Premium pads: $120-$180
- Rotors (pair): $120-$300 for common cars; $280-$500 for performance/Euro SUVs
- Wear sensor (if needed): $10-$25 each
- Brake cleaner/grease/misc: $10-$15
Credibility note: These ranges reflect 2025 shelf prices from major aftermarket brands and typical online retailers. Dealer OEM parts trend higher.
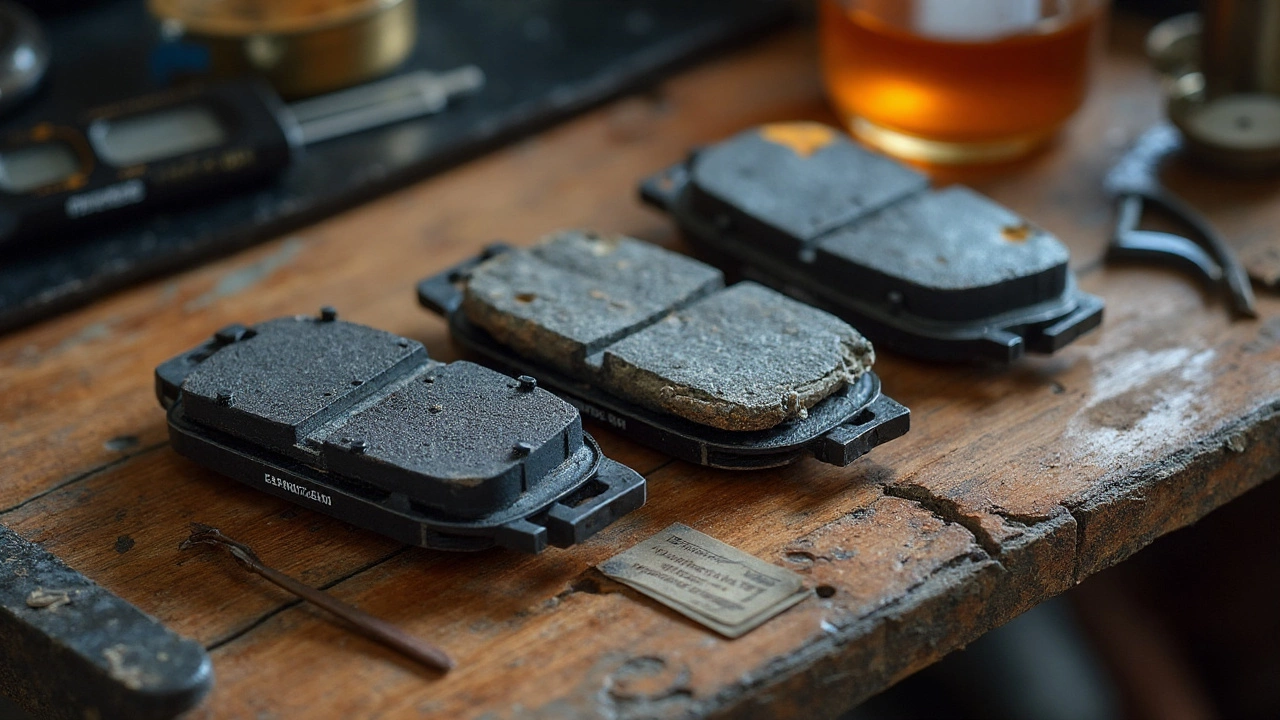
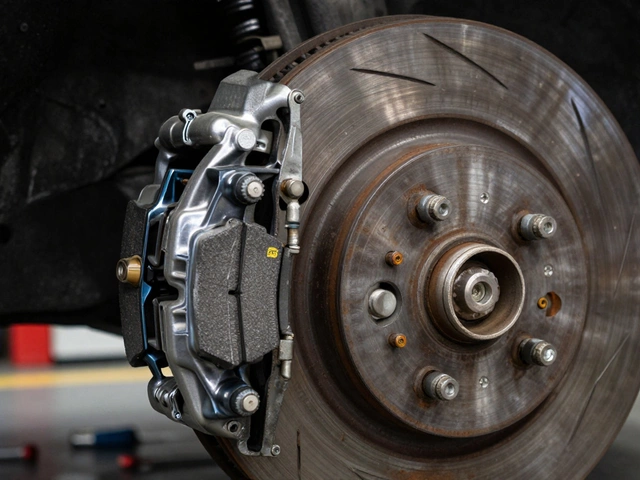
3) Check your car’s rotor situation. Many modern rotors are thin and meant to be replaced, not machined. If your rotors are below minimum thickness, heavily grooved, or pulsing, plan on replacing them. If rotors are smooth and within spec, pads-only might be fine.
Quick rotor test: If you can feel steering wheel shake under braking or see deep ridges/lips on the rotor edge, assume pads+rotors. If you live in the rust belt, rotors often need replacing anyway.
4) Decide how you’ll handle labor. Three routes:
- Full shop job (they supply parts + labor): most expensive, cleanest warranty.
- Bring-your-own-parts (shop installs your parts): some shops refuse; many charge higher labor or no parts warranty.
- DIY: cheapest, but requires tools, safe space, and care.
Labor time per axle: 1-2 hours for pads-only on a simple front axle; 2-3 hours pads+rotors; add 30-60 minutes if there’s an electronic parking brake (EPB) that needs scan tool retraction.
5) Do the math. Here’s a simple framework:
- DIY savings ≈ shop quote − (your parts + $20 in supplies). If you need to buy tools, subtract that from your first-job savings.
- BYOP savings ≈ (shop quote with their parts) − (shop labor + your parts + any BYOP fee).
- Value of warranty: Dealer/independent warranties on complete jobs can be worth $50-$150 in risk coverage if something squeals or fails early.
To help you compare, use this reference table for typical 2025 costs in the U.S. (per axle):
| Scenario | Pads-only Total | Pads+Rotors Total | Warranty/Notes |
|---|---|---|---|
| Full shop job (independent) | $250-$420 | $380-$700 | Parts + labor warranty typical (6-24 months) |
| BYOP: Shop installs your parts | $150-$280 + your parts | $220-$380 + your parts | Limited/no parts warranty; some shops add $20-$60 BYOP fee |
| DIY at home | Your parts cost only ($60-$180) | Your parts cost only ($180-$420) | Manufacturer parts warranty only; your labor not covered |
Sources: 2024-2025 posted shop rates and estimates, RepairPal typical time guides, and IMR Inc. labor-rate surveys. Real numbers vary by region, vehicle, and rust level.
Decision tree (quick):
- If you’re comfortable with jack stands, torquing lugs, and following a video for your exact car, DIY can save $150-$400 per axle.
- If you want a warranty and don’t mind paying more, go full shop job.
- If a shop you trust allows customer parts and you want to avoid markup, BYOP strikes a balance-but expect limited warranty.
- If you have an EPB, specialized caliper bolts, or a luxury/performance model, tilt toward a shop unless you have the right tools.
Real-world examples and scenarios
Numbers make this clear, so let’s run three common cases with honest 2025 pricing.
Scenario A: 2018 Honda Civic (front brakes)
- Shop quote, pads+rotors: $450-$600 at an independent; $580-$780 at a dealer.
- Parts you buy: mid-grade ceramic pads $80; rotors (pair) $160; misc $15 = $255 total.
- BYOP route: shop labor 2 hours at $140/hr = $280 + $255 parts + $30 BYOP fee = $565. Savings vs dealer: ~$200; vs independent? Maybe none.
- DIY: $255 all-in parts. Savings vs independent: ~$200-$350. Time: ~2 hours if you’re set up.
Takeaway: DIY clearly wins. BYOP is marginal here unless your local shop’s labor rate is lower or your parts price is excellent.
Scenario B: 2016 Ford F‑150 (rear brakes with EPB on some trims)
- Shop quote, pads-only (if rotors okay): $300-$420; pads+rotors: $520-$750.
- Parts you buy: pads $90; rotors pair $220; misc $15 = $325 (pads+rotors).
- BYOP: labor 2.5 hours at $150/hr = $375 + $325 parts = $700 (plus any fee). Savings vs dealer might still be $100-$200.
- DIY: $325 parts. Savings vs independent pads+rotors: ~$200-$425. If EPB retraction needs a scan tool, you’ll need a compatible OBD device or to follow the service procedure for retraction.
Takeaway: Trucks often need rotors due to towing or rust. If you don’t have EPB tools, BYOP or full shop job may be easier.
Scenario C: 2019 BMW 330i (front brakes with pad wear sensor)
- Shop quote (dealer), pads+rotors: $900-$1,200. Independent Euro specialist: $650-$900.
- Parts you buy (quality aftermarket): pads $140; rotors $320 pair; sensor $20; misc $15 = $495.
- BYOP at Euro specialist: labor 2.5 hours at $175/hr = $438 + $495 parts = $933.
- DIY: $495 parts. Savings vs specialist: ~$150-$400; vs dealer: up to ~$700. You’ll need a torque wrench, 7mm/9mm hex bits, possibly a hub cleaning tool, and a way to reset the brake service indicator.
Takeaway: Premium brands make DIY savings huge, but the job can be picky. If you’re not set up, pay the specialist and get the warranty.
When buying your own parts makes sense even if a shop installs them:
- You want a specific brand the shop doesn’t stock (e.g., Akebono, ATE, Brembo), and you’re okay with limited warranty.
- Your shop allows BYOP and charges a fair, posted labor rate with no surprise fees.
- You’re trying to match front and rear compounds for feel or dust levels.
When to let the shop supply parts:
- You want one invoice, one warranty, and someone to own the outcome if there’s noise or vibration.
- Your car uses specialty parts (EPB, calipers with unique boots/clips, odd rotor sizes) and you don’t want to chase compatibility.
- You live in a high-rust area where seized hardware can add time; you want a firm “out-the-door” quote that includes that risk.
Checklists, quick facts, and FAQs
Here’s the practical stuff that saves time, money, and headaches.
Parts buying checklist:
- Match pads to your daily use: ceramic for low dust and quiet; semi-metallic for heavy towing/high heat; performance pads only if you actually need the bite.
- Hardware kit included? Fresh clips and abutment shims prevent noise. It matters.
- Wear sensors needed? Many European cars use them on one wheel per axle.
- Check 2025 copper compliance (LeafMark “B” or “N” in CA/WA). “N” indicates near-zero copper.
- Rotor coating: coated rotors resist rust better-worth it if you live where roads are salted.
DIY tool list (minimum):
- Jack + jack stands (never rely on the jack alone), wheel chocks
- Lug wrench and a torque wrench (most lugs 80-105 ft‑lb; check your spec)
- Socket/bit sizes for your caliper bolts (often 13mm/14mm or 7mm hex)
- Caliper piston tool or cube; for EPB cars, a scan tool that can retract service mode
- Brake cleaner, silicone or moly brake grease (thin coat on slider pins and abutments)
- Wire brush for bracket/hub cleaning; bungee to hang caliper (don’t hang by hose)
DIY safety and quality steps (short version):
- Break loose lugs on the ground, then lift and support safely. Chock wheels.
- Remove caliper, hang it; don’t stretch the hose. Pull old pads and hardware.
- Clean and lube the abutment areas; replace clips. Verify sliders move freely.
- Compress piston slowly; open reservoir cap if needed. For EPB, use proper retraction.
- Install pads and hardware correctly oriented; torque caliper bolts to spec.
- Replace rotors if needed; clean rotor faces with brake cleaner; torque carrier bolts.
- Reinstall wheel and torque lugs in a star pattern to spec.
- Before driving, pump the pedal until it firms up. Then perform bedding-in.
Bedding-in (typical street pads): 4-6 medium stops from 35-10 mph with gentle acceleration between, then 3-4 firm stops from 45-10 mph. Don’t hold the pedal down when stopped-keep rolling a little or release pressure to avoid imprinting. Let brakes cool with a 10‑minute easy drive.
Noise and dust expectations: Ceramic pads are quieter and less dusty. Semi-metallic bite harder when hot but can squeal when cold. Premium pads often include better shims and chamfers that cut noise.
Warranty reality check: A full shop job often includes both parts and labor warranty (6-24 months). If you provide parts, you usually get labor warranty only, or none at all, and the parts warranty is just the manufacturer’s policy. That’s the trade-off that explains why shops dislike BYOP.
Pro savings tips that don’t cut safety:
- Don’t cheap out on hardware. The $8 clip kit prevents squeal that sends you back under the car.
- Buy matched pads and rotors from the same brand line when possible; metallurgy and friction materials are designed to pair.
- If rotors are close to minimum thickness, replace them now-second-guessing leads to a redo.
- Use a small wire brush on the hub face and a micro dab of anti-seize on the hub center (not the friction surface). This prevents rotor runout and makes next time easier.
- Confirm lug torque after 50-100 miles. Loose or over-torqued lugs cause vibration and warped feel.
Mini‑FAQ
- Is it actually cheaper to buy brake pads yourself? Usually, yes-especially if you do your own labor. Expect 20-50% savings versus a complete shop job, depending on your car and whether rotors are needed.
- Do I have to replace rotors every time? Not always. If thickness is above spec, surfaces are smooth, and there’s no pulse, pads-only can be fine. Many modern rotors are thin and don’t machine well, so replacement is common.
- Will a shop install customer parts? Some will, many won’t. Those that do may charge a higher labor rate or a BYOP fee and limit warranty coverage.
- How long does a DIY job take? For a simple front axle with no rust: 1-2 hours. Add time for rotors, rust, rounded bolts, or EPB.
- Ceramic vs semi‑metallic-what’s cheaper long term? Ceramics often cost a bit more but run quieter, produce less dust, and can last longer on commuters. Semi‑metallics are great for trucks, towing, and spirited use.
- What about brake fluid? If it’s 2+ years old or looks dark, flush it. Fresh fluid protects ABS pumps and keeps pedal feel firm. Many shops recommend every 2-3 years.
- Are cheap pads a bad idea? Ultra-cheap pads can glaze, squeal, and dust. A solid mid-grade set from a known brand usually hits the sweet spot for cost and feel.
Next steps
- Call three shops and get written quotes for your VIN: pads-only and pads+rotors, brand level included.
- Price the same spec parts from a reputable retailer. Add sensors and hardware if needed.
- Pick your path: full shop, BYOP, or DIY. Factor labor rates, warranty, and your time/tools.
- If DIY: gather tools, watch a video for your exact car, and set aside unhurried time.
Troubleshooting
- Squeal right after install: Verify hardware orientation, apply a thin layer of pad grease to backing plates (if recommended), and re-bed the pads. Check rotor cleanliness-any oil can cause noise.
- Soft pedal: Pump the brakes with the engine off until firm before the first drive. If still soft, inspect for leaks and ensure pistons were fully seated. Bleeding may be needed on some cars after EPB service.
- Vibration: Check lug torque and rotor runout. Clean the hub face; a rust flake can mimic a warped rotor.
- Brake drag or hot smell: Ensure sliders move freely, the pad ears aren’t stuck in rusty abutments, and the caliper piston boot isn’t twisted.
- EPB errors: Use a compatible scan tool to enter service mode and to close/recalibrate after. Some makes allow manual emergency release; follow the service manual.
One last note on costs: labor rates have climbed since 2020 and are still elevated in 2025, with independent shops commonly posting $120-$180/hr and dealers higher. That’s why the DIY lane saves so much. If you have the tools and patience, it’s one of the best-value maintenance jobs you can take on.


Write a comment