Brake DIY Readiness Checker
Safety FirstDo you have the essential gear?
Symptom Check: Is this a DIY job?
Readiness Status
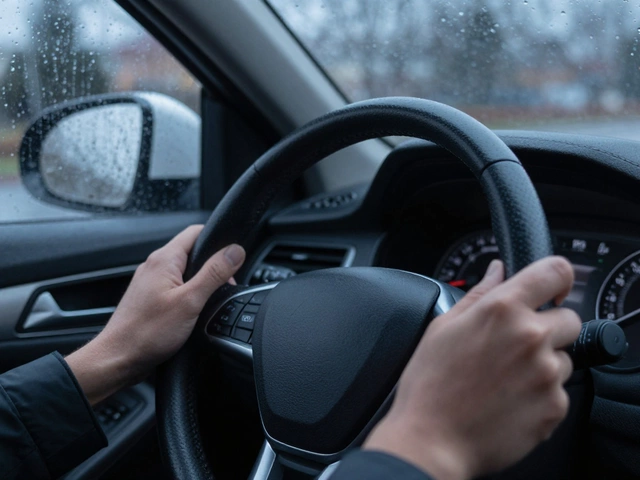
You hear a high-pitched screech every time you slow down for a red light. Your steering wheel might vibrate slightly, or maybe you just noticed the pads look thin through the spokes of your rim. The big question is: can you actually fix this in your driveway, or is this a "call the professional" kind of job? The short answer is that changing brake pads is one of the most accessible DIY car repairs, but "easy" is a relative term. If you can turn a wrench and follow a set of instructions, you can do this. However, because your brakes are the only thing stopping two tons of steel from hitting a wall, there is zero room for "guessing."
Quick Takeaways for the Home Mechanic
- Skill Level: Beginner to Intermediate.
- Time Required: 2 to 4 hours for a full set (both front or both rear wheels).
- Risk Level: High if done wrong, but low if you follow the steps exactly.
- Essential Gear: Jack, jack stands, lug wrench, socket set, and a C-clamp or brake piston tool.
Is it actually easy? Let's be real
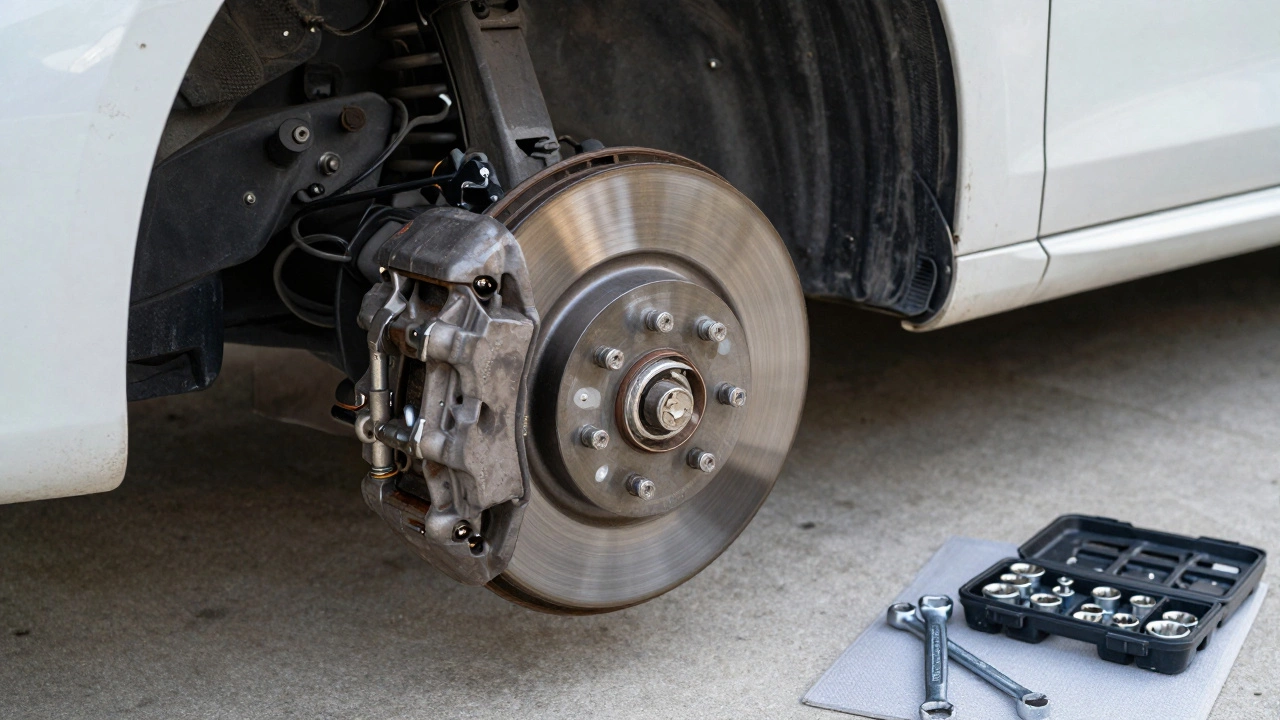
If you've never touched a car, the first time you do this will feel intimidating. You'll be staring at a Brake Caliper, which is the hydraulic clamp that squeezes the brake pads against the rotor to slow the vehicle. It looks heavy, greasy, and complicated. But once you realize it's basically just a clamp held on by two bolts, the mystery disappears.
Most modern cars use a Disc Brake System. Unlike the old drum brakes that required you to adjust springs and tensioners, disc brakes are straightforward. You take the wheel off, slide the old pads out, and slide the new ones in. The hardest part isn't the mechanical work; it's ensuring you have the right safety equipment so the car doesn't fall on your chest.
The Tools You Actually Need
You don't need a professional shop, but you can't do this with a screwdriver and a prayer. Using the wrong tool often leads to rounded bolts, which turns an "easy" job into a nightmare.
| Tool | What it does | Why it's critical |
|---|---|---|
| Jack & Stands | Lifts and supports the car | Safety: Never trust a hydraulic jack alone. |
| Lug Wrench | Removes wheel nuts | Needed to access the braking assembly. |
| Socket Set/Wrenches | Removes caliper bolts | Different cars use different bolt sizes (usually 12mm to 17mm). |
| C-Clamp or Compression Tool | Pushes the piston back | Creates room for the thicker new pads. |
| Brake Cleaner | Removes oil and dust | Prevents contamination and squealing. |
Step-by-Step Guide to Replacing Pads
Before you start, make sure you're on a flat surface. If you're working on a slope, the car can slip off the stands, and that's a disaster you don't want.
- Secure the Vehicle: Loosen the lug nuts while the car is on the ground. Jack up the car and immediately place Jack Stands under the frame. Remove the wheels.
- Open the Caliper: Locate the two bolts on the back of the caliper. Unscrew them and swing the caliper up or remove it entirely. Pro Tip: Do not let the caliper hang by the rubber brake hose. Use a bungee cord or a coat hanger to tie it to the suspension; otherwise, you might tear the line and leak all your fluid.
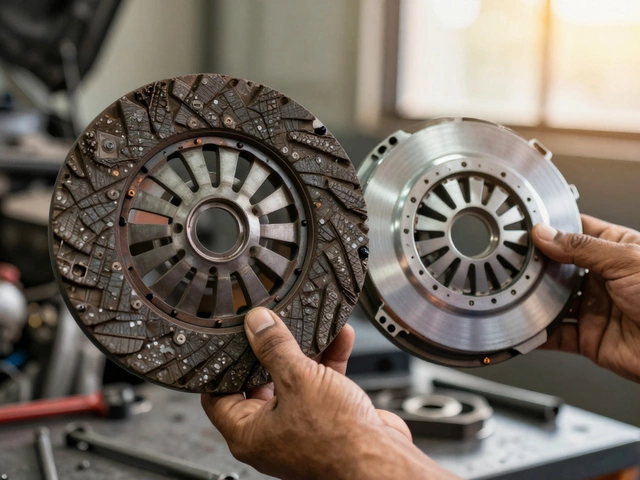
- Remove the Old Pads: Pop out the old pads. Take note of how they sit in the Brake Bracket, which is the stationary part of the assembly that holds the pads in place. Check the wear pattern-if one pad is way more worn than the other, your caliper might be sticking.
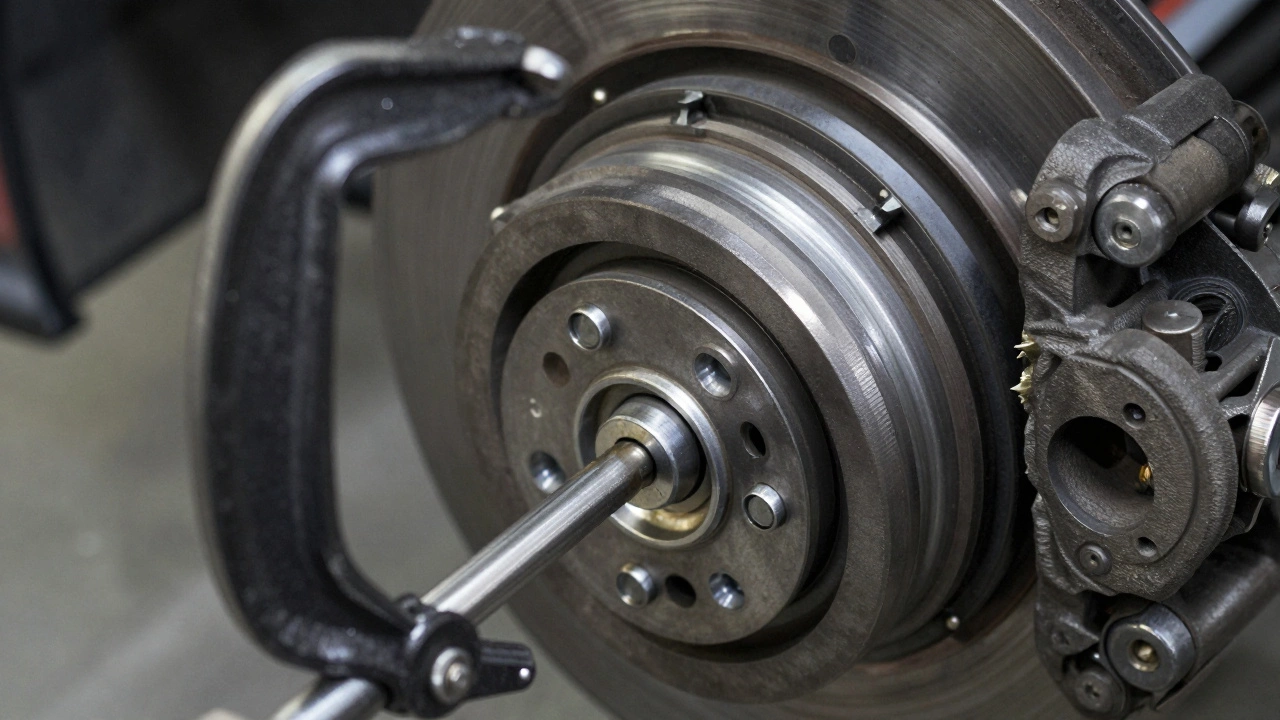
- Compress the Piston: This is where people get stuck. Because your pads wore down, the Brake Piston has pushed out. You need to push it back into the caliper housing using a C-clamp. If you have an electronic parking brake, you might need a scan tool or a specific turning tool to retract the motor.
- Install New Pads: Apply a small amount of high-temp brake grease to the back of the new pads (where they touch the caliper) and the slides. Don't get grease on the friction surface of the pad or the rotor-that's a recipe for a car that won't stop.
- Reassemble and Test: Bolt the caliper back on, tighten your wheels, and lower the car. Critical Step: Pump the brake pedal several times before you start the engine. This seats the pads against the rotor. If you don't do this, you'll hit the gas, go to hit the brakes, and the pedal will go straight to the floor.
Common Pitfalls That Make This "Hard"
Most people who struggle with this job run into the same three problems. First is the seized bolt. Brake components live in a world of salt, water, and road grime. If a bolt won't budge, don't force it with a long pipe, or you'll snap the head off. Use a penetrating oil like PB Blaster and let it soak for 20 minutes.
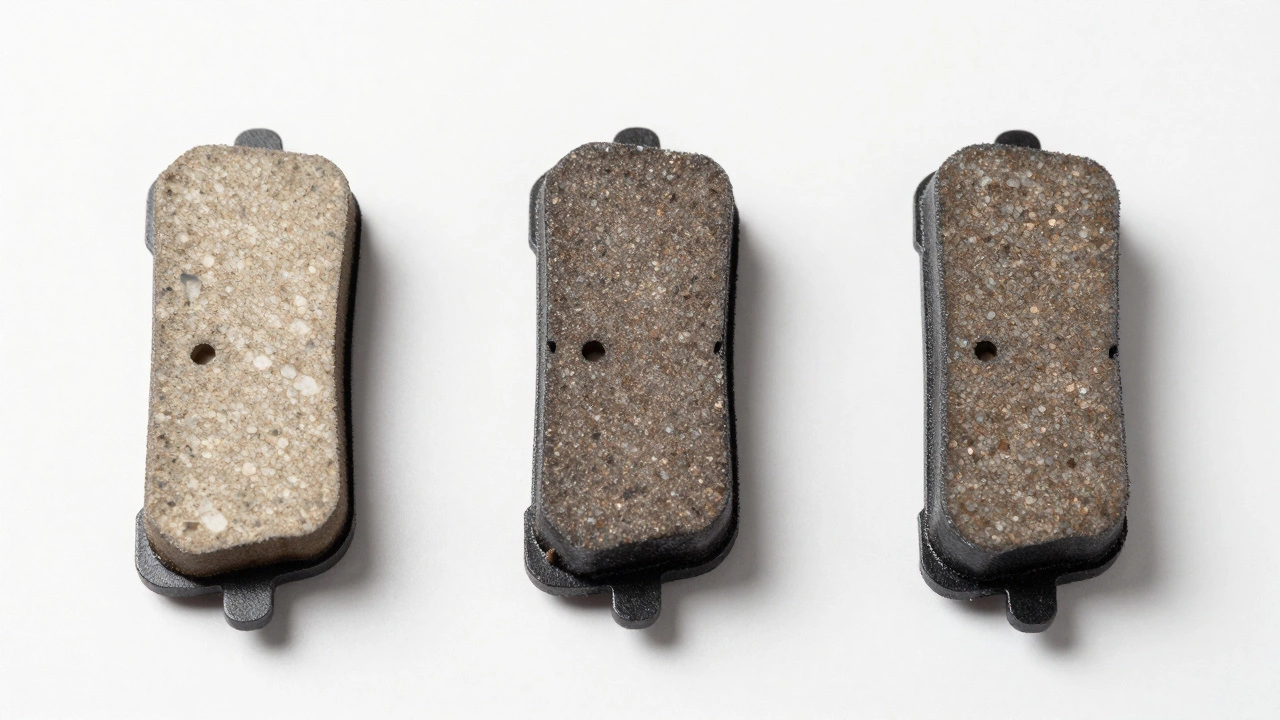
Second is wrong part selection. Not all pads are the same. You'll choose between ceramic, semi-metallic, and organic pads. Ceramic is usually the gold standard for daily drivers because it produces less dust and lasts longer, whereas semi-metallic is better for heavy towing but wears down your Brake Rotors (the metal discs) faster.
Third is neglecting the brake fluid. While you're in there, check your reservoir. If the fluid is dark brown or black, it's contaminated. Changing pads doesn't require a full fluid flush, but if you've let your brakes go for years, the fluid is likely degraded.
When is it too hard to do yourself?
There is a line where a simple pad swap becomes a complex mechanical overhaul. You should stop and call a mechanic if:
- The Rotors are Warped: If you feel a pulsing sensation in the pedal, your rotors are likely warped. Replacing or "resurfacing" rotors requires more heavy-duty tools and precision.
- The Caliper is Leaking: If you see brown fluid leaking around the piston, the seal has failed. You'll need to replace the whole caliper.
- Electronic Brake Issues: Some high-end European cars have complex electronic actuators for the parking brake that require proprietary software to retract.
- Deep Rust: If the brake slide pins are rusted solid and won't move even with heat and oil, you risk breaking the bracket.
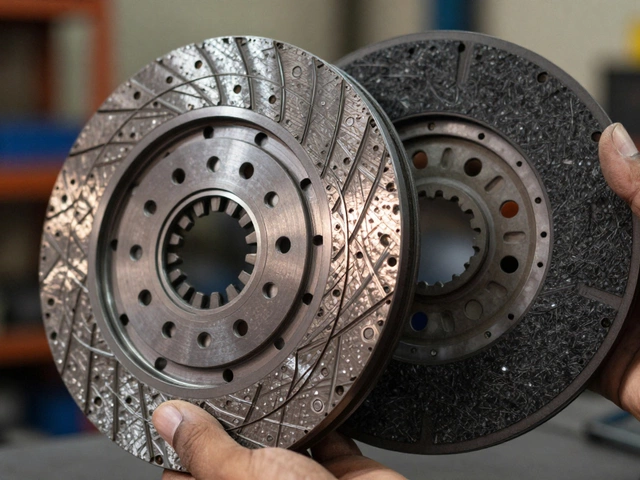
Do I need to replace the rotors every time I change pads?
No, you don't always need new rotors. If the rotor surface is smooth and doesn't have deep grooves (scoring) or a "lip" at the edge, you can usually reuse them. However, if you've been driving on worn-down pads until they hit the metal, you've likely scored the rotor, and it needs to be replaced to ensure the new pads grip properly.
How often should I check my brake pads?
A good rule of thumb is to check them every time you rotate your tires (usually every 5,000 to 10,000 miles). Look for the thickness of the friction material. If it's down to 3mm or 1/8 of an inch, it's time for a change.
Can I change just one wheel's pads?
Absolutely not. Brakes must be changed in pairs (both fronts or both rears). If you only change one side, the car will pull to one side during braking, and the braking force will be uneven, which is dangerous in an emergency stop.
What is the difference between ceramic and semi-metallic pads?
Ceramic pads are made from clay and ceramic fibers; they are quieter, last longer, and create a light-colored dust. Semi-metallic pads contain metals like steel or copper; they handle heat better and offer a stronger "bite," making them better for performance driving or heavy loads, but they are noisier and wear down the rotors faster.
Why do my new brakes squeal even after installation?
This usually happens for two reasons: either the pads weren't "bedded in" (breaking them in with a series of slow stops), or there's a lack of brake grease on the contact points. Some cheap pads also have higher metal content, which naturally causes more noise.
What to do next
If you've just finished your first pad swap, don't just fly onto the highway at 100 km/h. Perform a "bedding-in" process: find a quiet residential street and do five or six moderate stops from 40 km/h down to a complete halt. This transfers a thin layer of pad material onto the rotor, which maximizes your stopping power and minimizes noise.
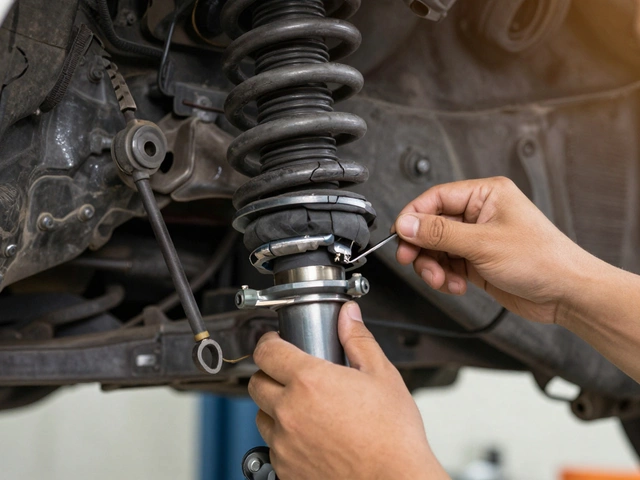
Once you're comfortable with pads, you might want to look into other Car Maintenance tasks, like changing your oil or replacing your air filters. If you noticed your rotors were rusty or thin, your next project should be a full rotor replacement and a brake fluid bleed to get a firm, responsive pedal.


Write a comment