Brake Pad Replacement Time Estimator
Calculate Your Estimated Time
Select your specific scenario to get a realistic time estimate for your brake pad replacement job.
Estimated Time Range
Your estimate is based on industry standards and factors from our comprehensive guide.
When you hear a squeal or feel reduced stopping power, the first thing you think about is swapping the brake pads. But before you grab a socket set, you probably wonder: how long does a brake pad replacement take? The answer isn’t one‑size‑fits‑all - it depends on the car, the tools you have, and whether you’re doing it yourself or dropping it at a shop. This guide breaks down every factor, gives realistic time estimates, and shows you how to keep the job moving smoothly.
Quick Takeaways
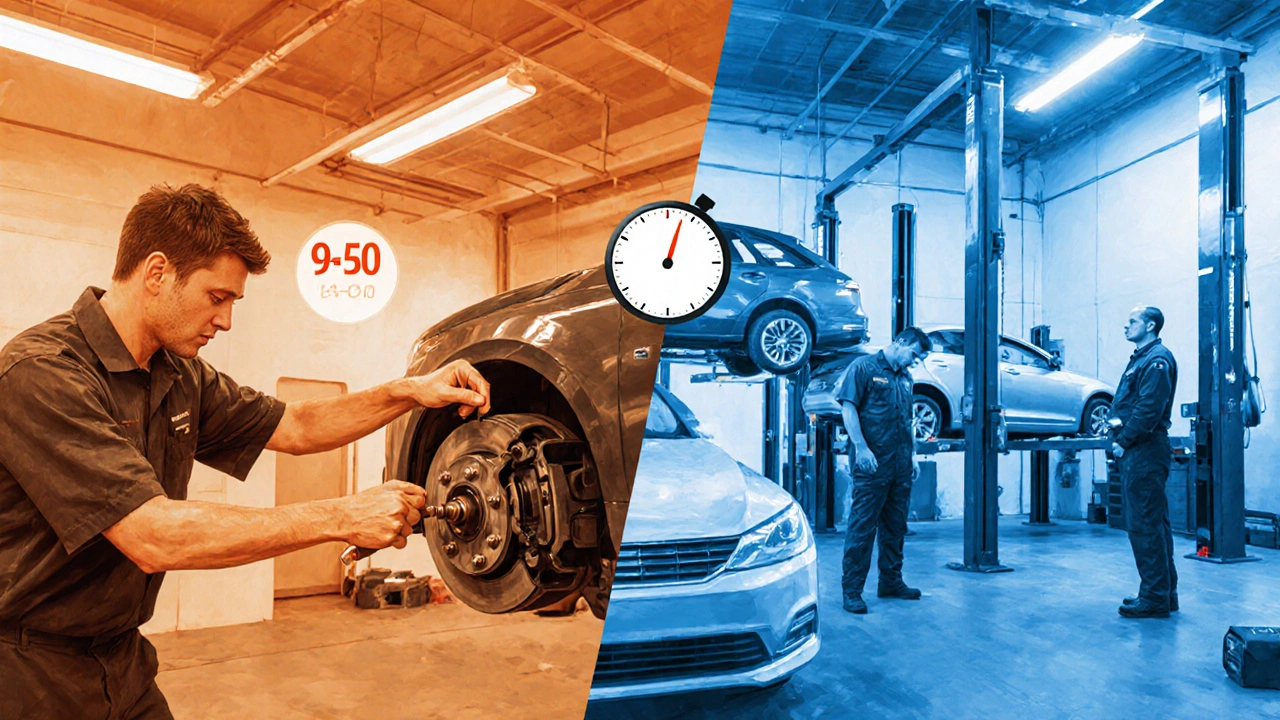
- Professional shops usually finish a standard brake pad job in 45‑90 minutes.
- DIYers with basic tools should budget 90‑150 minutes for a sedan.
- Complex systems (ABS‑integrated calipers, high‑performance rotors) can add 30‑60 minutes.
- Having the right Torque Wrench is a major time‑saver.
- Preparation (clean workspace, all parts on hand) can shave 15‑20 minutes off any estimate.
What is a Brake Pad Replacement?
Brake Pad Replacement is the process of removing worn friction material from the brake caliper and installing a fresh set of pads. The job also gives you a chance to inspect the Brake Rotor, check the condition of the Brake Caliper, and verify that the Brake Fluid level is adequate.
Factors That Influence How Long the Job Takes
- Vehicle type. A front‑wheel‑drive sedan usually has easier‑to‑reach calipers than a rear‑engine sports car.
- Brake system complexity. Cars with ABS modules, electronic parking brakes, or multi‑piece calipers need extra steps.
- Tool availability. Using a Vehicle Lift or jack stands speeds up wheel removal compared to a floor jack alone.
- Experience level. A seasoned mechanic can read bolt patterns and torque specs instantly, while a first‑timer may double‑check each spec.
- Condition of old parts. Rusted caliper pins or stuck rotors add unexpected delays.
Typical Time Ranges
| Scenario | Average Time (minutes) | Key Variables |
|---|---|---|
| Professional shop - standard sedan | 45‑90 | Experienced tech, lift, torque wrench, calibrated tools |
| DIY - basic tools, front‑wheel‑drive sedan | 90‑150 | Jack + stands, manual torque, no pre‑torque guide |
| DIY - ABS‑equipped SUV | 120‑180 | Additional sensor check, brake fluid top‑off |
| Performance car - multi‑piece caliper | 150‑240 | Caliper rebuild, rotor inspection, possible brake fluid flush |
Step‑by‑Step Time Breakdown
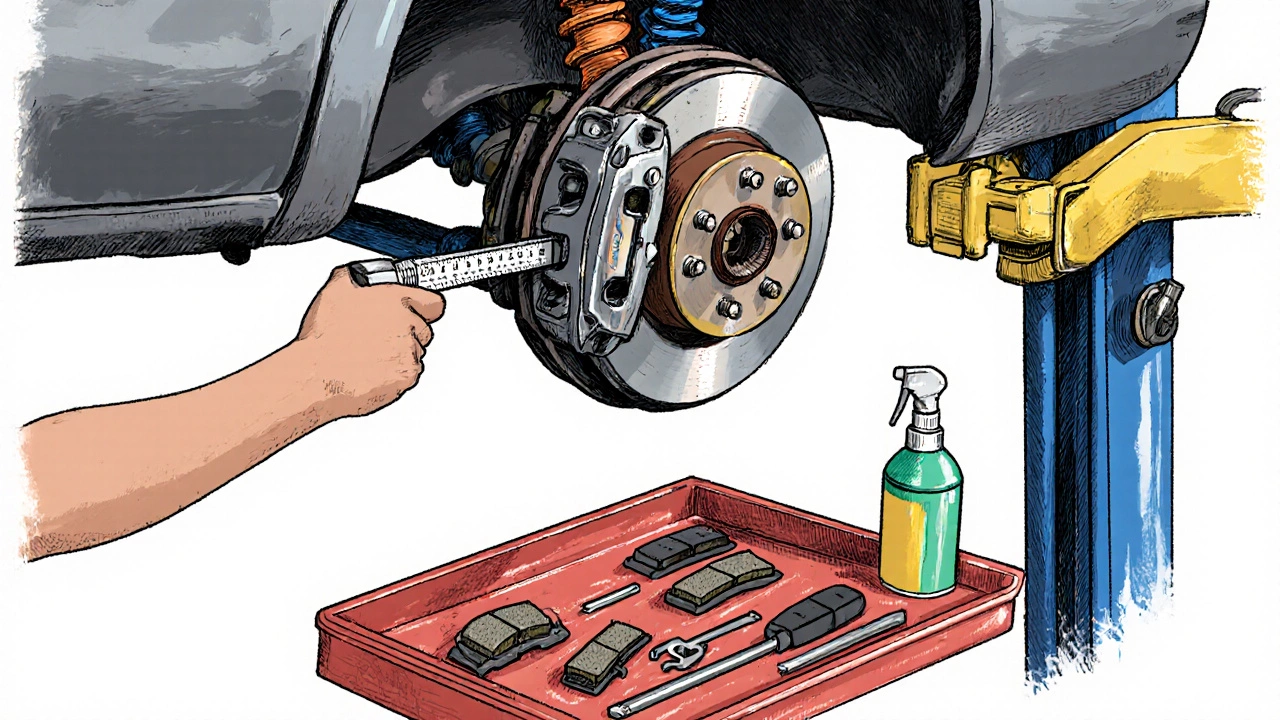
- Gather tools and parts (10‑15 min). Include a Brake Pad Kit, torque wrench, and safety glasses.
- Raise the vehicle and secure it (5‑10 min). A Vehicle Lift makes this quicker.
- Remove the wheel (3‑7 min per side). Loosen lug nuts in a star pattern to avoid warping.
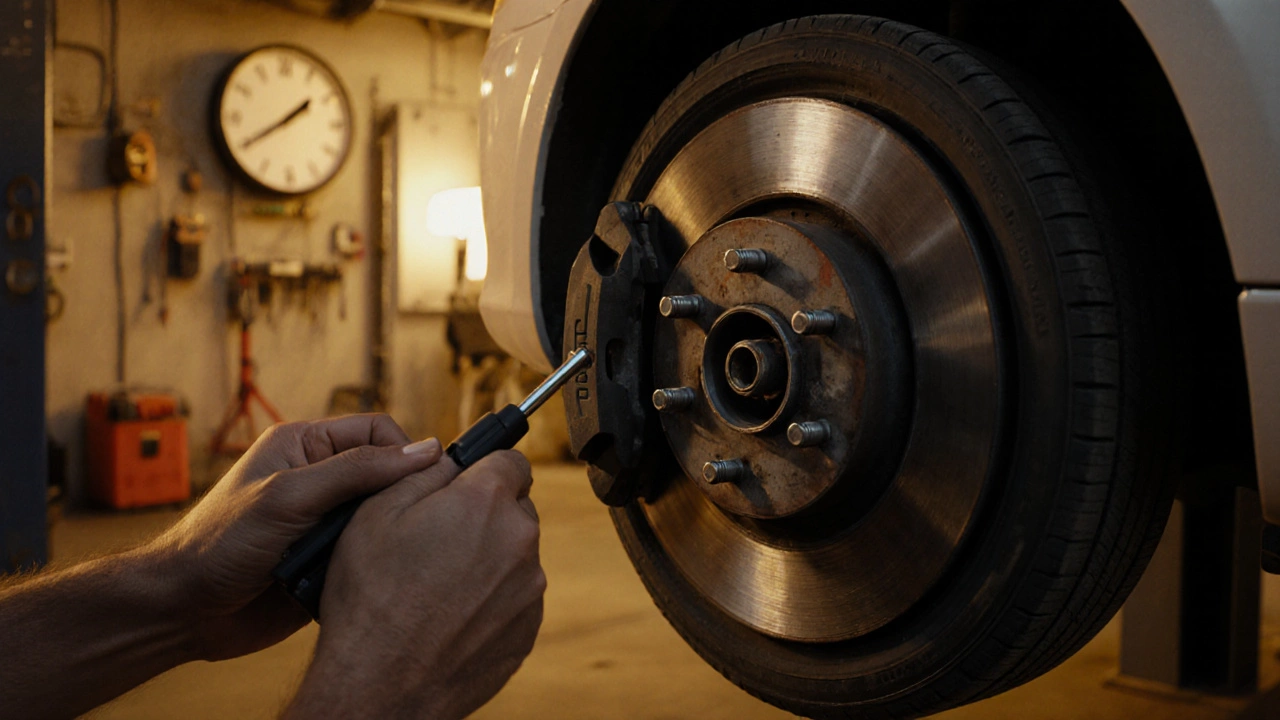
- Access the caliper and compress the piston (5‑12 min). Use a C‑clip tool for ABS‑type pistons.
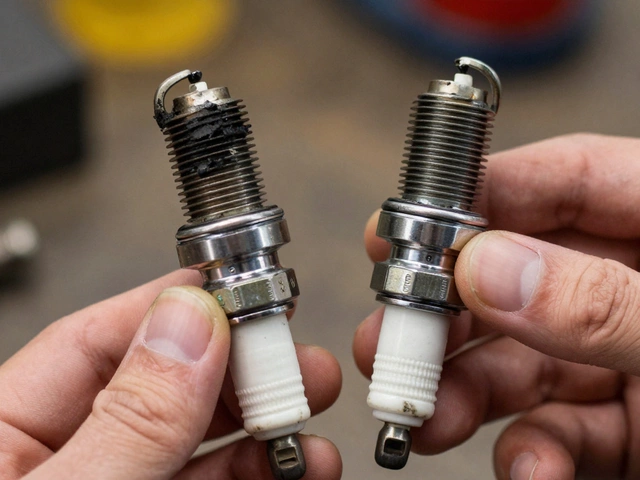
- Take off the old pads and inspect the rotor (5‑10 min). Look for scoring or rust.
- Clean caliper slides and re‑lubricate pins (5‑8 min). Skip this step and you’ll waste time later.
- Install new pads, re‑assemble the caliper (7‑12 min). Make sure the anti‑rattle clips click into place.
- Torque the caliper bolts to spec (2‑4 min). A torque wrench eliminates guesswork.
- Re‑mount the wheel and lower the car (3‑6 min).
- Pedal test and brake fluid check (5‑8 min). Pump the brake pedal to seat the pads and verify fluid level; for ABS‑systems, a scan tool can confirm no fault codes.
Adding up the mid‑range numbers gives roughly 90 minutes for a straightforward DIY on a sedan, which matches the estimates in the table above.
Tips to Shorten the Job
- Pre‑order the right Brake Pad Kit. Kits that include shims, hardware, and a brake cleaner reduce the number of separate purchases.
- Label bolts before removal. A quick photo or numbered stickers keep you from guessing which bolt goes where.
- Use a calibrated torque wrench. Hitting the exact torque the first time avoids re‑checking.
- Warm up the brakes lightly. A short drive gets the rotors to operating temperature, making pistons easier to compress.
- Keep a clean tray. Dust and debris are the enemy of smooth re‑assembly.
When to Let the Professionals Take Over
If you run into any of these situations, it’s smarter to hand the job to a shop:
- The car has a high‑performance multi‑piece caliper that requires special tools.
- ABS warning lights stay on after the pad swap, indicating a sensor issue.
- Rotors are severely warped or have deep cracks - they often need resurfacing or replacement.
- You lack a Torque Wrench or a reliable lift.
Professional shops have the equipment to diagnose electronic brake issues quickly, saving you hours of trial‑and‑error.
Common Pitfalls That Add Extra Time
- Skipping the brake fluid top‑off. Low fluid can cause the master cylinder to pump air, forcing you to bleed the system later.
- Using the wrong bolt pattern. Some models share similar calipers but have different torque specs.
- Forgetting to compress the piston fully. Incomplete compression means the new pads won’t seat, leading to squeal and a repeat visit.
- Rushing the wheel removal. Stripped lug nuts turn a 5‑minute step into a 20‑minute nightmare.
Mini‑FAQ
How many minutes does a professional typically spend on a brake pad change?
Most shops finish a standard front‑only pad swap on a sedan in 45‑90 minutes, including wheel removal, pad installation, and a quick pedal test.
Can I replace rear brake pads in the same time as front pads?
Rear pads often take a bit longer because the calipers are harder to reach and may require brake fluid bleeding if the pistons are larger.
Do I need to replace brake fluid when I change pads?
It’s not mandatory, but checking the fluid level and topping it off is wise. If the fluid is dark or contaminated, a flush is recommended.
What tools are absolutely essential for a DIY pad job?
You’ll need a jack and jack stands (or a lift), a set of sockets, a C‑clip or piston compressor, a torque wrench, and a brake cleaner spray. A brake pad spreader can speed up piston compression.
Why does my brake pedal feel soft after I replace the pads?
A soft pedal usually means air entered the system during the piston compression. Bleeding the brakes removes the air and restores firm pedal feel.
Next Steps
If you’re ready to tackle the job, start by ordering the correct Brake Pad Kit for your make and model. Set aside a weekend, clear a garage space, and gather the tools listed above. For peace of mind, keep the shop’s contact handy in case you hit a snag beyond your skill level.
Remember, the time you spend preparing can cut the actual work time in half. With the right prep, a standard brake pad replacement can be a straightforward 90‑minute DIY project or a 60‑minute stop at a reputable shop.


Write a comment