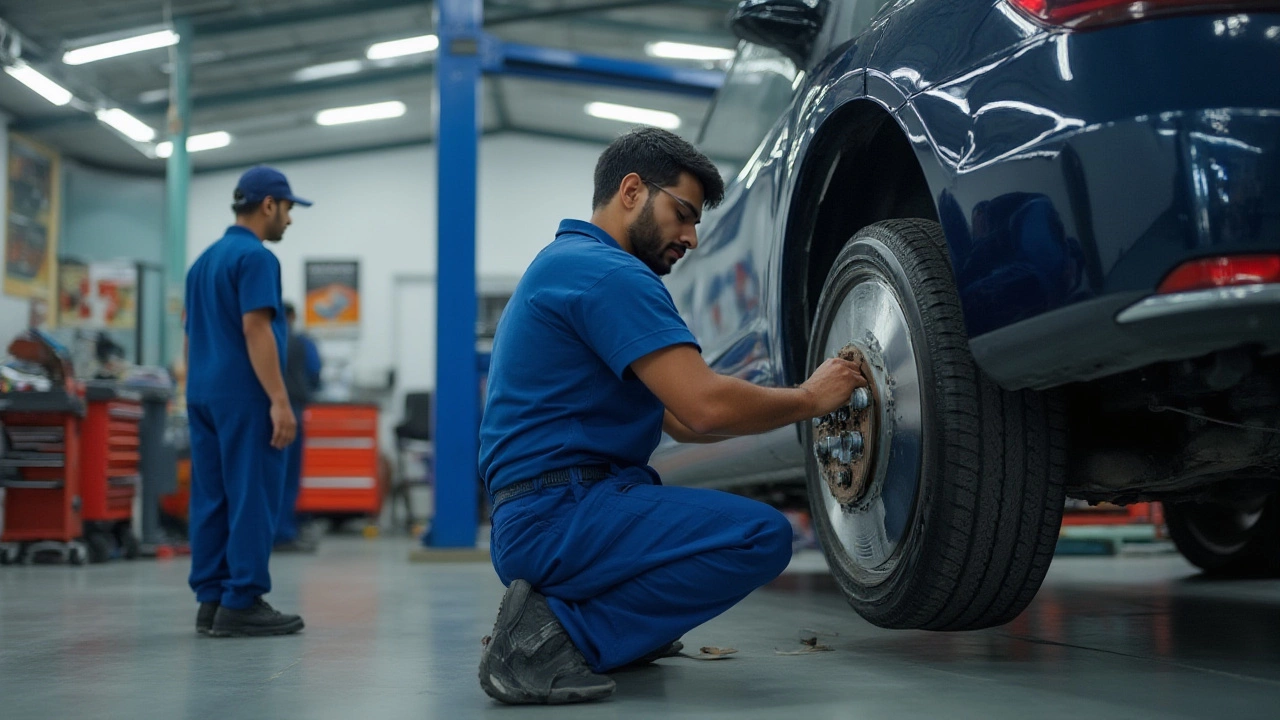
Imagine easing up to a red light, pressing the brake pedal, and hearing a grinding noise or feeling a shudder in your car. Maybe your steering wheel trembles just a bit, or you notice your stopping distances are getting longer. No one likes a noisy, shaky stop, but it’s hard to guess if you just need a fresh set of pads or if those rotors have given up the ghost. Here’s the thing: most people try to stretch out brake repairs for as long as possible (let’s face it, nobody wakes up excited to shell out for new rotors or pads). But ignoring the signs can leave you with a much bigger repair bill—or worse, it could put your safety on the line.
Understanding How Brakes Work: Pads, Rotors, and What Goes Wrong
Every time you tap the brake, you’re asking a careful dance between a few key parts. The pads, which are usually a tough mix of metal, resins, and/or ceramics, press against the rotors (those shiny metal discs bolted behind your wheels). That friction is what slows your car down from 100 to zero, but it comes at a cost. Both your pads and rotors give up a little of themselves every stop you make. Pads wear first—they’re designed to be the expendable partner—while rotors hang in for the long haul… but not forever.
Your brake pads usually last between 40,000 to 80,000 kilometers, but that’s just a ballpark. If you drive in Auckland’s hilly neighborhoods, brake hard in traffic, or tow anything heavy, you’ll go through them faster. Rotors, on the other hand, might survive two or three sets of pads if you’re gentle, or they might start warping or getting grooves after just one if you neglect your brakes. Water, heat, and grit are all enemies here—especially since many rotors nowadays are thinner than they used to be to keep car weight down.
Here’s a little-known fact: some new cars come with rotors so thin, the factory barely leaves enough meat to resurface them even once. That means even a single round of worn-out pads can push them close to their limit. So, don't assume you can keep grinding away on old rotors for years like you might've in the 90s.
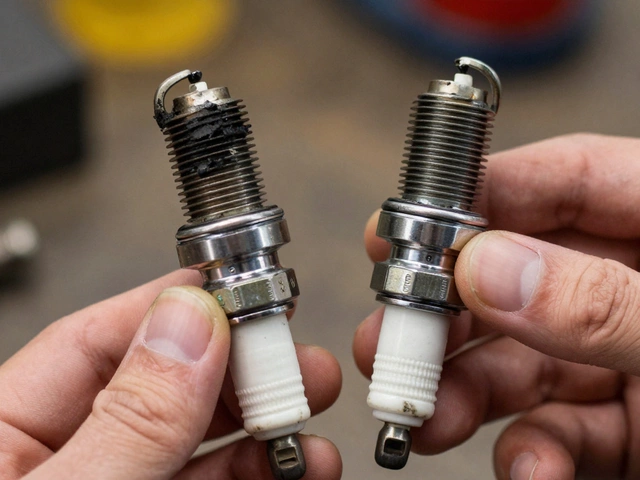
When pads get too thin, you’ll often hear a high-pitched squeal coming from a built-in metal warning tab. Ignore that, and you’ll start hearing grinding—metal-on-metal—which means the pads are gone, and your rotor is acting like a giant, expensive sanding disc. If you catch worn pads early, sometimes you can just swap them out. If you don’t, you can damage the rotors, and replacing or resurfacing is the only fix.
The Tell-Tale Signs: When Is It Pads, and When Is It Rotors?
Your ears and hands give you clues long before any dashboard light does. Squeaking or squealing almost always points to worn pads or dust buildup. Grinding, especially as you come to a stop, usually means things are worse—bare metal of a worn pad has chewed into the rotor, or the rotor itself is deeply grooved.
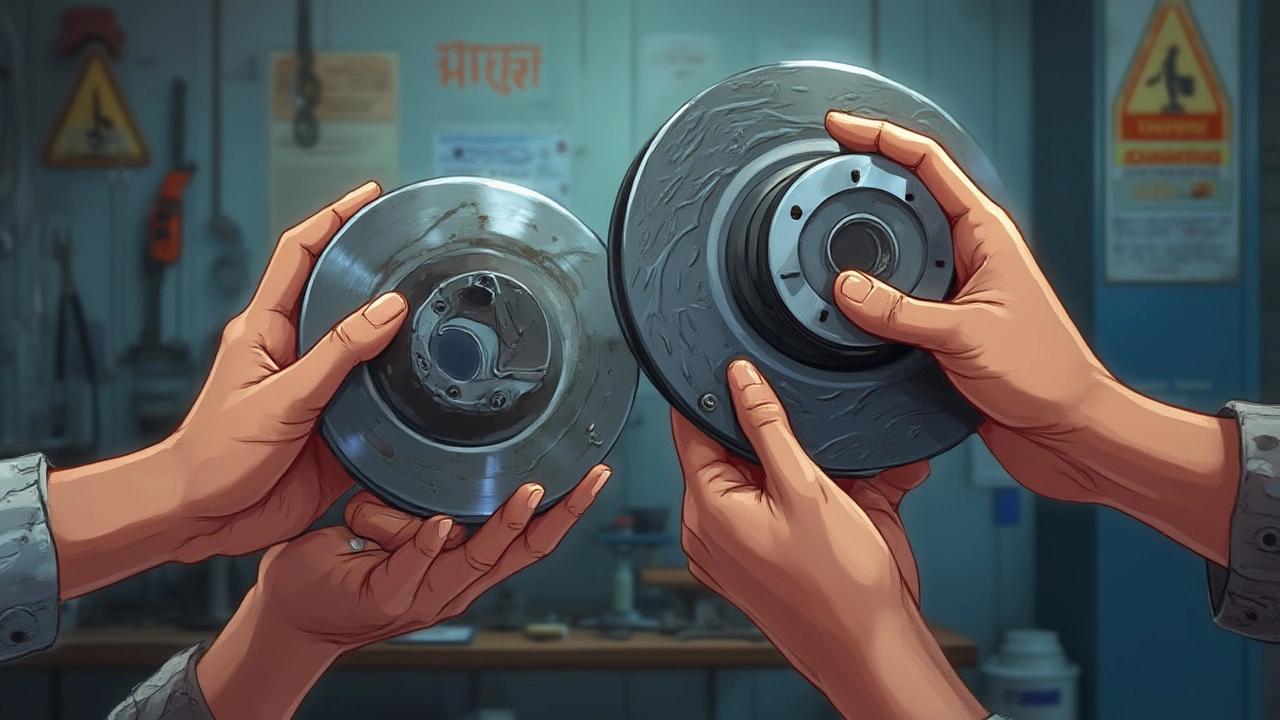
How about vibration? If you feel pulsing in the brake pedal or your steering wheel shakes while braking, your rotors are probably warped. It feels like ABS, but it isn’t—just uneven, wavy rotor surfaces making for a lumpy stop. Sometimes, if rotors aren’t too thin, a mechanic can resurface (machine) them flat again. But many modern rotors, thanks to being lightweight, can’t handle much machining, so you’re replacing them sooner than you might think.
All this being said, the classic advice is: if you only notice squealing and your rotors aren’t damaged, you can get away with new pads. But once you hit vibration, deep grooves, blue spots (that means rotor overheating), or see big rust chunks flaking off, you’re due for rotors too. Run your finger across the rotor—if it’s got deep grooves or a lip at the edge, it’s time to toss them. Don’t guess, though. A quick check with a micrometer by a pro can confirm if your rotor is within “minimum thickness”—which is usually stamped right on the edge of the disc.

What Happens If You Ignore Rotor or Pad Problems?
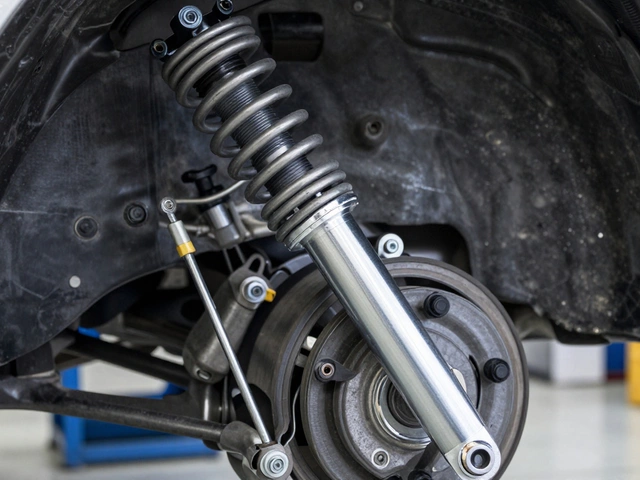
Sure, you can gamble by waiting, but it’s a bad bet. Worn pads won’t slow you down as fast, making emergency stops riskier. Neglected rotors will destroy fresh brake pads in short order, so you’ll be replacing those all over again. Heat from metal-on-metal contact can fry your calipers, boil your brake fluid, and—if you’re really unlucky—lead to total brake failure. Also, a rough, pitted rotor face causes brakes to sound dreadful, and those vibrations ripple through the whole suspension, making your drive feel like one giant rattle.
From a cost perspective, swapping pads before the rotor gets chewed up is way cheaper. Rotor replacements can double or triple the bill, and those savings vanish instantly if you wait too long. You might also fail a warrant of fitness (WOF) check here in New Zealand if a tech spots thin or scored rotors. Police might even pull you over if they hear the telltale grinding at the curb.
There’s also the comfort angle—no one wants the feeling of lurching to a stop with a shuddering wheel or waking neighbors with metallic screeches. If you care about how your car looks or sounds, clean, fresh brakes are an easy win.
DIY Checks and Maintenance: What Can You Do at Home?
You don’t have to be a seasoned mechanic to spot the big warning signs. If you can jack up your car and safely pull a wheel, you can get a look at your brakes. Here’s what to check:
- Pad Thickness: Most pads have a slot—you want at least 3 mm of material. Anything below that is risky.
- Rotor Surface: Look for deep grooves, scoring, heavy rust, or a noticeable ridge at the edge.
- Blue Spots: These mean the rotor overheated—not good news for longevity.
- Cracks or Heat-Checking: Little hairline cracks radiating from the center are a sign of repeated hot stops.
If you hear odd noises while braking, check for small rocks or grit stuck between the pad and rotor. Sometimes a simple clean sorts squeals. But for persistent sounds or wobbles, it’s time for parts—not just cleaning.
If you try replacing pads at home, always check the rotors for thickness and damage. Never fit new pads onto heavily scored or warped rotors. That’s like putting a fresh tyre on a cracked rim—it won’t last, and it won’t work well.
Pro tip: if you live near the coast (hello, New Zealand), regular rinsing under your wheel wells helps limit rotor rust. For extra life, use brake grease on the back of pads to prevent annoying squeaks.
Replacement vs. Repair: When to Upgrade Rotors, and How Much Should You Spend?
Here’s where most folks get stuck: is it worth saving rotors, or just go new? Machining (resurfacing) rotors used to be the norm, but these days, most are too thin out of the box to handle it more than once—if at all. The cost to remove, resurface, and refit rotors often matches, or even exceeds, slapping on quality aftermarket rotors.
For city cars and family vehicles, basic rotors and pads do fine. Buy reputable brands—cheap no-names tend to warp quick and screech like mad. If you tow, haul, or like to carve up Coromandel roads, you might want performance rotors with slots or drilled holes for better heat dissipation (big bonus: they shed water faster on rainy Kiwi days).
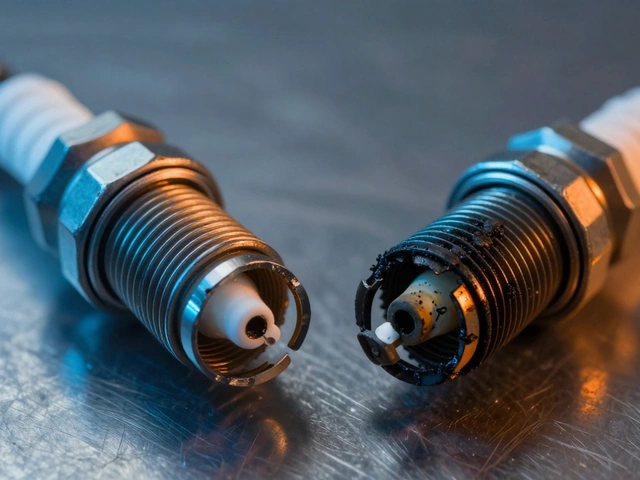
Pads come in a handful of flavors: organic (quiet but wear fast), semi-metallic (most common), or ceramics (clean, quiet, and pricey). Match your pads to your driving. Cheap pads on fancy rotors? False economy—they’ll glaze, squeal, or eat into the new rotors. Stick to one brand if you can for true compatibility.
When you’re getting new rotors, always replace pads at the same time. Old, uneven pads on new rotors can cause noise and make the new surface wear too fast. The same goes the other way: new pads on scored or thin rotors shorten pad life and can feel spongy.
The labour to do rotors and pads isn’t rocket science, but you want torque specs right and surfaces cleaned. If you go the DIY route, use thread-locker on caliper bolts and always bed in new pads—this means gentle stops for the first 100-200 kilometers. Skip this, and you’ll risk noisy, uneven brakes.
This job isn’t where you want to go bottom-of-the-barrel. Buy the best rotors and pads you can afford from a known brand, and get someone with a good reputation to fit them if you’re not a keen home mechanic. Cheap brakes can feel wooden, fade faster, or just squeal against the rotors no matter what you try. And remember—the only thing standing between you and whatever you don’t want to hit is your brakes. Treat them right.
Need a ballpark on costs? In Auckland, you’re looking at $150-250 for a pair of rotors, and $80-150 for pads (per axle, not including labour). Add $200-300 for professional fitment. Mixing and matching brands or skimping on parts might save money today—but you'll pay for it in short order.
One last thing: have your whole brake system checked every 20,000 kilometers, or at each service. Catching a soft pedal or a dragging caliper early could save you a fortune down the road. Never be shy about asking your mechanic to show you the old parts, measure thickness, and explain their recommendation. You’ll learn a lot, and you’ll never wonder if someone is upselling you gear you don’t need. Stay sharp, and drive safe—because stopping should always feel solid, not scary.


Write a comment