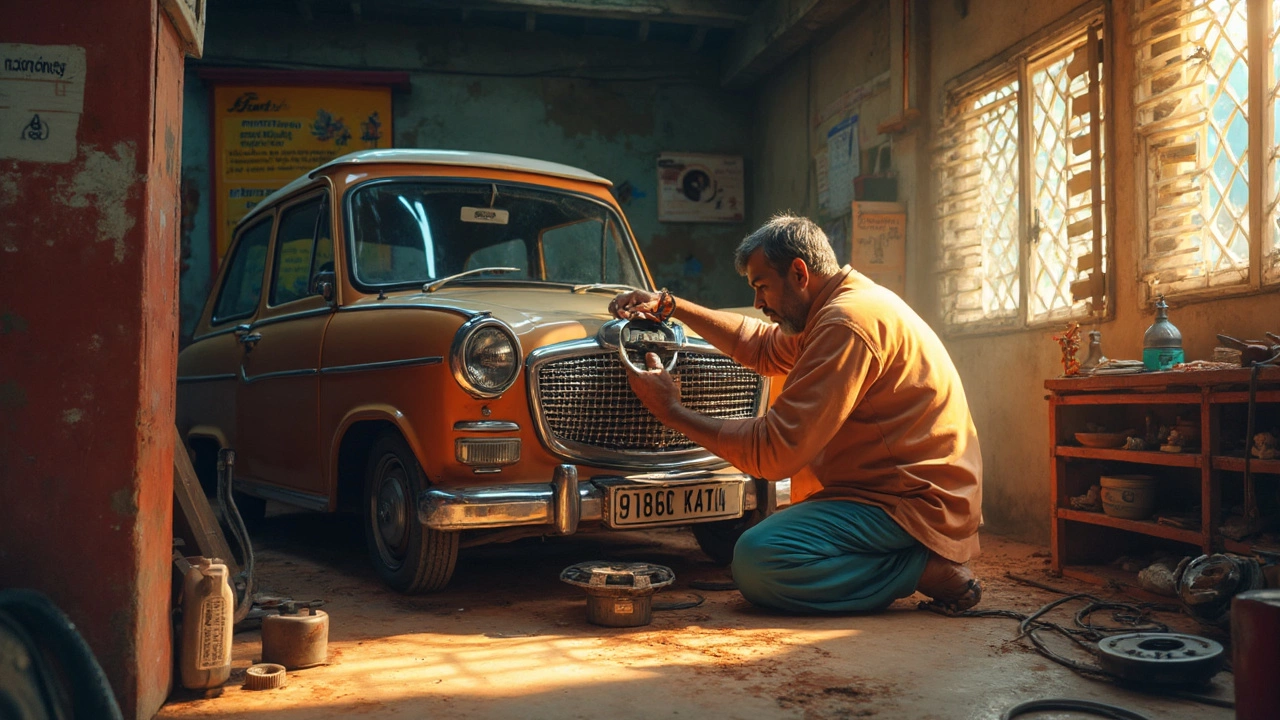
If you've ever wondered how long it takes to swap out a clutch kit, you're not alone. The answer isn't a simple one-size-fits-all, as several factors come into play. Generally, doing it yourself could take anywhere from 4 to 8 hours, while professionals usually get it done in 2 to 5 hours. Curious about what affects this timing? Let’s dig into it.
First off, your car model matters a lot. Some vehicles have easier access to the clutch assembly, making the process quicker. On the flip side, cars with cramped engine bays or all-wheel drives might take longer due to the extra steps involved. Ensure you check your specific vehicle’s service manual for any quirks or complex steps.
Then there’s the experience level. If you're a seasoned DIYer with all the right tools, you might breeze through. But if you're new to car mechanics, don't be surprised if it takes a little longer. A tip? Label and organize everything you remove. This little step can save precious time when putting things back together.
- Understanding Clutch Kits
- Factors Affecting Installation Time
- DIY vs Professional Installation
- Tips for a Smooth Installation
Understanding Clutch Kits
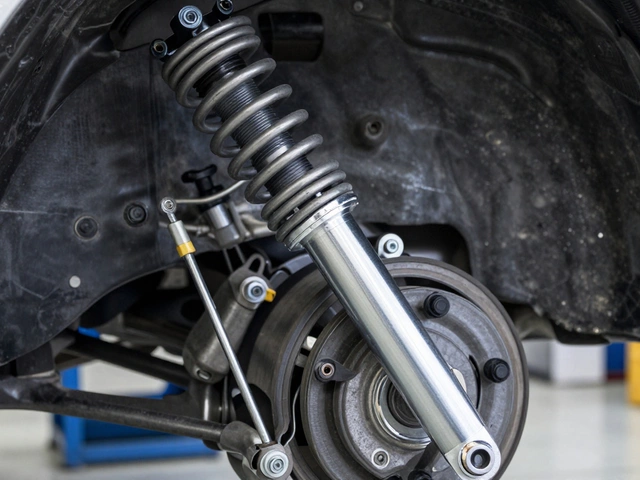
Before we jump into timing and what influences it, it's crucial to know what a clutch kit really is. In the simplest terms, a clutch kit is a collection of parts essential for transferring power from your engine to the wheels. This translation happens when you shift gears, making the whole setup integral to any vehicle's performance.
What's in the Box?
A typical clutch kit includes the clutch disc, the pressure plate, and the release bearing (or throw-out bearing). Some might also come with an alignment tool, which is super helpful during installation.
- Clutch Disc: This component engages and disengages the power from the engine to the transmission. It's round, usually made of a friction material, and faces wear over time.
- Pressure Plate: Bolts to the engine flywheel and exerts pressure against the clutch disc to engage the drive.
- Release Bearing: Helps the clutch disc and pressure plate separate when you press the clutch pedal.
- Alignment Tool: Ensures the clutch disc is perfectly aligned during the installation process.
Types of Clutch Kits
Generally, clutch kits are categorized by their intended use—think daily driving, towing, or racing. Choosing the right one depends on how you use your car. For day-to-day driving, OEM (Original Equipment Manufacturer) replacements are usually sufficient. However, if you're tricking out your ride for performance, high-performance clutch kits might be your go-to choice.
Interesting Fact
Did you know that worn-out clutches are one of the most common reasons for transmission repairs? Yet, many drivers overlook the symptoms until it's too late. Pay attention to signs like squealing noises, difficulty in shifting gears, or a spongy clutch pedal.
Understanding these components can make the installation process smoother—ensuring you don’t miss any steps.
Factors Affecting Installation Time
Wondering what makes the clock tick longer or shorter when installing a clutch kit? A few key factors can really change the game. Let's break them down.
Vehicle Make and Model
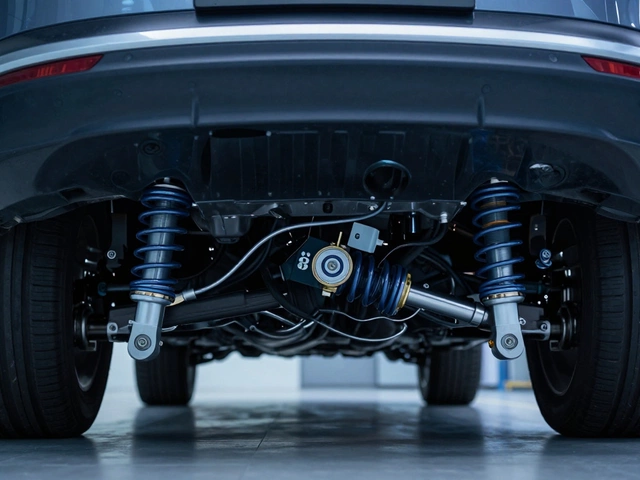
Your car’s make and model play a big role. Some cars are designer-friendly with plenty of room for your hands and tools, while others have tight spots that can turn a simple job into a frustrating puzzle. Take a Subaru, known for its AWD system, which often means more components to remove, adding time.
Complexity of the Design
The clutch system itself might just be plain complex. Some vehicles require removing the engine or subframe, which ain’t a quick Saturday project. Compare that to a front-wheel-drive car where the transmission can be reached with fewer steps.
Tools and Equipment
Having the right tools can cut the time down significantly. Impact wrenches, transmission jacks, and a well-stocked tool chest help professionals zip through tasks faster. At home, missing a crucial socket or having to run to the store can cost hours.
Experience Level
A seasoned mechanic will breeze through what might take a newbie double the time. Experience isn’t just about knowing which bolt goes where; it’s about the little tricks learned over time to make processes smoother and quicker.
Condition of the Vehicle
An older car or one with rust issues might need extra love. Stubborn, rusted parts might mean wrestling with each bolt, taking longer than a rust-free newer model. Regular maintenance can offset some of this, so keep that in mind.
Additional Repairs
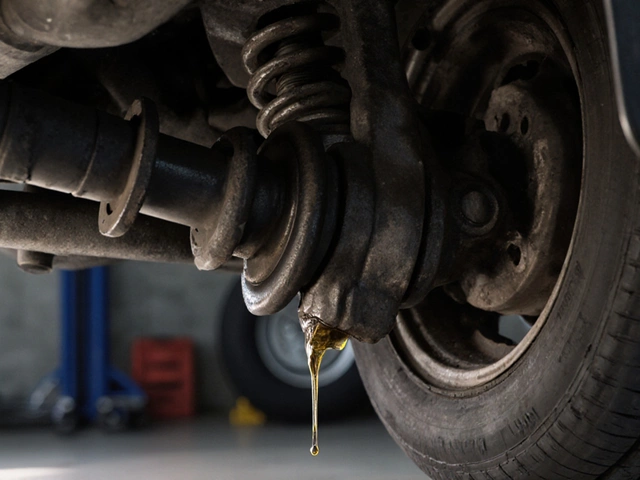
Sometimes you find more than just a clutch issue when you dig in. Discovering a worn flywheel, leaking seal, or damaged pulley can mean extra repairs, adding time and cost to the job.
Time Estimates by Vehicle Type
| Vehicle Type | Estimated Time (Professional) |
|---|---|
| Front-Wheel Drive | 2-3 hours |
| Rear-Wheel Drive | 3-4 hours |
| All-Wheel Drive | 4-5 hours |
Putting it all together, the time to change a clutch kit isn't set in stone. Consider these factors and you’ll have a better idea of what to expect when tackling this important car repair task.

DIY vs Professional Installation
When it comes to installing a clutch kit, deciding between doing it yourself or hiring a pro is a biggie. Each option has its perks and pitfalls, so knowing what's best for you is key.
Going the DIY Route
Tackling the clutch kit installation yourself sounds tempting, especially if you're looking to save some cash. But be ready for a challenge. You'll need certain tools like a clutch alignment tool, floor jack, and possibly a transmission jack. Also, space to work safely is crucial, so a good set-up like a garage or a flat driveway is ideal.
Why DIY? For starters, there's the satisfaction of doing it yourself. Plus, it can be a learning experience that’s both engaging and rewarding. Just be aware that if things go wrong, you might end up spending more in the long run. A useful tip? Follow a detailed guide or watch a step-by-step video specific to your car model to avoid rookie mistakes.
Calling in the Pros
Let’s say you’re not comfortable under the hood or you're pressed for time. That’s when a professional installation comes in handy. Car mechanics do this for a living, meaning your new clutch kit gets installed correctly and swiftly. Sure, it's pricier because you're paying for skills and convenience, but you could also save yourself a headache.
Here's an interesting fact: A study showed that professional installations reduced the average clutch failure rate by about 10% compared to DIY jobs. That's something to consider if reliability and peace of mind top your list.
Making the Choice
- Budget: DIY is cheaper; pro installations come at a cost.
- Time: Expect a full day for DIY; pros take just a few hours.
- Skill Level: If you're handy, DIY might be feasible. Otherwise, a pro is your best bet.
- Outcome: Professionals offer warranty and reliability.
In the end, weigh out the pros and cons specific to your scenario. Whether you choose DIY or professional, understanding these differences helps you make an informed decision. Choose what fits your needs and feel good about taking care of your vehicle.
Tips for a Smooth Installation
Tackling a clutch kit replacement doesn't have to be a herculean task. A few solid prep steps and some tricks can make your life a lot easier. Whether you're diving into a DIY project or just want to understand what a mechanic is doing, these tips will help you get through the process smoothly.
Preparation is Key
Get your workspace ready before even touching your car. Make sure your tools are organized and that you've got your car repair manual handy. Having a clean, well-organized space can really save you from unnecessary headaches.
- Ensure you have all the necessary tools: socket set, wrenches, screwdrivers, jack stands, and a torque wrench.
- Gather all parts included in the clutch kit such as the clutch disc, pressure plate, and release bearing.
- If you're new to this, it might be wise to watch a couple of tutorial videos specific to your car model. Visual aids can be a fantastic learning tool.
Step-by-Step Precision
When you start, follow the steps meticulously. Doing this right will save you time and frustration in the long run.
- Disconnect the battery. Sounds simple, but it's critical for safety.
- Next, get your vehicle up on jack stands to give you ample room to work.
- Remove the transmission. This step might require a helping hand since it's usually quite heavy.
- Take out the old clutch components carefully and inspect them. Spot anything odd? It might not just be the clutch that needs a change.
- Install the new clutch kit, making sure each component is aligned perfectly.
- Reassemble everything, taking special care to torque the bolts to the specs mentioned in the manual.
- Finally, reset the battery and test your work with a short drive to feel out the clutch's responsiveness.
Play It Safe and Smart
Safety is paramount, so don't rush. And if at any point you feel out of your depth, seek professional help. It's better to pause and consult than to make a costly mistake. Plus, keeping safety gloves and goggles handy can protect you from unexpected hazards.


Write a comment