Ever stare at the pile of shiny pipes and mufflers in your garage and think, “How long is this actually going to take?” You’re not alone. Swapping out a full exhaust system isn’t a mystery, but the time it eats up can vary a lot depending on a few key things.
If you’re looking for a quick job, here’s the honest answer: expect anywhere from two hours (if you’re a pro with the right tools and a rust-free car) to a whole day if things get stubborn. Don’t fall for those dreamy “one-hour install” promises—they only count if you’re incredibly lucky, or swapping a system on a brand-new, never-driven car.
The real timelines depend on your car’s age, the condition of bolts, whether everything lines up perfectly, and how many helpers you’ve got. Whether you’re tackling this solo or with a buddy, knowing what slows things down (and what speed bumps to watch out for) can save you a ton of headache—and maybe a few sliced knuckles too.
- What Actually Counts as a Full Exhaust System?
- Quick Factors That Change Installation Time
- DIY vs Pro: Who’s Faster and Why?
- Common Roadblocks and How to Avoid Them
- Pro Tips for a Smoother Exhaust Install
What Actually Counts as a Full Exhaust System?
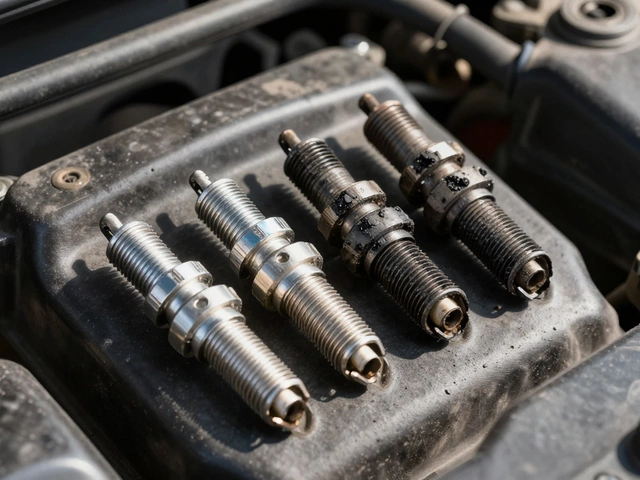
If you hear someone say they swapped their whole exhaust, don’t just picture a single metal tube. A full exhaust system is a set of parts that start where gases leave your engine and end where they escape out the back of your car. Knowing exactly what’s included helps when you’re shopping for upgrades—and when you’re figuring out your installation timeline.
Here’s what usually makes up a full exhaust system on most cars and trucks:
- Exhaust manifold or headers: These are the first stops right at the engine. They collect the exhaust gases from each cylinder and push them into the main exhaust pipe. Headers are an upgrade over regular manifolds—they breathe better but can take longer to install.
- Downpipe (mainly on turbo cars): Runs from the headers or manifold, gets the gases moving to the back. Turbo cars will almost always have a downpipe, but non-turbo cars might not.
- Catalytic converter (cat): This important chunk takes out a bunch of bad stuff before fumes hit the open air. It’s found between the downpipe and the rest of the pipes in most modern cars.
- Resonator: Not always included, but lots of full systems have one. It cancels out weird noises and keeps the tone smooth.
- Muffler: The final noise filter before the tailpipe, it determines how loud or tame your car sounds.
- Piping: All the tubes connecting these parts, sometimes with fancy bends or fatter diameters if you’re going for performance.
On top of the big pieces, you’ll also need gaskets, clamps, and sometimes hangers or mounts. Skipping any of this will mean your job isn’t technically a full system swap; you’ll just have a partial upgrade or a cat-back system if you’re changing everything after the catalytic converter.
In short: if you’re calling it a full exhaust job, expect to touch almost every part between the engine block and the tailpipe. That’s what you’ll be installing—and it’s what’ll take up most of your wrenching time.
Quick Factors That Change Installation Time
If you’re trying to guess how long installing a full exhaust system will actually take, there are a few things you should keep in mind. The fastest jobs don’t just happen by luck—there’s real stuff behind the timing.
- Car Age and Rust: The older the ride, the more likely you’ll fight stubborn rust. Rusty bolts, stuck clamps, or a corroded exhaust manifold can double or triple your work time. Spraying rust penetrant the night before saves big time.
- Tools On Hand: Air-powered tools and a proper lift will shave at least an hour off the job compared to crawling under jacks in your driveway. Ever tried breaking loose exhaust bolts with a short wrench? Not fun.
- Exhaust Design: Some cars run a single pipe; others have complex setups with crossovers or multiple mufflers. Factory fit systems usually bolt straight in. Custom or universal kits? Expect more measuring, cutting, maybe even welding, which really ramps up install time.
- Experience Levels: First timer? Budget extra hours for watching how-to videos, double-checking instructions, and hunting for dropped bolts. A shop with pros that does this daily can fly through the job—2-3 hours on a newer car is typical.
- Unexpected Surprises: Broken studs, stripped threads, missing gaskets, or an exhaust that just won’t line up can sneak up on anyone. Always plan for a little problem-solving time.
Here’s a rough idea how much these things affect the clock:
| Factor | Time Added |
|---|---|
| Rusty Bolts/Hardware | +1-2 hours |
| Lack of Power Tools | +30-60 minutes |
| Universal/Cut-to-Fit System | +1-2 hours |
| No Prior Experience | +1-3 hours |
| Unexpected Broken Parts | Varies (30 min to several hours) |
If your exhaust system is one of those bolt-on kits that fits your exact car, and you prep ahead, you might finish before lunch. But if you hit rust or have to improvise, go ahead and clear your afternoon.

DIY vs Pro: Who’s Faster and Why?
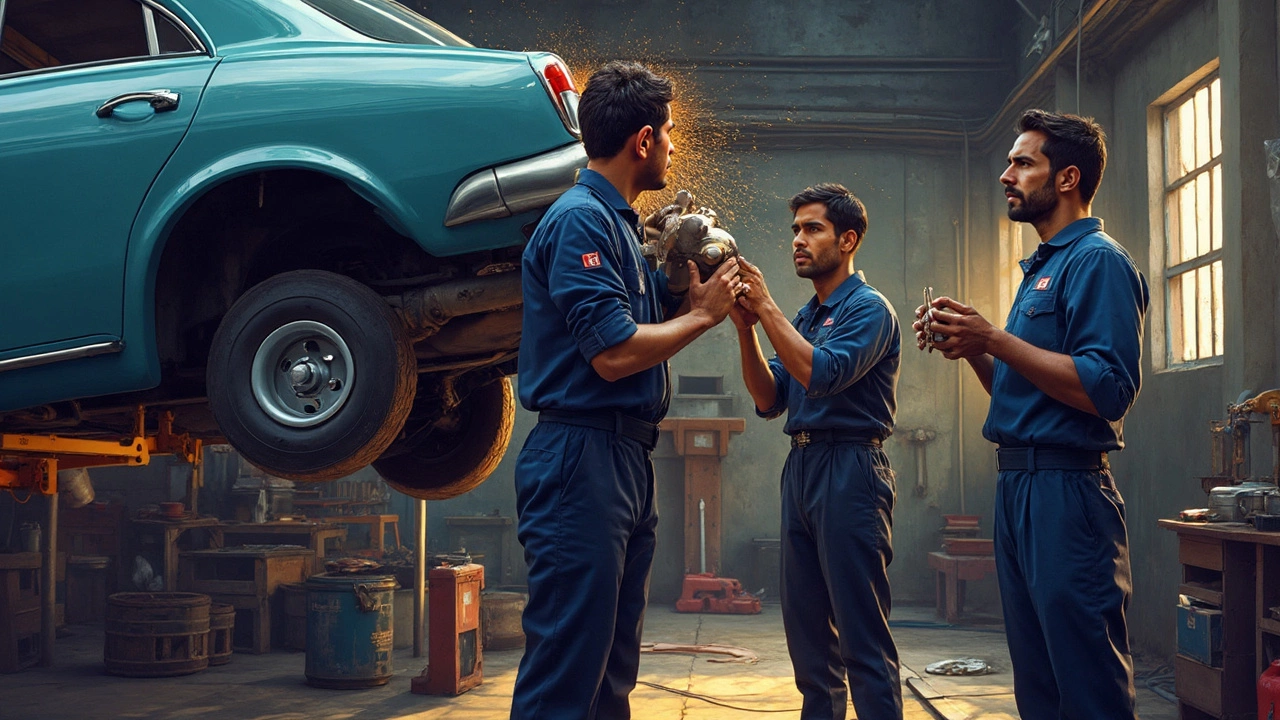
If you’re weighing your options, the big difference in installation speed comes down to experience, tools, and a good dose of muscle memory. Seasoned mechanics can usually swap out a exhaust system in two to three hours because they’ve done it a hundred times before and have all the right gear within reach—think pneumatic tools, a lift, and that trick they learned when bolts refuse to budge.
For a typical DIYer, the story is different. Without a lift, you’re working on jack stands or car ramps, which takes more time to get set up and slows you down getting under the car. Most folks tackling their first install set aside at least a half-day, often up to six hours. It’s not just about wrenching—it’s prepping, safely raising the car, and figuring out which socket or wrench actually fits your rusted bolts.
- Pros: They work fast because they know where every nut and clamp is, use power tools, and don’t waste time second-guessing the next step. They’re also prepared for seized bolts or surprising rust—if things get tricky, they’ve got specialty tools nearby.
- DIYers: You’re probably watching an install video on your phone while working, which is totally normal. Expect to spend extra time reading instructions and maybe making a quick run to the auto parts store. Tough bolts or exhaust hangers can chew up more time if you’re not ready with spray lubricant or a breaker bar.
One thing to mention: the car’s age matters. If your car’s a few decades old, you might find the factory exhaust welded in place or bolts fused by rust. That’s when the pros really pull ahead—they can use a torch or grinder without breaking a sweat, while most home garages aren’t set up for heavy-duty stuff.
If you love learning by doing and don’t mind moving slower, DIY is a solid option. But if you’re tight on time or hate surprises, paying a pro is usually faster, safer, and guaranteed to get you back on the road same day.
Common Roadblocks and How to Avoid Them
If you’ve ever worked under a car, you know things don’t always go smoothly. Here are the most common headaches people run into when installing a exhaust system, and how to sidestep them like a pro.
- Rusty or Seized Bolts: Probably the number one time-killer. Older cars (think five years plus in snowy or salty places) almost always have exhaust bolts that are rusted solid. Just yanking harder usually means snapped bolts—then you’re drilling or using an extractor. Best solution? Soak them with a good penetrating oil (like PB Blaster) the night before, and have a breaker bar ready.
- Mismatched Parts: Not all exhaust parts are created equal—universal kits might “almost” fit, but almost never means perfect. Sometimes hangers need to be bent, or pipes trimmed. Double-check the part numbers and compare everything to your stock system before you start yanking things off. Lay out your new system on the ground first to check all connections line up the way they should.
- Old Gasket Stuck: The original exhaust gaskets (especially at the manifold or downpipe) can stick like glue. Don’t just slap on new parts over the old gunk—that means leaks. Scrape the surface clean with a razor blade or gasket scraper, and clean off old rusted gasket bits so your new system actually seals.
- Broken Hangers or Mounts: The flexible rubber hangers can be brittle with age. If the system sags or hangs crooked once you’re done, it’s probably a hanger issue. These are cheap, so pre-order a few extras to avoid a late-night run to the parts store.
- Fitment Surprises: Some cars have a harder-to-reach rear section, hidden mounting bolts, or heat shields blocking the way. This usually means crawling around for half an hour just to fit a socket somewhere. Having lots of socket lengths, swivels, and patience really helps here.
Here’s a breakdown of the most common issues and how often people running DIY installs run into them, based on survey data from a popular car forum:
| Issue | Percentage of Installs Affected | Extra Time Added (Average) |
|---|---|---|
| Rusty/Seized Bolts | 62% | +1 to +2 hours |
| Mismatched Parts/Fitment | 34% | +30-60 minutes |
| Stuck Gaskets | 27% | +20 minutes |
| Broken Hangers | 22% | +15 minutes |
If you want a headache-free install, gather your tools, use lots of lube on bolts the night before, and double-check everything fits before you start. And if you’re working on an old ride, cut your rusted bolts (just use the right safety gear). Saving yourself hours fumbling around is better than cursing and busting your knuckles all afternoon.

Pro Tips for a Smoother Exhaust Install
If you want to turn hours into something way closer to minutes (okay, not minutes, but you get the point), here’s what the pros actually do different. It’s about smart planning as much as skill. Here’s how to avoid most of those painful mess-ups that eat up your Saturday and send you to the parts store four times.
- Soak Everything First: At least an hour before you start, drown all the old exhaust bolts with penetrating oil like PB Blaster or WD-40. Rusted or seized bolts are the number one reason installs turn into nightmares.
- Have the Right Tools Ready: Don’t start if you’re missing a socket, breaker bar, or—seriously—a sawzall (just in case). Most modern exhausts need 13mm, 14mm, and 15mm sockets. Extensions help in tight spots.
- Check Parts Before Lifting: Lay out the whole kit on the garage floor and double check every flange, nut, and gasket. Missing something? Call the shop BEFORE you start wrenching. Returns mid-job are a mood killer.
- Raise the Car Properly: Jack stands and wheel chocks are non-negotiable. Crawling under a car balanced on a cheap jack is asking for disastrous news.
- Test Fit: With everything loose, hang the system and loosely bolt it up before tightening anything. It’s easier to shift pipes around and line up hangers if nothing’s tight yet.
- Don’t Over-Torque: Check torque specs (usually in the installation manual, or check the chart below), and use a torque wrench on flanges and clamps. Too loose = leaks, too tight = snapped bolts.
Hang up your old-school exhaust paste, too. Decent gaskets and clean surfaces are all you need for a good seal on a modern system. Also, don’t forget new rubber exhaust hangers—it stops shakes and rattles down the road.
Here’s a handy chart for the most common exhaust system bolt sizes and torque specs (always double-check your own car’s numbers):
| Bolt Size | Common Location | Tightening Torque |
|---|---|---|
| 10mm | Header/Flange | 18-24 ft-lbs |
| 12mm | Mid-pipe/Flange | 28-34 ft-lbs |
| 14mm | Muffler Mount | 32-38 ft-lbs |
Finally, fire up the car before you drop it off the stands. Quickly check for leaks by feeling around the connections (don’t touch—just feel for puffs of air). Fix any leaks before fully lowering, and you’ll actually finish with both hands clean, which is a rare miracle in the exhaust world.


Write a comment