Sometimes you start to wonder about your car’s brakes only when you hear that telltale squeal. The classic thought pops up: "Can I skip the expensive stuff and just get the pads changed?" Plenty of drivers do it, especially when money’s tight or time’s short. But brakes aren’t just there for show. Let’s lay out what really happens if you replace brake pads alone, and when you might be asking for trouble.
What Actually Happens When You Replace Brake Pads Only?
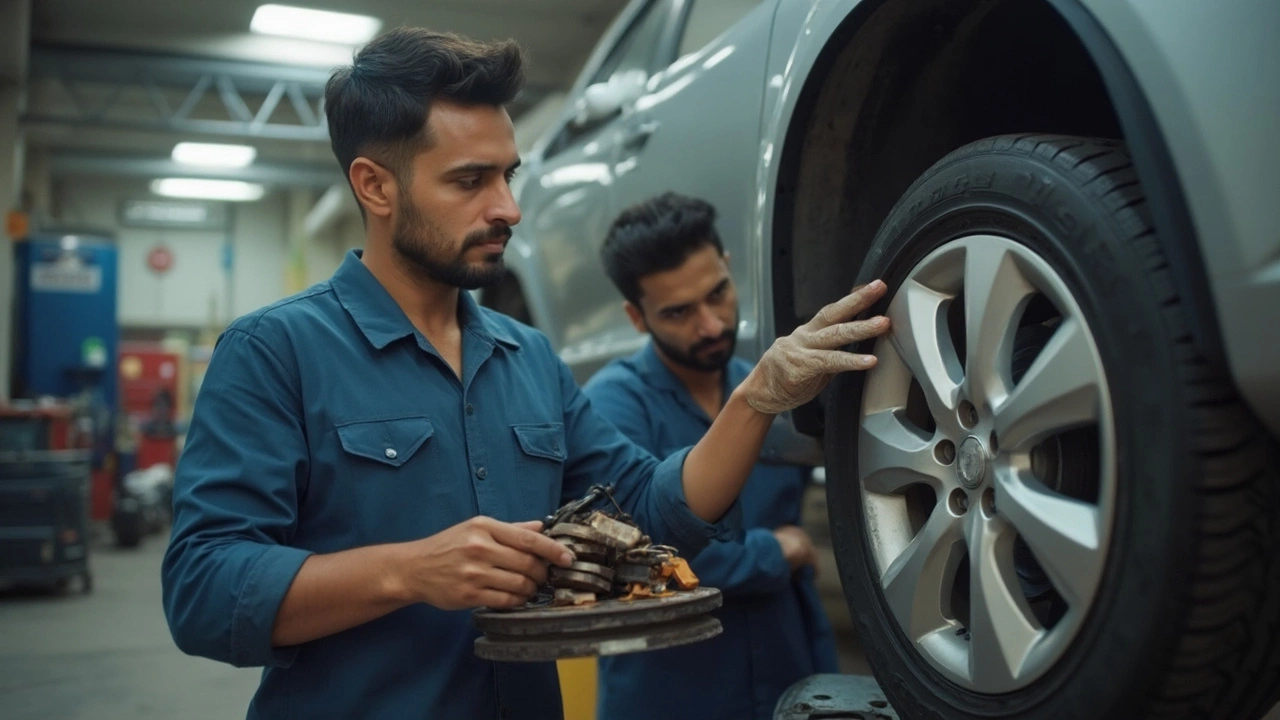
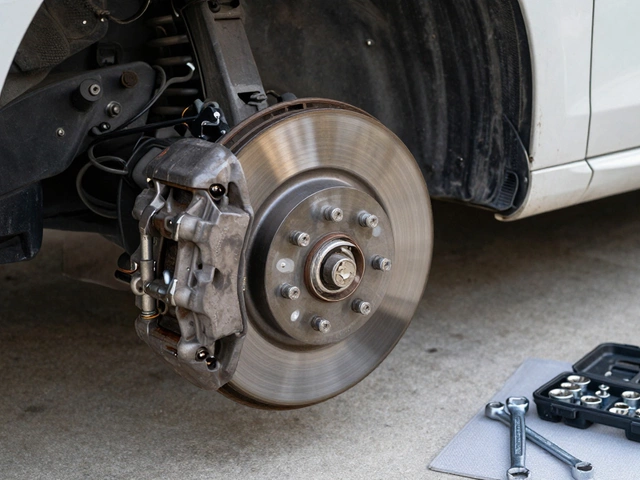
Slapping in new pads might sound like a quick fix—and hey, for some cars and situations, it works out just fine. Your braking system is basically just a couple of metal discs (rotors), mounted behind your wheel, with calipers that press brake pads onto the rotors to stop your car. Over time, the pads wear out. That's expected. Pads are made of softer material that's supposed to wear away, instead of your pricey rotors.
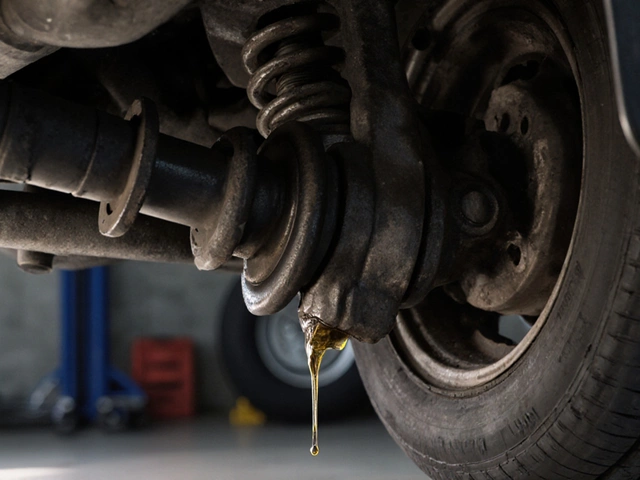
But here's the deal: when your pads wear down, they press into the surface of the rotor, and that friction creates heat. Lots of it. With repeated braking, this heat can lead to warping (the surface gets uneven or wavy) or to scoring (deep grooves you can feel with your fingernail). If your rotors are still smooth, replacing just the pads is a pretty safe bet. The new pads bed in against the clean surface and everything functions as it should.
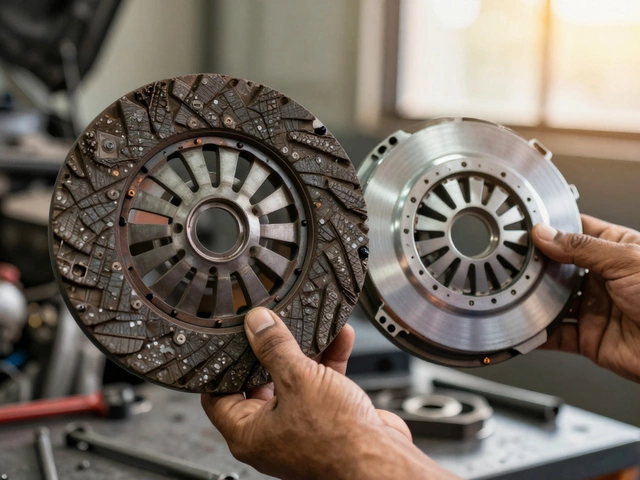
The trouble starts when your rotors are cooked, pitted, or warped. You might not feel it until you push the pedal and get a pulsing or vibration in your steering wheel. Sometimes, the new pads don’t make proper contact everywhere, or worse, they pick up the patterns left by old damage—think of it as a new pair of sneakers trying to fit into someone else’s footprints. If your old rotors have a "lip" on the edge or shiny blue spots from overheating, that’s a red flag you can’t ignore.
Most mechanics use a special gauge to check rotor thickness, and many rotors are stamped with their minimum thickness spec. If they've gotten too thin, they won’t shed heat effectively and may crack in an emergency stop—that’s as risky as it sounds. Sure, you can do a budget brake job, but skipping rotor inspection is rolling the dice on safety. No joke, there are accidents every year from failed rotors on bargain brake jobs.
How to Figure Out If Your Rotors Need Changing Too
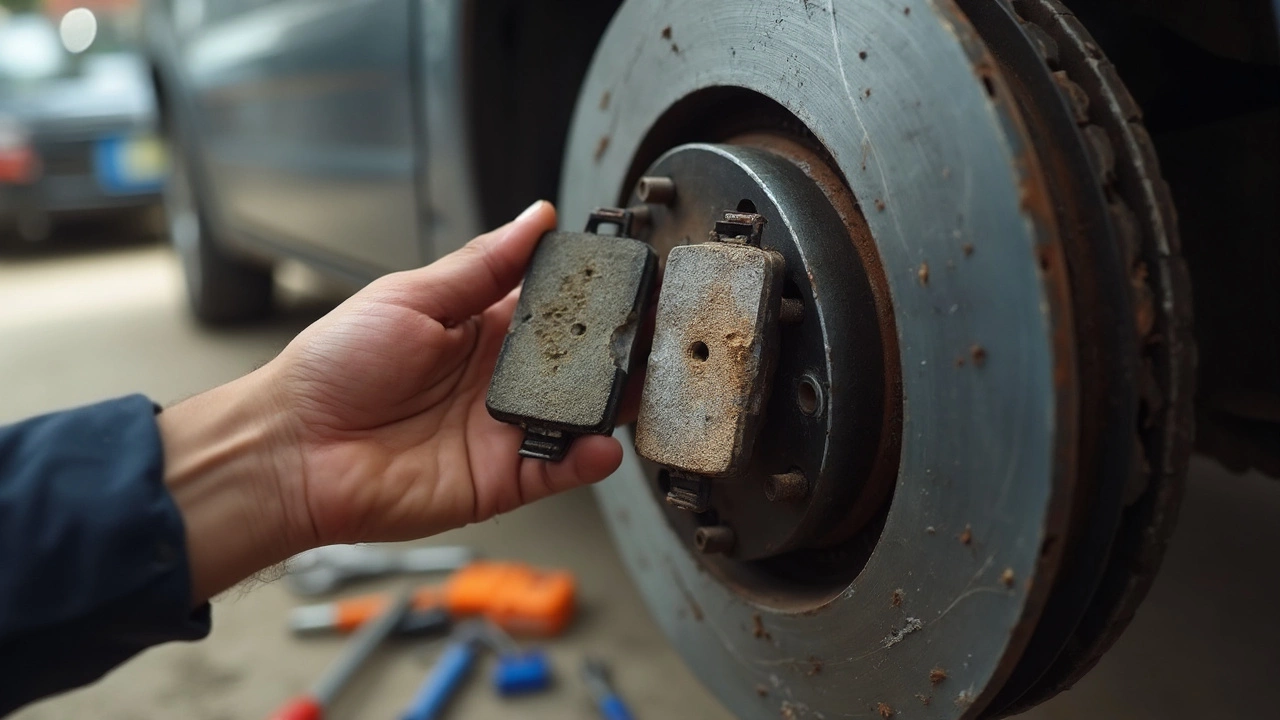
You don’t need to be a pro to spot bad rotors. Run your fingertip across the rotor face (when it’s cold—don’t lose your fingerprints!). Do you feel deep grooves? Sometimes rotors have visible scoring, or you might notice the outer edge has a pronounced "lip" where the metal has worn away. That means part of the rotor isn’t even touching the pad anymore. Crazy part? If you ignore this, new pads won’t last long at all.
If you ever feel your steering wheel shake when you brake—or hear nasty grinding sounds after you’ve ignored a warning squeak for a month—you’re past the point of just replacing the pads. Higher-end cars with electronic brake sensors will light up an alert before this happens, but if you drive something older, you’re on your own. In garages, it’s normal to measure rotors with micrometers; in your driveway, you’re really eyeballing wear and listening for unusual noises.
Here’s a real-world tip: whenever you replace brake pads, clean the rotors with a special brake cleaner spray and wipe away the brake dust. If you’ve got access to a torque wrench, follow your manual’s spec for caliper bolts—don’t just crank them down by feel. Skipping these steps causes uneven pad wear or even loosening calipers, which can turn into a nightmare at highway speeds.
There’s also the option to resurface rotors—basically shaving off uneven layers so they’re smooth again. But with most modern rotors being pretty thin, a lot of shops skip this step and just recommend replacement if there’s any doubt.
Common Mistakes When Replacing Just Brake Pads
The biggest mistake? Focusing only on the pads. Folks think, “New pad, happy car.” But if you ignore rotor thickness or skip cleaning the caliper hardware, you can wind up with brakes that squeal, chatter, or grab unevenly. Rusty caliper slides are infamous for making one pad wear faster than the other, and this happens all the time in areas with salted winter roads.
Another common misstep is failing to "bed in" your new pads. This crucial step—gently cycling the brakes for the first 100 to 300 miles—lets the pad material transfer to the rotor surface properly. It means you don’t slam your brakes, but instead do a series of gradual stops from about 30 mph. If you fail at this step, your new pads can glaze over or fail to grip as designed.
Don’t forget about brake fluid. If you press the calipers open to fit new pads, old and gunky brake fluid can push back into your master cylinder, sometimes clogging tiny channels. If your brake fluid hasn’t been changed in two or three years, do yourself a favor and swap it out. Fresh brake fluid keeps your pedal feeling firm and stops the system from rusting inside.
Some DIYers miss reinstalling the little hardware clips that come with new pads—they’re not just packing material! Without them, pads can rattle and wear unevenly. Pro mechanics also slap a touch of high-temp brake grease on the back of pads and onto sliding surfaces; this prevents squeals and prolongs the life of every moving part in there. Skipping this makes your brakes noisy by next month and adds wear you could’ve avoided easily.
If you rush through the job, forget to torque bolts, or ignore warning signs, you’re setting yourself up for headaches—or something worse, like brake failure in traffic.
Tips for Doing a Safe and Reliable Brake Job
First up: always check what’s included in the brake pad kit. Some come with all the hardware clips and anti-squeal shims you’ll need. If not, buy a hardware kit separately. Don’t assume old hardware is good enough—replace it whenever you replace the pads.
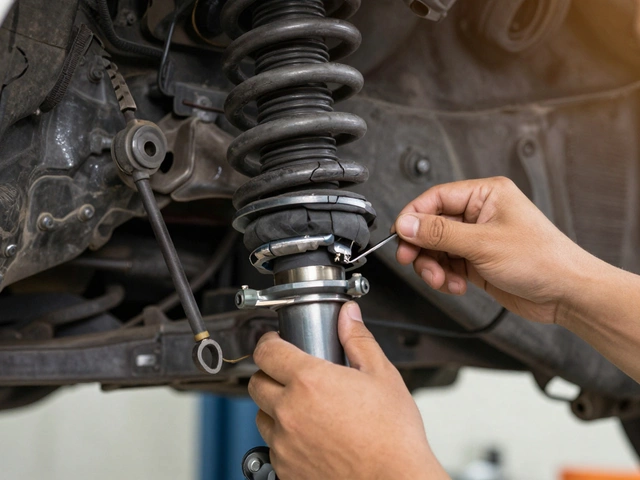
Remember to clean everything. A wire brush works wonders for brushing rust off caliper brackets, and a can of brake cleaner will keep everything free of grease and dust. Watch for stuck caliper pistons—if one pad is way more worn than the other, you might need to rebuild or swap the caliper entirely.
Here’s a priceless tip: take photos before you pull parts apart. It’s easy to forget the orientation of springs and clips, especially if you step away for lunch or get interrupted. Snap a couple of pictures on your phone. You’ll thank yourself later.
If you’re not sure about rotor condition, invest in a digital caliper tool and compare measurements to the manufacturer’s minimum spec, which you’ll find stamped on the rotor edge or in your car’s manual. Never just guess—the difference between safe and dangerous might be less than a millimeter.
Quality matters. Bargain basement pads might work, but they usually wear out sooner, squeal more, and send clouds of black dust all over your wheels. Most experts recommend ceramic or semi-metallic pads for long life and steady pedal feel. Cheap pads can even chew up new rotors faster, costing you more in the long run.
If you do the brake job yourself, always "pump" the brake pedal after installing everything, before moving the car. This seats the pads firmly against the rotors and ensures you’ll have a firm pedal when you really need it.
Unsure about anything? There’s zero shame in calling a local brake shop and asking for a safety check. After all, your brakes are what lets you avoid accidents—not a system to cut corners on. Next time you hear that squeal, remember: replacing just the pads might work, but don’t gamble with your safety. Get those rotors checked, keep your hardware clean, and don’t cheap out on the parts that keep you, your passengers, and everyone else safe on the road. That’s how you nail a solid brake job every time.


Write a comment