Brake Rotor Assessment Tool
Answer the questions below to assess your current brake rotors. This tool helps decide whether to turn, replace, or simply clean and install new pads.
Fill out the inspection details on the left and click "Assess Rotors" to see if you need to machine or replace them.
Preparation Checklist (If Reusing Rotors)
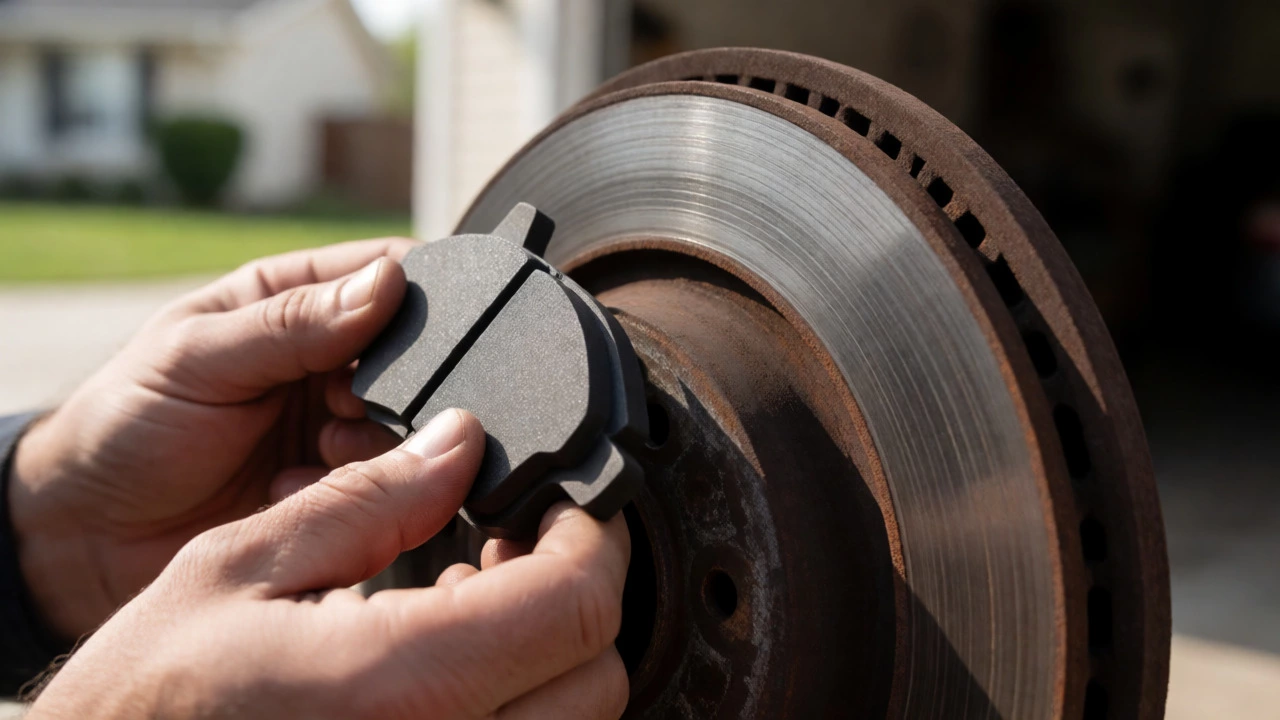
You’re standing in your driveway, grease on your hands, holding a shiny new set of brake pads. You look at the old rotors. They’ve got some grooves, maybe a bit of rust on the edge, but they aren’t warped. Your wallet screams "save money," and your logic says, "The pads are what do the stopping, right?" So you skip the machine shop. You slap those new pads on the old metal discs and hit the road. But did you just save yourself $150 or create a headache that’ll cost you double in six months?
This is one of the most common debates in DIY auto repair. It’s not black and white. Sometimes, skipping the rotor turn is perfectly fine. Other times, it’s a recipe for squealing brakes and uneven wear. Let’s break down exactly what happens to your braking system when you pair fresh friction material with used hardware, and how to decide if your specific situation calls for a lathe visit.
The Physics of Friction and Surface Contact
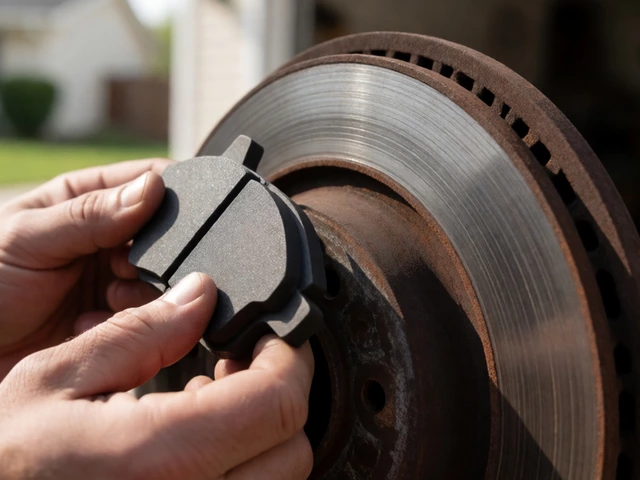
To understand why this matters, you have to visualize what’s happening inside the caliper. Brake rotors (also called discs) are designed to provide a smooth, flat surface for the pads to clamp against. When you drive normally, heat and pressure transfer material from the pad onto the rotor. Over time, this creates a "transfer layer." If the rotor has deep scratches, grooves, or a significant lip on the outer edge, the new pad cannot make full contact.
Imagine trying to press two pieces of sandpaper together. If one side is deeply gouged, the high spots touch first. In your brakes, these high spots carry the entire load initially. This leads to two immediate problems:
- Reduced Stopping Power: Because the pad isn’t sitting flush, the effective friction area is smaller than intended. You might feel like the brakes are "spongy" or less responsive until the pads wear down enough to conform to the irregularities.
- Uneven Wear Patterns: The parts of the pad touching the high spots wear out much faster than the rest. Instead of lasting 40,000 miles, your premium ceramic pads might only last 15,000 before they need replacing again.
When Skipping the Rotor Turn Is Actually Fine
Manufacturers don’t mandate turning rotors every time you change pads because modern rotors are often made of harder alloys than they were twenty years ago. Plus, many cars use single-piece rotors that are cheap enough to replace entirely rather than resurface. However, there are scenarios where leaving the rotors alone is the smart move.
You can safely skip the turn if the rotors meet these criteria:
- Minimal Runout: Use a dial indicator to check for warping. If the variation is within manufacturer specs (usually under 0.003 inches), the rotor is true.
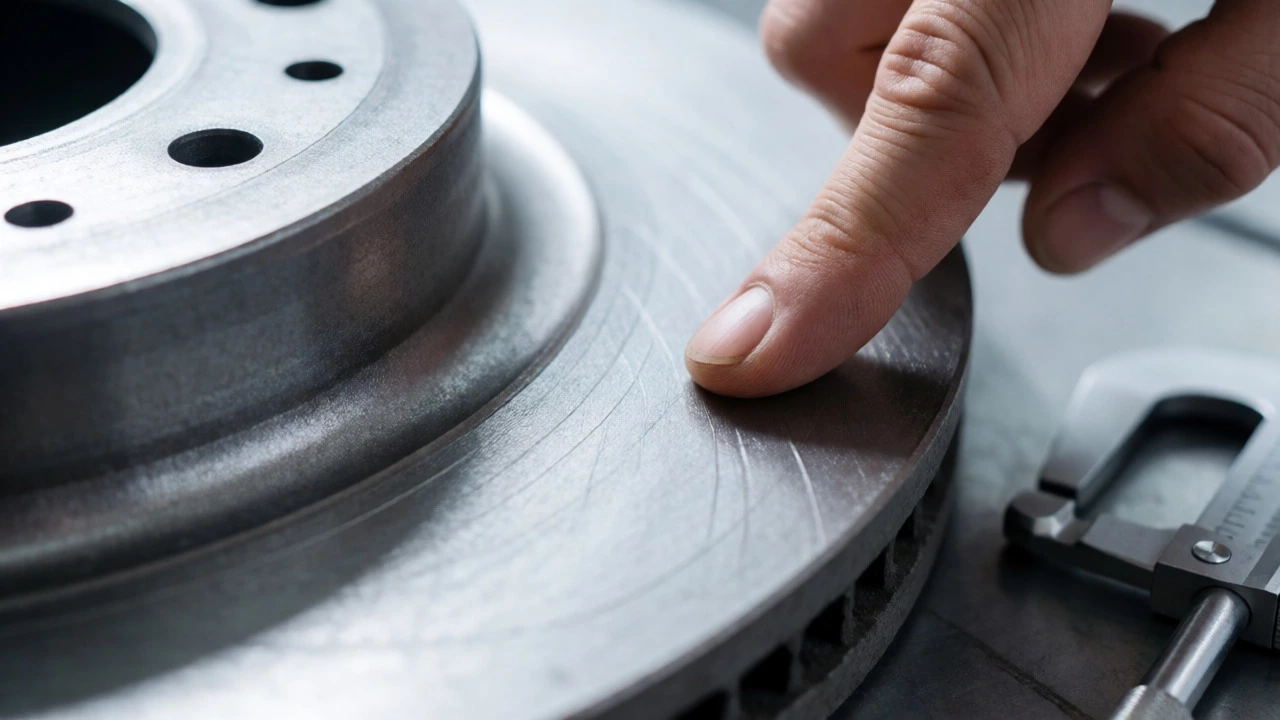
- No Deep Scoring: Run your fingernail across the surface. If it doesn’t catch in deep grooves, the surface is likely acceptable.
- Thickness Above Minimum: Every rotor has a "Minimum Thickness" stamped on the hub or hat section. Measure it with a micrometer. If you’re still well above this line, there’s plenty of material left.
In these cases, the existing transfer layer on the rotor is actually beneficial. It helps the new pads bed in quickly and quietly. Trying to remove a healthy transfer layer by machining can sometimes cause more noise issues than it solves.
The Hidden Dangers of Mismatched Components
Where things go wrong is when you ignore the physical state of the rotor. A common issue is the "lip" or ridge that forms on the outer edge of worn rotors. This happens because the pads don’t cover the entire face of the rotor; they stop short of the edge. As the center wears down, the untouched edge remains higher.
If you install new pads without removing this lip, the edge of the new pad hits the raised rim of the rotor. This causes a few nasty outcomes:
- Squealing and Grinding: The constant vibration of the pad edge hitting the rotor lip creates high-frequency noise. This isn’t just annoying; it indicates poor seating.
- Caliper Piston Issues: If the rotor is significantly thicker than expected due to uneven wear or debris buildup, the caliper piston may not retract fully. This keeps the pads dragging slightly, generating excess heat and accelerating wear.
- Vibration Under Braking: Even if the rotor isn't "warped" in the traditional sense, uneven thickness causes pulsation. You’ll feel this as a shudder in the steering wheel or brake pedal when coming to a stop.
Ceramic vs. Semi-Metallic: Does Pad Type Matter?
The type of pad you choose changes the risk profile. Ceramic brake pads are popular for daily drivers because they produce less dust and operate quietly. However, they are softer and more forgiving of minor rotor imperfections. They tend to mold themselves to the rotor surface over time.
On the other hand, Semi-metallic pads contain steel fibers and are harder. They bite harder but are unforgiving. If you put semi-metallic pads on a scored or uneven rotor, the hard metallic particles will dig into the low spots of the rotor, rapidly creating new grooves. This accelerates rotor damage, meaning you’ll likely need to replace the rotors sooner anyway.
| Rotor Condition | Action | Risk Level |
|---|---|---|
| Smooth, light surface rust, no grooves | Clean with brake cleaner, install new pads | Low |
| Minor scoring, visible lines but no nail catch | Consider light scuffing with sandpaper or turn | Medium |
| Deep grooves, distinct lip on edge | Turn rotors or replace them | High |
| Blue discoloration (overheating) | Replace rotors immediately | Very High |
The Cost-Benefit Analysis in 2026
Let’s talk numbers. In Auckland, labor rates for a quick lube shop might be $120-$150 per hour. Machining a rotor typically costs between $20 and $40 per piece, depending on the shop and whether you bring them in or buy from them. A new set of entry-level rotors might cost $80-$120 per axle, while premium slotted or drilled rotors run $150+.
If you try to save $60 by skipping the turn, but you ruin a $100 set of pads in half the expected lifespan, you’ve lost money. Furthermore, if the uneven contact causes excessive heat, you risk boiling your brake fluid, leading to a soft pedal and potential safety hazards during emergency stops.
A critical factor often overlooked is the bedding-in process. New pads need to deposit a uniform layer of friction material onto the rotor. If the rotor surface is inconsistent, the bedding process fails. You end up with patchy deposits, which lead to brake judder. Properly prepared rotors ensure the bedding procedure works as designed.
How to Prepare Old Rotors If You Won’t Turn Them
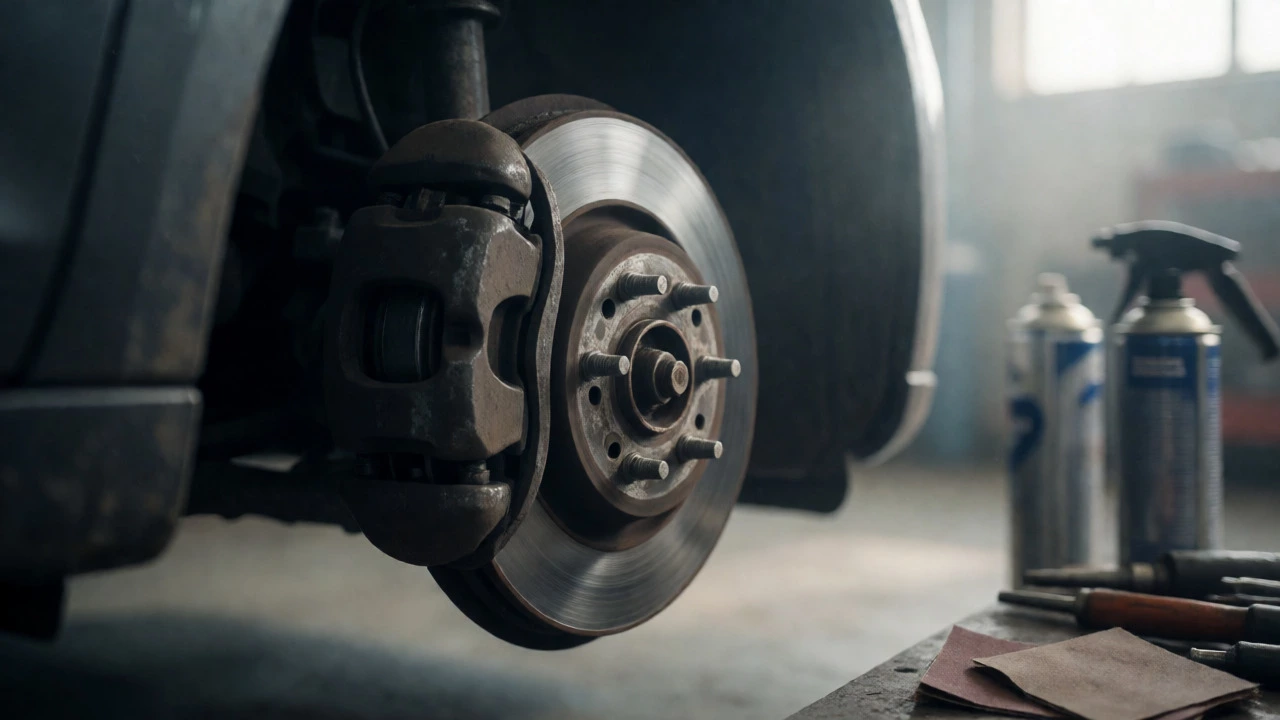
If you’ve inspected your rotors and decided they are good enough, don’t just wipe them with a rag. You need to prep the surface to help the new pads seat correctly.
- Clean Thoroughly: Use a dedicated aerosol brake cleaner to remove all oil, grease, and brake dust. Do not use WD-40 or general degreasers, as they leave residues that interfere with friction.
- Scuff the Surface: Take a sheet of 120-grit sandpaper or a Scotch-Brite pad. Lightly scuff the entire braking surface in a circular motion. This removes the glossy glaze from the old transfer layer and gives the new pads something to grip.
- Clean Again: Blow off all the abrasive dust with compressed air or clean it again with brake cleaner. Any leftover grit acts like an abrasive paste, wearing both the pad and rotor prematurely.
- Lubricate Backing Plates: Apply a thin layer of high-temp brake grease to the back of the pads (where they touch the caliper piston and shims) and the abutment clips. Never get grease on the friction surface itself.
Signs You Made the Wrong Choice
After driving for a week, pay attention to feedback. If you hear a consistent squeal when lightly applying the brakes, the pads might not be seated properly. If you feel a pulse in the pedal that wasn’t there before, the rotors were likely too uneven. These symptoms usually don’t fix themselves. You’ll either need to return to the shop for a turn or accept reduced performance.
Remember, brakes are a wear item, but they are also your primary safety system. Saving a small amount of money upfront shouldn’t compromise your ability to stop quickly in an emergency. If you are unsure about the condition of your rotors, err on the side of caution. Replace them. Modern replacement rotors are often cheaper and more convenient than dealing with the hassle of finding a machinist who will take them, plus you avoid the risk of machining below minimum thickness specifications.
Can I reuse brake pads if the rotors are bad?
Generally, no. If you are replacing rotors, you should almost always replace the pads. The old pads have worn into the shape of the old rotors. Putting them on new, flat rotors means they won't make full contact initially, leading to poor braking and rapid wear. Always replace pads when changing rotors.
How long do brake rotors last compared to pads?
Typically, rotors last twice as long as pads. If your pads last 30,000 miles, your rotors might last 60,000 miles. However, aggressive driving, heavy towing, or using cheap pads can shorten rotor life significantly. Always inspect rotors whenever you change pads.
Is it safe to drive with slightly grooved rotors?
If the grooves are shallow and the rotor is thick enough, yes, it is generally safe. You may experience some noise or slight vibration, but the braking force remains adequate. However, deep grooves reduce structural integrity and heat dissipation capabilities, so monitor them closely.
Do I need to turn rotors on a new car?
Rarely. New cars come with factory-fresh rotors. Unless the car has been driven aggressively for its first service interval or shows signs of early warping, you can usually just replace the pads and clean the rotors.
What happens if I don't clean the rotor before installing new pads?
Dust, oil, and debris trapped between the pad and rotor prevent proper bedding-in. This leads to uneven friction distribution, causing hot spots, noise, and potentially premature failure of the new pads.


Write a comment