Stage 1 Clutch Recommendation Tool
Enter your vehicle's specifications to see which clutch stage matches your power output and driving style.
Recommended Upgrade:
--Analysis Title
Detailed recommendation goes here.
Imagine pressing the gas pedal in your modified car, expecting that surge of power you paid for. Instead, the engine screams higher, but the wheels barely respond. The torque converter-or in this case, the friction disc-has slipped. This is the classic moment every car enthusiast dreads: realizing their stock clutch can no longer handle the horsepower they’ve built. If you are asking what is stage 1 clutch, you are likely standing at this exact crossroads between daily driving comfort and track-day ambition.
A stage 1 clutch is not just a stronger part; it is a specific balance point in automotive engineering. It is designed to handle more power than a factory unit without turning your daily commute into a wrestling match with the steering wheel. But getting it wrong means dealing with shuddering starts, premature wear, or a drivetrain that feels disconnected. Let’s break down exactly what these components are, how they differ from stock parts, and whether your car actually needs one right now.
The Anatomy of a Stock vs. Stage 1 Clutch
To understand the upgrade, you first need to look under the hood of your current setup. A standard manual transmission relies on three main components working together: the pressure plate, the clutch disc (friction disc), and the release bearing. In a stock configuration, these parts are engineered for durability and ease of use, not peak performance. They prioritize smooth engagement so that new drivers can learn to drive without stalling, and so that family sedans can idle smoothly in traffic for hours.
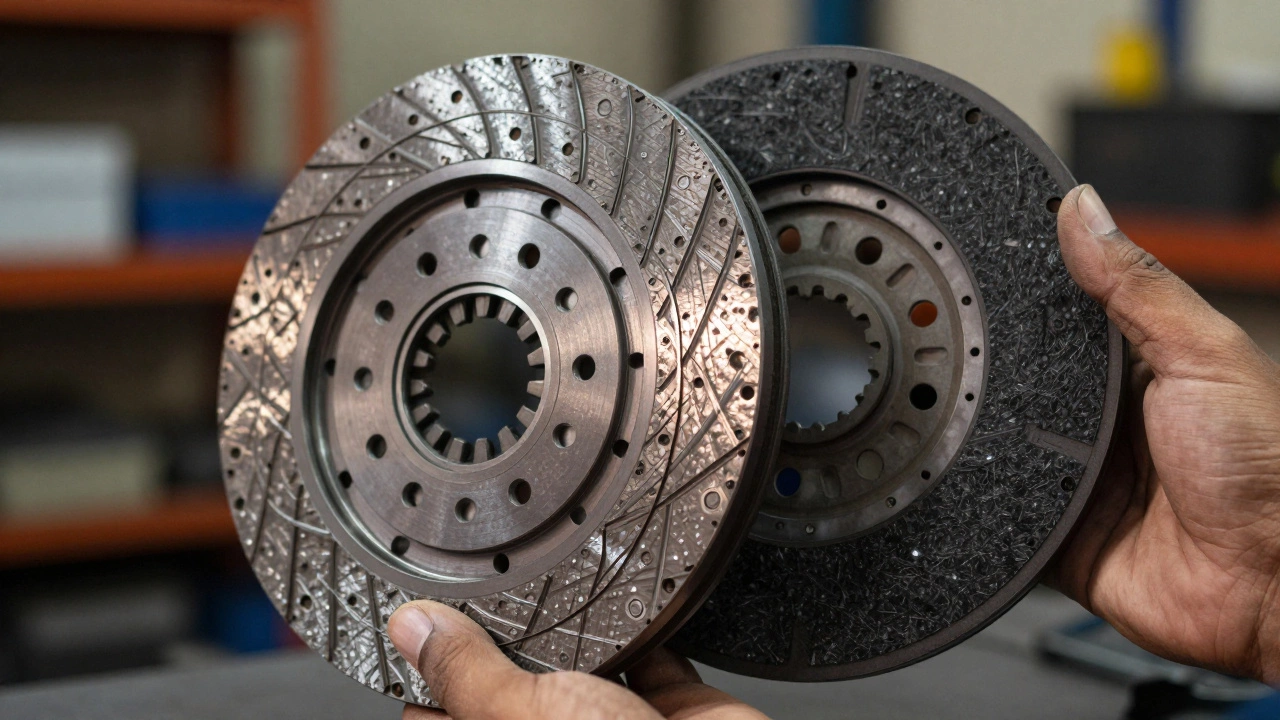
Stage 1 Clutch is a performance-oriented replacement kit that increases friction capacity while maintaining street-drivable characteristics. Unlike a stock clutch which uses a single layer of organic material, a stage 1 setup typically features a reinforced friction surface or a dual-mass flywheel adaptation. It bridges the gap between OEM reliability and high-performance grip.
The primary difference lies in the friction material. Stock clutches often use organic compounds similar to brake pads-they are soft, quiet, and easy on the flywheel. A stage 1 clutch swaps this for a semi-metallic or Kevlar-reinforced composite. This material has a higher coefficient of friction, meaning it grabs harder before slipping. Additionally, the pressure plate in a stage 1 kit applies more clamp force. Think of it like the difference between holding a wet bar of soap (stock) versus gripping a dry rock (stage 1). The latter holds firm even when things get slippery (or in this case, when torque spikes).
Defining "Stage": What Does Stage 1 Actually Mean?
In the aftermarket world, "stages" are informal classifications used by manufacturers to help buyers choose the right level of aggression. While there is no universal ISO standard for clutch stages, the industry generally agrees on the following hierarchy:
- Street/Stock Replacement: Matches factory specs. Good for unmodified engines.
- Stage 1: Mild performance increase. Handles up to 30-50% more torque than stock. Street-friendly.
- Stage 2: Moderate performance. Uses multi-disc designs or aggressive materials. Requires learning curve. Best for moderate builds (400+ hp).
- Stage 3+: Race-only. Single-disc or multi-disc carbon/ceramic setups. Unusable in traffic. For dedicated track cars.
A stage 1 clutch is specifically tuned for the "street driver who mods." These are people who have added an ECU tune, a cold air intake, or a turbocharger upgrade, pushing their vehicle from 150 horsepower to perhaps 200 or 250. The goal is to eliminate slip without introducing the harshness associated with race clutches. If you buy a stage 3 for a lightly modified Civic, you will find yourself unable to creep forward in parking lots because the engagement point is too abrupt. Conversely, buying a stock replacement for a twin-turbo V8 will result in burnt-out discs within months.

When Do You Actually Need a Stage 1 Upgrade?
Many enthusiasts rush to buy performance parts prematurely. Before dropping money on a new clutch kit, assess your symptoms. A failing stock clutch and a weak stock clutch present different signs.
If your car slips only when accelerating hard from a standstill or climbing steep hills, but behaves normally during gentle acceleration, you might just be nearing the end of its lifespan. However, if you have recently increased your engine’s output through tuning, you may notice that the RPMs rise disproportionately to the speed gain. This is called "slippage," and it generates immense heat. Heat destroys clutch facings faster than anything else.
Consider this scenario: You own a Subaru WRX with a mild turbo boost increase. You feel a slight hesitation when launching from zero, followed by a sudden grab once the clutch engages fully. This inconsistent bite is a hallmark of a stock clutch struggling to manage increased torque. A stage 1 clutch resolves this by providing a linear, predictable engagement curve. It doesn’t just hold more power; it communicates better with the driver.
| Feature | Stock Clutch | Stage 1 Performance Clutch |
|---|---|---|
| Friction Material | Organic/Fiberglass | Semi-Metallic/Kevlar Composite |
| Torque Capacity | OEM Rated (e.g., 150 lb-ft) | +30-50% over OEM (e.g., 200+ lb-ft) |
| Pedal Feel | Light, Soft | Firmer, Heavier |
| Engagement Point | Low, Gradual | Mid-range, Sharper |
| Daily Driveability | Excellent | Good (Requires minor adjustment) |
| Lifespan (Modified Car) | Short (Prone to burnout) | Long (Heat resistant) |
Flywheels: The Hidden Partner in Your Clutch Kit
You cannot talk about clutches without discussing the flywheel. The flywheel stores rotational energy and provides a smooth surface for the clutch disc to press against. When upgrading to a stage 1 clutch, the condition of your flywheel becomes critical.
Most stage 1 kits come with instructions to resurface (machine) the existing flywheel. Resurfacing removes hot spots, warping, and old friction material residue, creating a flat, clean mating surface. This is essential because a warped flywheel will cause the clutch to chatter or shudder upon engagement, regardless of how good the new clutch is.
However, some enthusiasts opt to replace the flywheel entirely. Stock vehicles use a Dual Mass Flywheel (DMF) to dampen engine vibrations. DMFs are complex, expensive, and prone to failure. Many stage 1 upgrades suggest swapping to a lightweight single-mass flywheel. This reduces rotational inertia, allowing the engine to rev faster and the car to shift quicker. But beware: a single-mass flywheel transmits more vibration into the cabin, making the ride rougher. For a pure stage 1 street build, keeping the original DMF (if healthy) or replacing it with a fresh OEM-style DMF is often the wisest choice for comfort.
Installation Pitfalls and Pro Tips
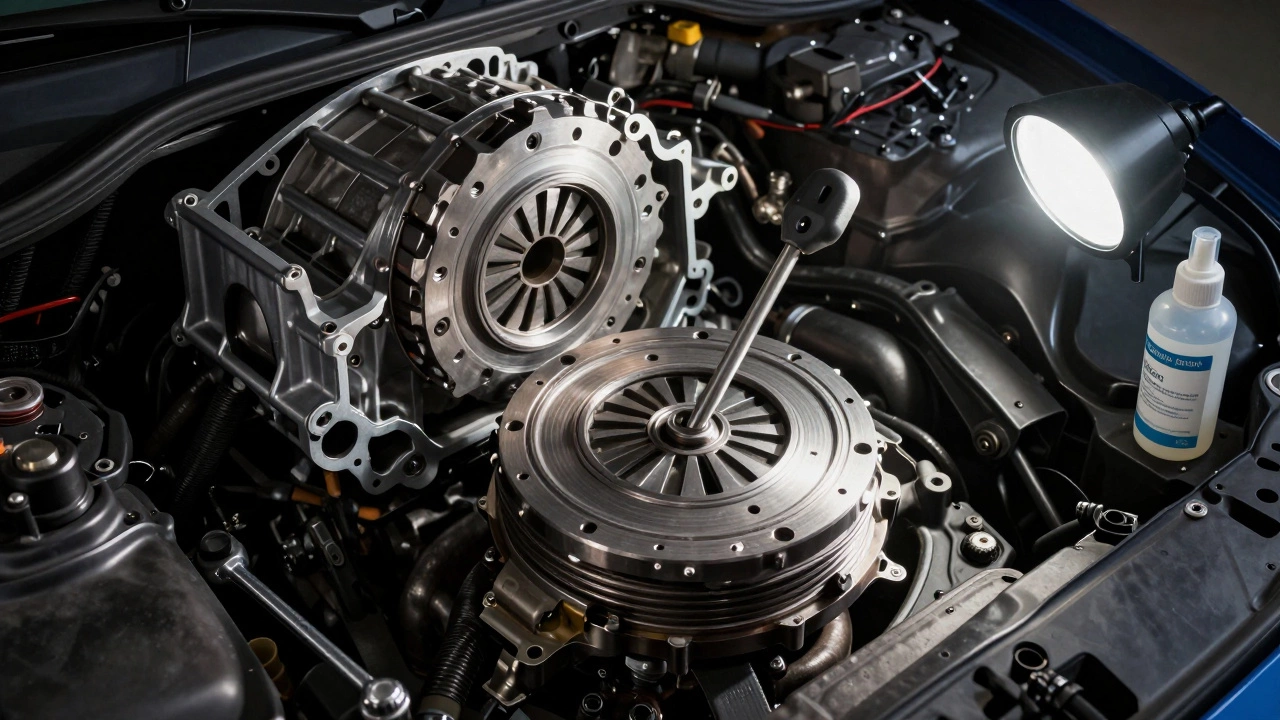
Installing a clutch is not a job for faint hearts. It requires removing the transmission, which is labor-intensive. Whether you do it yourself or pay a shop, understanding the process helps avoid costly mistakes.
- Alignment Tool is Non-Negotiable: When reinstalling the clutch disc onto the input shaft, you must use a pilot alignment tool. Without it, the disc will be off-center, causing severe vibration and immediate failure. Never skip this step.
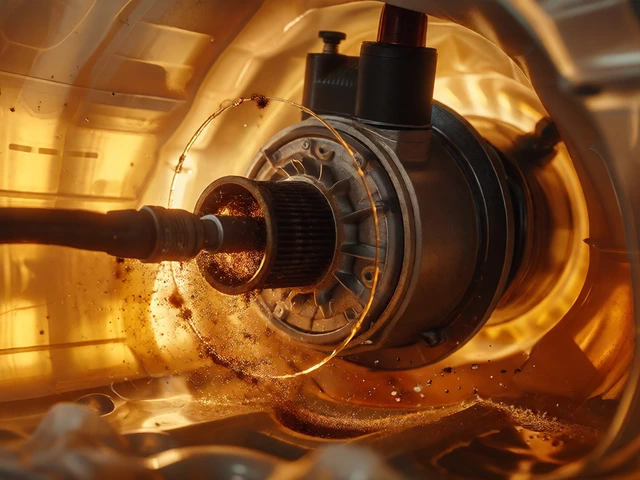
- Cleanliness Matters: Oil is the enemy of clutches. Ensure the transmission input shaft seal is intact. If oil leaks onto the new friction disc, it will glaze over and slip instantly. Wipe all surfaces with brake cleaner before assembly.
- Bolt Torque Sequence: Pressure plate bolts must be torqued in a star pattern to ensure even pressure distribution. Uneven pressure leads to localized overheating and warping.
- Break-In Period: This is where most people ruin new clutches. Do not launch hard for the first 500 miles. Alternate between light loads and medium loads to bed the friction material to the flywheel. Avoid coming to a complete stop using only the clutch (riding the clutch) during this period.
One common mistake is installing a stage 1 clutch without checking the throw-out bearing (release bearing). If your old bearing is noisy or stiff, the new clutch will feel notchy. Always replace the release bearing as part of the kit. It’s a small part that makes a huge difference in pedal feel.
Is a Stage 1 Clutch Worth It for Your Daily Driver?
The decision ultimately comes down to your driving habits and modification level. If you drive an unmodified car, a stage 1 clutch is overkill. You will pay more for a part that offers no benefit, and you will suffer through a heavier pedal and less comfortable low-speed maneuvering. Stick to a quality OEM replacement.
However, if you have tuned your engine, added forced induction, or plan to take your car to the track occasionally, a stage 1 clutch is an insurance policy. It protects your investment by ensuring the power reaches the ground efficiently. Brands like Exedy, ACT, and SPEC offer reputable stage 1 options that strike a good balance. Exedy, for instance, is known for OEM-quality replacements that handle mild mods well, while ACT offers slightly more aggressive street-stage kits with better heat dissipation.
Remember, a clutch is a wear item. Even the best stage 1 clutch will eventually fail. The goal is to extend its life and improve performance until your next major drivetrain overhaul. By choosing the right stage, you keep your car fun to drive, reliable in traffic, and capable of handling the extra horsepower you’ve worked hard to create.
How long does a stage 1 clutch last compared to stock?
A stage 1 clutch typically lasts longer than a stock clutch in a modified vehicle because it is designed to handle higher heat and torque loads. In a stock car, it may wear out faster due to the aggressive friction material. On average, expect 40,000 to 60,000 miles with normal driving, but this varies heavily based on driving style and break-in procedures.
Can I install a stage 1 clutch on an automatic transmission?
No. Stage 1 clutches are exclusively for manual transmissions. Automatic transmissions use torque converters, which operate differently. If you have an automatic and want more performance, you would look into a torque converter upgrade or a transmission cooler, not a clutch kit.
Do I need to replace my flywheel when getting a stage 1 clutch?
You don't always need to replace it, but you should resurface it. Resurfacing ensures a flat, clean surface for the new clutch disc. Replace the flywheel only if it is cracked, severely warped, or if you are switching from a dual-mass to a single-mass design for performance reasons.
What is the difference between stage 1 and stage 2 clutches?
Stage 1 clutches are designed for street use with mild modifications, offering a firmer pedal but remaining drivable in traffic. Stage 2 clutches are more aggressive, often using multiple discs or harder friction materials. They handle significantly more power but are harder to modulate at low speeds and may chatter in stop-and-go traffic.
Why does my new clutch feel stiff?
A stiffer pedal is normal for a stage 1 clutch due to increased spring pressure in the pressure plate. However, if it feels notchy or binds, check the release bearing and the clutch fork pivot ball. Lubricate these points with high-temperature grease during installation to ensure smooth operation.




Write a comment