Brake Pad Replacement Time: When to Swap Your Pads
When talking about brake pad replacement time, the period or mileage after which brake pads should be inspected and possibly swapped to maintain safe stopping power. Also known as brake pad service interval, this timing isn’t a one‑size‑fits‑all number; it shifts with how you drive, the climate you live in, and the type of pads on your car. Brake pad replacement time matters because worn pads can damage rotors, lengthen stopping distances, and raise repair costs. One of the first things to understand is the role of brake pads, the friction material that presses against the brake rotor to slow the wheel. When the friction material thins out, the pad’s ability to grab the rotor drops, and you’ll start hearing squeal or feel a pulsating pedal. Directly linked to pads are brake rotors, the metal discs that the pads clamp during braking, providing the surface for friction. Rotors can develop scoring or warping if pads run too low, turning a simple pad swap into a costly rotor resurfacing job. Keeping an eye on brake wear indicators, usually metal tabs that scrape against the rotor when pads reach a critical thickness is the cheapest early warning system you have – a squeal that suddenly appears often means it’s time to check the pads.
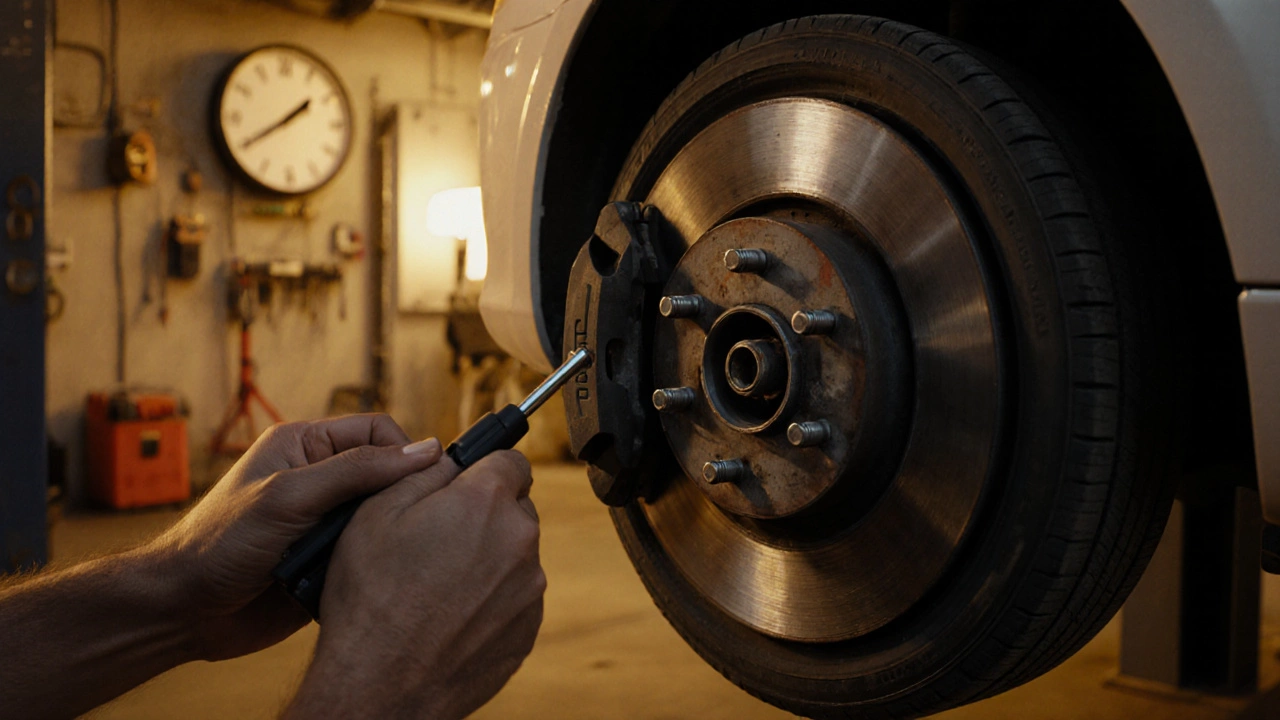
What Affects Your Brake Pad Service Interval
The exact brake pad replacement time you’ll need depends on several factors. Aggressive driving – hard stops, frequent city traffic, and mountain descents – burns pads faster than cruising on highways. Heavy vehicles or trucks carry more mass, so the friction has to work harder, shortening pad life. Climate plays a part too; salty winter roads accelerate corrosion on rotors, which can indirectly wear pads quicker. Pad material matters: organic pads tend to wear sooner but are quieter, while ceramic pads last longer but can be pricier. When you feel any change in pedal feel or hear grinding, it’s a signal to inspect both pads and rotors. For many daily drivers, a mileage range of 30,000‑70,000 miles is typical, but always cross‑check with the manufacturer’s recommendation and your own driving habits. If you’re comfortable with tools, DIY brake pad replacement, the process of removing old pads and installing new ones yourself using basic hand tools and a jack can save labor costs and let you gauge pad wear firsthand. The steps include loosening the caliper bolts, compressing the caliper piston, swapping the pads, and re‑torquing everything to spec. Even if you’re handy, a quick visual check at the shop can catch hidden rotor issues you might miss. On the other side, mechanic labor, the professional service time and charges associated with brake inspection, pad removal, and installation typically runs 1‑2 hours, depending on vehicle design and whether rotors need resurfacing. Many shops bundle the pad and rotor service, so if you hear that grinding noise, it could be cheaper to address both at once.
Understanding how these pieces fit together gives you a clear picture of when to act. Below you’ll find a curated set of articles that dig deeper into the signs of worn pads, step‑by‑step DIY guides, cost breakdowns for professional service, and tips for choosing the right pad material for your driving style. Armed with that knowledge, you can plan your next brake service with confidence, avoid surprise repairs, and keep your car stopping safely every time.
Brake Pad Replacement Time Guide: How Long Should It Take?
Find out how long a brake pad replacement really takes, with detailed time estimates, step‑by‑step breakdowns, tools needed, and tips for both DIYers and professional shops.
CONTINUE READINGRECENT POSTS
-

Is it Cheaper to Install Your Own Car Battery? Costs and Pros and Cons
Discover if installing your own car battery is actually cheaper. We compare DIY costs vs. professional shops, cover core charges, and explain the risks of modern car electronics.
-

Why Upgrade to Alloy Wheels? Benefits, Performance, and Style
Discover why drivers switch to alloy wheels, from improving braking and fuel efficiency to enhancing car aesthetics and resale value.