DIY Brake Service: Keep Your Car Stopping Strong
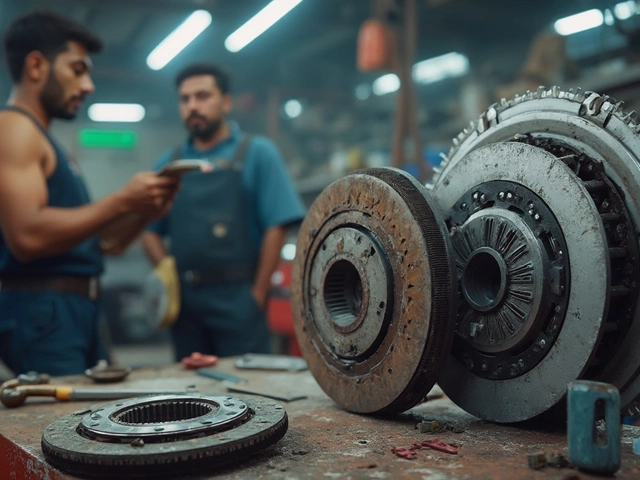
When working with DIY brake service, the practice of inspecting, repairing, and maintaining a vehicle's braking system on your own. Also known as home brake maintenance, it lets you save money and stay in control of safety. The core of any brake job starts with understanding the parts that actually make the car stop. First, check the brake pads, friction blocks that press against the rotor to slow the wheel. Worn pads will squeal, grind, or reduce stopping power. Next, look at the brake fluid, hydraulic fluid that transfers pressure from the pedal to the calipers. Old or contaminated fluid can cause spongy brakes and corrosion inside the system. Finally, examine the brake rotors, metal discs that the pads clamp onto to create friction. Warped or grooved rotors lead to vibration and uneven wear. Knowing these three components and how they interact is the foundation for any successful brake repair.
What you need to know before you start
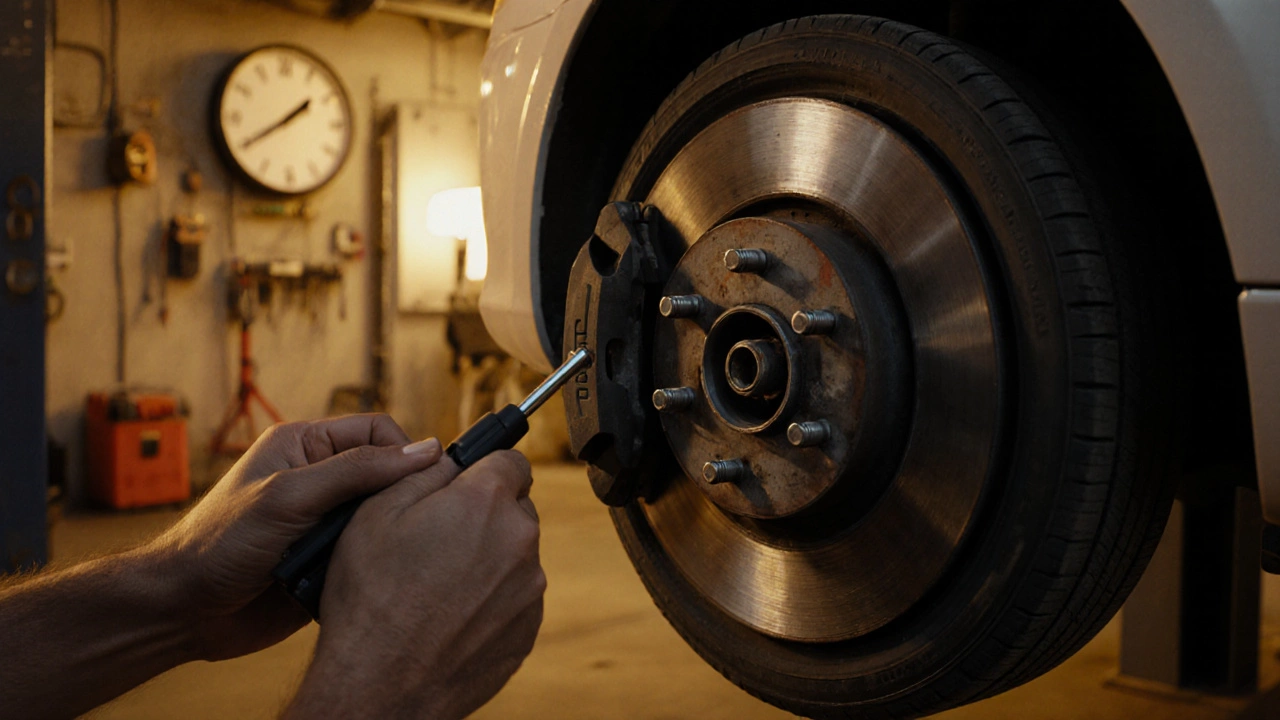
Doing a brake service at home isn’t just about swapping parts; it requires the right tools and a safe workspace. A basic set includes a jack, jack stands, a lug wrench, a brake caliper piston tool, and a clear container for old fluid. You’ll also want a torque wrench to tighten bolts to the manufacturer’s specifications – overtightening can crack caliper brackets, while undertightening can let bolts loosen while driving. Safety gear like gloves and eye protection is a must. Before you lift the car, engage the parking brake and block the opposite wheels to prevent any roll. Once the car is secure, remove the wheel and start by inspecting the pads for thickness; most manufacturers recommend replacement when the friction material is less than 3 mm. If you’re swapping pads, you’ll also need to compress the caliper pistons; a simple C‑clamp or a dedicated brake piston tool does the trick. When refilling brake fluid, use a clean, funnel‑type bleeder bottle and follow the bleed sequence for your vehicle – usually starting with the wheel farthest from the master cylinder. Keep an eye on the fluid level in the reservoir; never let it drop below the “min” mark during bleeding, or you’ll introduce air into the system.
Beyond the hands‑on steps, there are a few practical tips that keep the job smooth. Always use the exact fluid type your owner’s manual calls for – DOT 3, DOT 4, or DOT 5.1 each have different boiling points and chemical properties. Mixing fluids can lower the boiling point and lead to brake fade under hard use. When dealing with rotors, check them for run‑out with a dial‑indicator; a variation over 0.001 inches usually means the rotor should be resurfaced or replaced. Resurfacing can be cost‑effective if the rotor’s depth is still within limits, but replacing is often wiser on older cars where heat cycling has caused cracks. Lastly, after every brake service, do a short test drive in a safe area to verify pedal feel, vehicle pull, and noise. If anything feels off, re‑inspect your work – it’s better to catch a mistake while the car is still in the garage.
All this information sets the stage for the detailed articles you’ll find below. Whether you’re hunting for a step‑by‑step pad replacement guide, tips on choosing the right brake fluid, or a cost‑breakdown of DIY versus shop repair, the collection covers the whole spectrum of brake maintenance. Dive in to get the exact instructions, tool recommendations, and safety checks you need to keep your brakes reliable and your wallet happy.
Brake Pad Replacement Time Guide: How Long Should It Take?
Find out how long a brake pad replacement really takes, with detailed time estimates, step‑by‑step breakdowns, tools needed, and tips for both DIYers and professional shops.
CONTINUE READINGRECENT POSTS
-

Why Upgrade to Alloy Wheels? Benefits, Performance, and Style
Discover why drivers switch to alloy wheels, from improving braking and fuel efficiency to enhancing car aesthetics and resale value.
-

Is it Cheaper to Install Your Own Car Battery? Costs and Pros and Cons
Discover if installing your own car battery is actually cheaper. We compare DIY costs vs. professional shops, cover core charges, and explain the risks of modern car electronics.