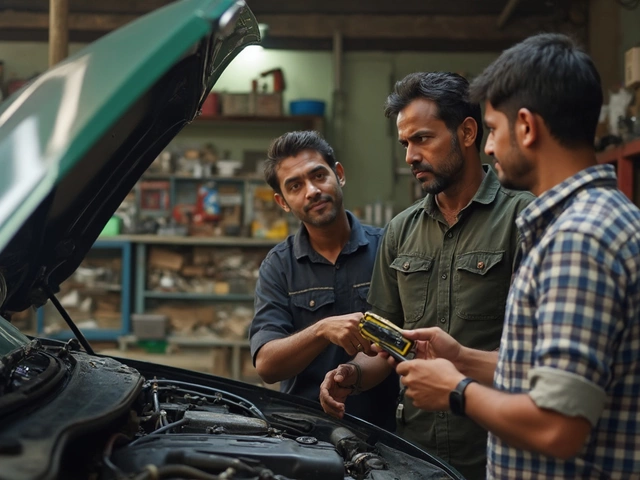
Buy Brake Pads Yourself – A Straightforward DIY Guide
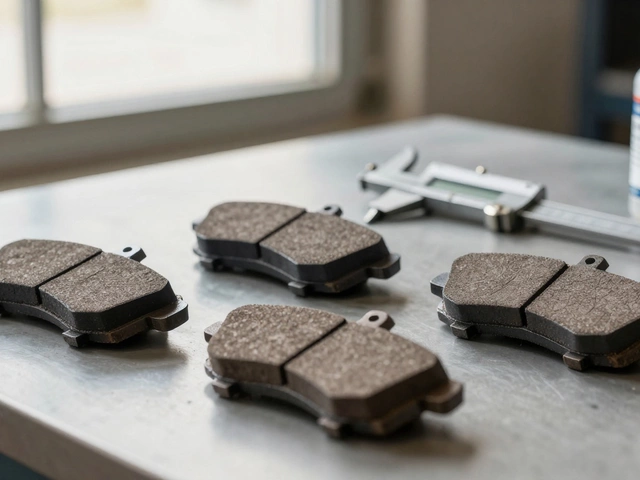
If your brakes are squeaking or the pedal feels soft, you’re probably due for new pads. Buying brake pads yourself can save money and give you confidence that you got the right part. This guide walks you through picking the correct pads, where to shop, and how to fit them without a garage full of tools.
Pick the Right Pad for Your Car
First, check your owner’s manual or the sticker on the old pad. It will list the exact part number or the size (e.g., front‑type, rear‑type). If you can’t find it, note the make, model, year, and engine size – most online part finders need that info.
There are three common pad materials:
- Organic (fiberglass) – quiet, cheap, good for daily drivers.
- Semimetallic – tougher, higher friction, better for heavy loads.
- Ceramic – low dust, long life, but a bit pricier.
Choose based on how you drive. City commuters usually stick with organic or ceramic; if you tow a trailer or hit the tracks often, semimetallic pads are a safer bet.
Where to Find Quality Pads at a Good Price
Big box stores, online marketplaces, and specialty auto shops all carry pads. Here’s a quick way to compare:
- Local auto parts stores – you can walk in, ask a staff member, and pick up the part the same day. Prices are higher than online, but you avoid shipping delays.
- Online retailers – sites like AutoZone, RockAuto, and Amazon let you filter by vehicle. Look for “free shipping” offers and read the top reviews to avoid low‑quality knock‑offs.
- Salvage yards – if you’re on a tight budget, you can sometimes find new‑old‑stock pads for a fraction of the price. Just double‑check the part number.
When you see a price that looks too good to be true, check the return policy. A reputable seller will let you send the pad back if it doesn’t fit.
Before you buy, write down these quick checks:
- Exact part number or fitment code.
- Pad material you need.
- Warranty length (most pads have at least a 12‑month coverage).
- Shipping cost and estimated delivery.
Having that list ready speeds up the purchase and cuts down on mistakes.
Installing the Pads – What You’ll Need
Most brake pad swaps can be done with a set of basic tools. Grab a jack, jack stands, a lug wrench, a socket set, and a C‑clamp or a brake piston tool. Optional but helpful: a brake grease tube for the caliper pins.
Step‑by‑step:
- Loosen the wheel lug nuts before lifting the car.
- Jack the car up and secure it on stands. Remove the wheel.
- Take off the caliper bolts, slide the caliper off, and hang it with a piece of wire – don’t let it dangle from the brake line.
- Compress the caliper piston using a C‑clamp or a dedicated tool. This creates space for the new pad.
- Remove the old pads and the wear‑indicator shim (if there is one). Clean any dust from the caliper housing.
- Put the new pads in, making sure any shims line up exactly as the old ones were.
- Re‑fit the caliper, torque the bolts to the manufacturer’s spec (usually 30–40 ft‑lb), and put the wheel back on.
- Lower the car, tighten the lug nuts in a star pattern, and pump the brake pedal a few times to seat the pads.
After the first stop, do a short test drive. Listen for any squeal and feel for vibration. If everything feels solid, you’re good to go.
Buying and installing brake pads yourself isn’t rocket science – just a bit of patience and the right info. With the steps above, you’ll save cash, know exactly what’s on your car, and get the confidence that your brakes are up to the job.

Is It Cheaper to Buy Brake Pads Yourself? DIY vs Mechanic Costs in 2025
Wondering if buying your own brake pads saves money? See real 2025 costs, DIY vs shop math, quality trade-offs, risks, and a clear plan to pick what’s best for your car and budget.
CONTINUE READING