How to Change Your Car Battery Quickly and Safely
Stuck with a dead battery? You don’t need a shop visit if you follow a few simple steps. In this guide we walk through everything you need – tools, safety, removal, installation, and a quick test – so you can get back on the road in no time.
What You’ll Need Before You Start
Grab a few basics: a set of wrenches (or a socket ratchet), a pair of insulated gloves, safety glasses, a battery terminal cleaner or a wire brush, and a fresh battery that matches your car’s specifications. Most cars use a 12‑volt lead‑acid battery, but check the size, group number, and cold‑cranking amps (CCA) printed on the old unit. Having the right replacement prevents fit issues and ensures reliable starts.
Turn off the engine, take the key out, and engage the parking brake. If your vehicle has a radio or navigation system that remembers settings, disconnect the negative terminal first – this avoids any accidental short that could erase memory.
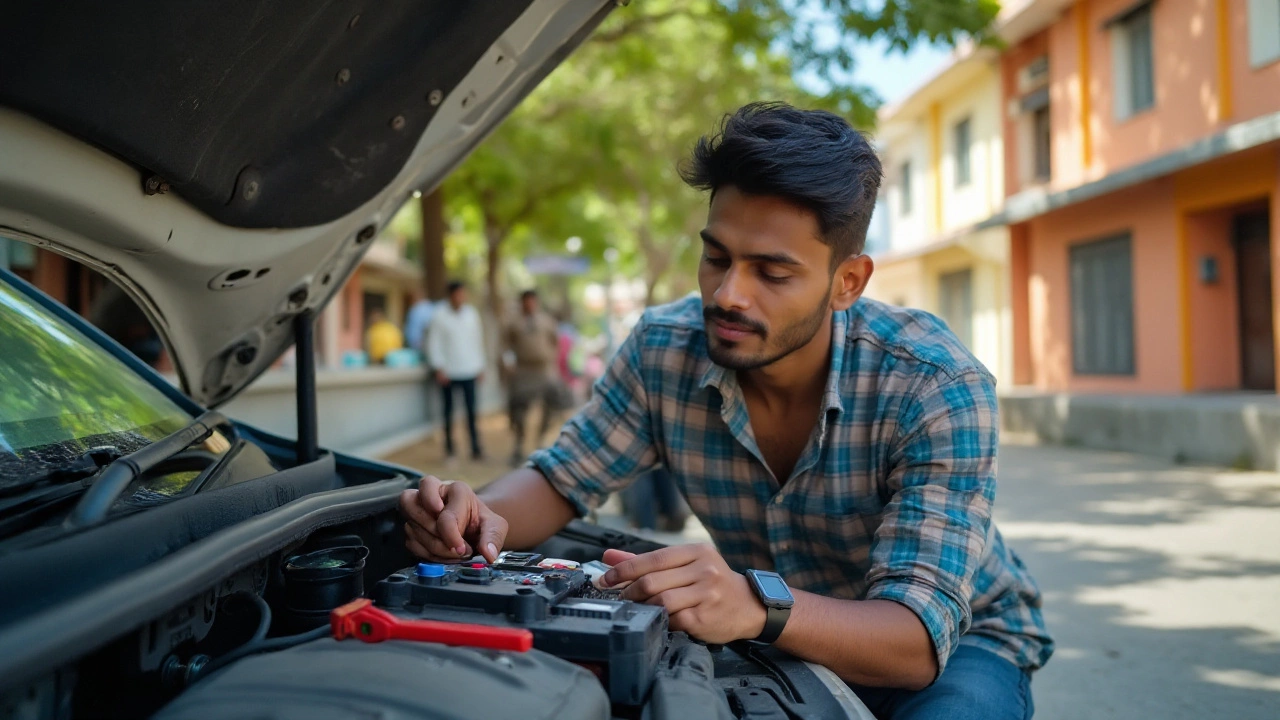
Step‑by‑Step Battery Removal and Installation
1. Open the hood and locate the battery. It’s usually on one side of the engine bay, held down by a bracket or strap.
2. Disconnect the negative (-) cable. Loosen the black clamp with a wrench and pull it away. Tuck the cable to the side so it won’t touch anything.
3. Disconnect the positive (+) cable. This is the red clamp. Loosen it the same way and move it aside.
4. Remove any securing brackets. Some cars have a metal strap, others use plastic clips. Keep the hardware – you’ll need it for the new battery.
5. Lift the old battery out. Batteries are heavy (30‑50 lbs). Use both hands and lift from the bottom, not the top, to avoid damaging the case.
6. Clean the terminal slots. Use the terminal cleaner or a wire brush to scrub away corrosion. A clean connection means a strong start.
7. Place the new battery. Align it so the positive and negative posts match the cables. Re‑attach any brackets or straps.
8. Connect the positive (+) cable first. Tighten the clamp until it’s snug but not over‑tightened. Then connect the negative (-) cable.
9. Test the install. Turn on the headlights – they should be bright. Start the engine; it should crank smoothly. If everything works, close the hood.
That’s it. Most of the time you’ll finish in 15‑20 minutes. If the car still won’t start, double‑check the connections and make sure the battery is fully charged.
Regular battery care can extend life. Keep the terminals clean, avoid leaving lights on, and check the charge with a voltmeter every few months. When the voltage drops below 12.4 V on a resting battery, it’s time to replace it.
Changing a car battery yourself saves money and gives you confidence that you can handle basic maintenance. Keep this guide handy – the next time you hear a click instead of a roar, you’ll know exactly what to do.
How to Safely Replace Your Car Battery at Home
Replacing a car battery yourself can save you time and money if done correctly. This guide provides essential steps and tips on assessing your car battery's condition, safely removing it, and installing a new one. Understand the tools required and safety precautions to ensure a smooth process. Even the less mechanically inclined can tackle this DIY task with the right guidance. Learning to change your battery is a practical skill for any car owner.
CONTINUE READINGRECENT POSTS
-

Why Upgrade to Alloy Wheels? Benefits, Performance, and Style
Discover why drivers switch to alloy wheels, from improving braking and fuel efficiency to enhancing car aesthetics and resale value.
-

Is it Cheaper to Install Your Own Car Battery? Costs and Pros and Cons
Discover if installing your own car battery is actually cheaper. We compare DIY costs vs. professional shops, cover core charges, and explain the risks of modern car electronics.