Disc Brakes: Basics, Problems, and Simple Fixes
If you’ve heard that squealing sound or felt a pulsating brake pedal, it’s probably your disc brakes trying to tell you something. Disc brakes are the most common braking system on modern cars because they stop you fast and stay cool. In this guide we’ll break down how they work, what signs mean trouble, and what you can do yourself before you call a shop.
How Disc Brakes Work
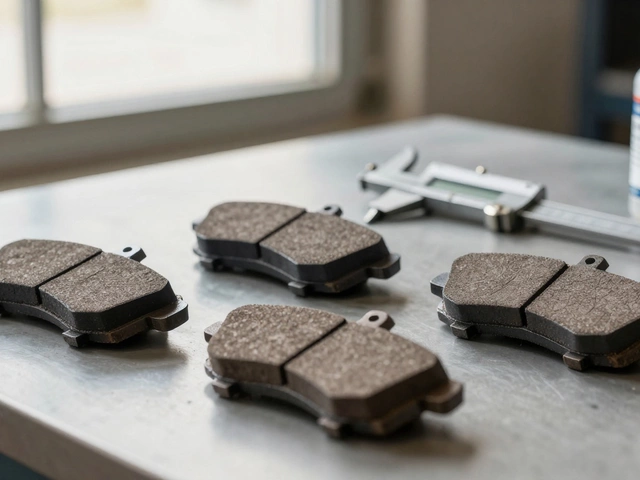
A disc brake set consists of three main parts: the rotor (the metal disc attached to the wheel), the caliper (the clamping arm) and the brake pads (the friction material). When you press the brake pedal, hydraulic fluid pushes pistons in the caliper. This forces the pads against the rotor, converting kinetic energy into heat and slowing the car.
The system is simple, but a few things can go wrong. The rotor can warp from excessive heat, the pads can wear down unevenly, and the caliper can seize if the pins get rusty. Understanding each piece helps you pinpoint the problem quicker.
Common Disc Brake Issues and How to Fix Them
Squealing or squeaking. Most of the time this is just pad wear indicators touching the rotor. Check the pad thickness; if it’s under 3 mm you need new pads. Sometimes a thin layer of high‑frequency dust causes the noise – a quick clean with brake cleaner can help.
Grinding noise. That means the metal backing of the pad is contacting the rotor. Stop driving immediately and replace the pads. Inspect the rotor for deep scoring; if it’s badly damaged you’ll need a resurfacing or a replacement.
Pulsating pedal. A warped rotor is the usual culprit. You can feel a thump each time the pad passes a high spot. Spin the wheel by hand; if you notice wobble, the rotor is out of true. Small warps can be machined at a shop, but big ones usually require a new rotor.
Soft or spongy brake feel. Air in the brake lines or low fluid level causes this. Bleed the brakes to push out any air, then top off the fluid. If the pedal stays low, the master cylinder might be failing.
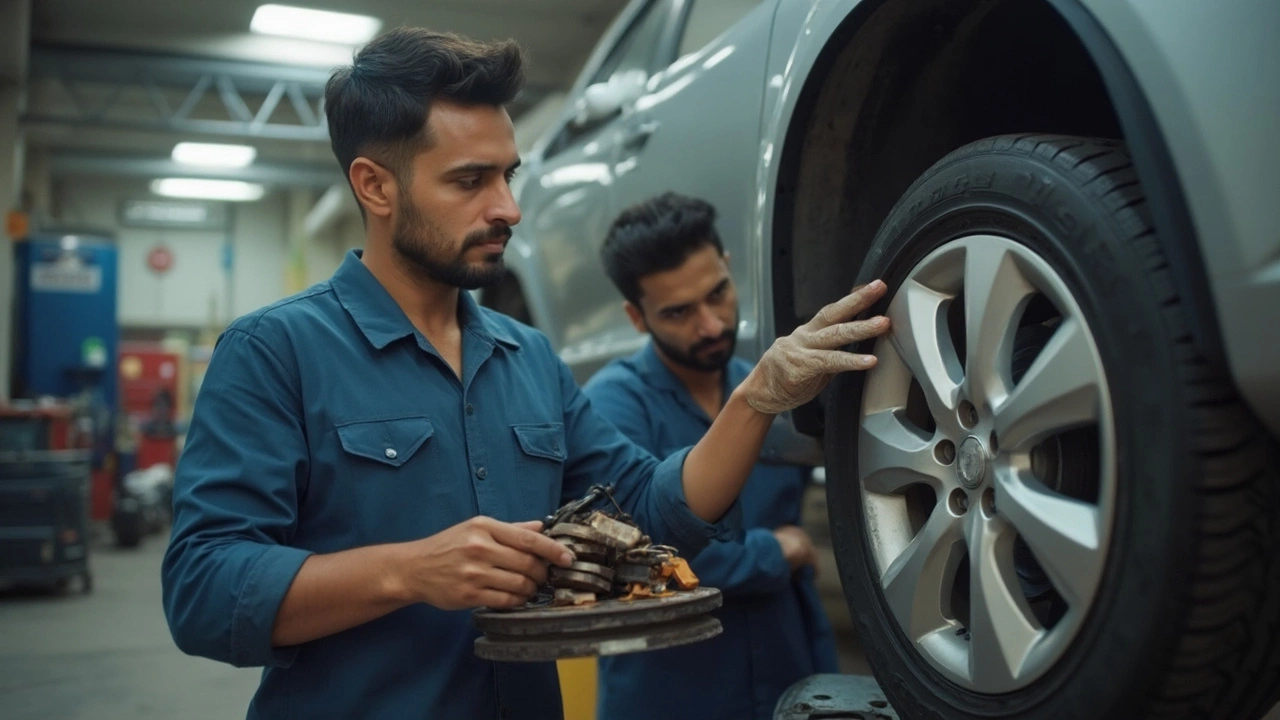
For DIY enthusiasts, start with a visual inspection. Look through the wheel spokes and see how much pad material is left. Measure with a ruler or a dedicated pad gauge. Remove the wheel, spin the rotor, and check for uneven wear or rusted caliper pins. Tightening or lubricating the pins often restores smooth movement.
When it’s time to buy new parts, stick to the OEM specs for thickness, material type, and friction rating. Premium ceramic pads cost more but tend to stay quieter and produce less dust. If you’re after better performance (e.g., track days), consider performance pads and slotted or drilled rotors, but remember they wear faster.
Finally, never ignore brake signs. Your brakes are the only thing that keeps you safe on the road, so a quick DIY check can save you time, money, and more importantly, prevent accidents. If the problem feels beyond your comfort zone—like a seized caliper or a cracked rotor—hand it over to a professional.
With these basics in mind, you’ll be able to spot trouble early, keep your disc brakes in good shape, and enjoy confidence every time you hit the brakes.
Brake Pad Replacement: What You Need to Know for Safe Braking
Is it OK to just replace brake pads? Find out when replacing only pads is safe, how to check rotor wear, and what mistakes to avoid for effective brake repairs.
CONTINUE READING