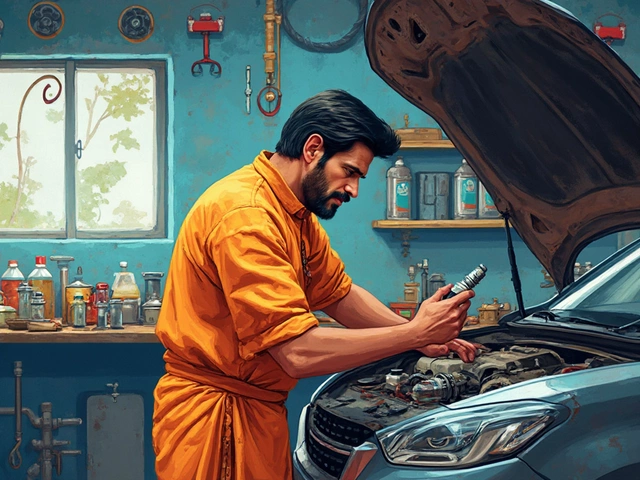
DIY Brake Pad Replacement: Simple Guide
Changing brake pads sounds hard, but it’s really just a few tools and some careful steps. Doing it yourself saves you cash and lets you know exactly what’s happening under the wheel. This guide walks you through everything you need, from prepping the car to checking the rotors.
Tools and Safety First
Grab a socket set, a screwdriver, a C‑clamp or brake piston tool, and a piece of sandpaper. You’ll also need a jack, jack stands, and a lug wrench. If you can, wear gloves and safety glasses – the brake dust isn’t fun to breathe.
Start by parking on level ground and engaging the parking brake. Loosen the lug nuts on the wheel you’re working on, then lift the car and support it with stands. Never rely on the jack alone; the stands keep the car steady while you’re under it.
Step‑by‑Step Replacement Process
1. Remove the wheel. Finish unscrewing the lug nuts and pull the wheel off. Put it aside where it won’t roll away.
2. Locate the caliper. The caliper sits over the rotor and holds the pads. It’s usually held by two bolts behind the rotor.
3. Take off the caliper bolts. Use the socket to loosen them, then slide the caliper off the rotor. Hang the caliper from the suspension with a piece of wire – don’t let it dangle by the brake line.
4. Remove the old pads. The pads sit in metal clips. Pull the clips out and slide the pads away. Take a quick look at the rotor; if it’s scored or uneven, you might need to resurface or replace it.
5. Compress the piston. Insert a C‑clamp or a special brake tool between the caliper piston and the caliper body. Slowly tighten until the piston is fully pushed back. This makes room for the new, thicker pads.6. Install new pads. Place the new pads into the caliper’s slot, then put the metal clips back in place. Make sure they’re seated snugly.
7. Re‑mount the caliper. Slide the caliper back over the rotor, line up the bolt holes, and tighten the bolts to the manufacturer’s torque spec (usually around 90‑100 Nm).
8. Put the wheel back on. Align the wheel, hand‑tighten the lug nuts, lower the car, then torque the nuts in a star pattern.
9. Test the brakes. Before you drive, pump the brake pedal a few times until it feels firm. This pushes the pads against the rotor and clears any air.
Now you’re ready to hit the road. Listen for any squeal or grinding – that means something’s still off. If the brakes feel spongy, double‑check the piston travel and make sure the brake fluid level is okay.
Doing this job yourself gives you confidence and keeps the car running safe. Keep the old pads for reference, and store your tools for the next time you need them. Happy braking!

Is It Cheaper to Buy Brake Pads Yourself? DIY vs Mechanic Costs in 2025
Wondering if buying your own brake pads saves money? See real 2025 costs, DIY vs shop math, quality trade-offs, risks, and a clear plan to pick what’s best for your car and budget.
CONTINUE READINGRECENT POSTS
-

Why Upgrade to Alloy Wheels? Benefits, Performance, and Style
Discover why drivers switch to alloy wheels, from improving braking and fuel efficiency to enhancing car aesthetics and resale value.
-

Is it Cheaper to Install Your Own Car Battery? Costs and Pros and Cons
Discover if installing your own car battery is actually cheaper. We compare DIY costs vs. professional shops, cover core charges, and explain the risks of modern car electronics.