Replace Brake Pads: Quick Guide to Safer Stopping
If you hear squealing or feel a soft pedal, it’s probably time to replace your brake pads. Doing it yourself can save cash and give you confidence that the job is done right. This guide walks you through the whole process, from spotting the signs to getting the pads back on the road.
When to Swap Your Brake Pads
Most pads last between 30,000 and 70,000 miles, but the exact mileage depends on driving style, terrain, and the type of pads you use. Look for these tell‑tale signs:
- High‑pitched squeal that fades when you press the pedal harder.
- Grinding noise – that means the metal backing is touching the rotor.
- Reduced braking power or a spongy feel.
- Visible wear: less than a quarter‑inch of material left.
If you notice any of these, plan a replacement soon. Waiting can wear down the rotors, leading to a costlier repair.
Step‑by‑Step Replacement Process
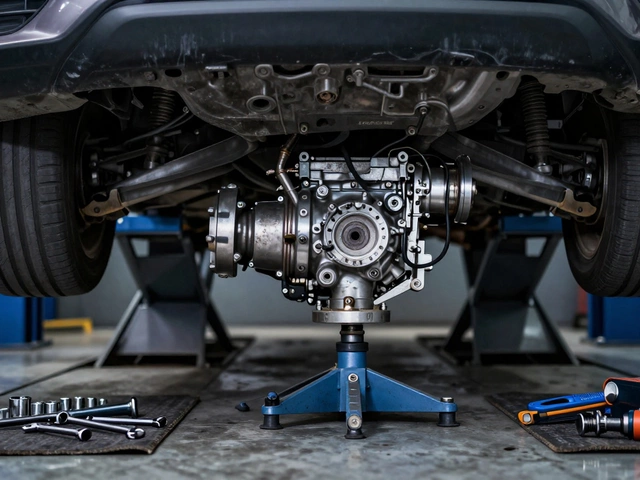
1. Gather tools. You’ll need a jack, jack stands, a lug wrench, a socket set, a C‑clamp or brake caliper tool, and the correct replacement pads for your car.
2. Lift the car. Loosen the wheel nuts before jacking up the vehicle. Secure it on jack stands, then remove the wheel.
3. Access the caliper. Locate the two bolts holding the caliper to the spindle. Remove them and slide the caliper off the rotor. Hang it with a piece of rope or a bungee so the brake hose doesn’t twist.
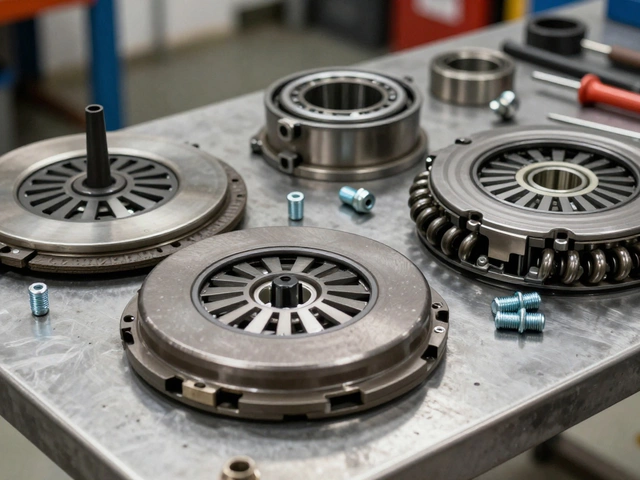
4. Take out the old pads. The pads sit in metal clips or brackets. Pull them out, noting their orientation – you’ll install the new ones the same way.
5. Compress the caliper piston. Use a C‑clamp or a dedicated brake tool to gently push the piston back into its bore. This creates space for the thicker new pads.
6. Install the new pads. Slip the fresh pads into the brackets, making sure any shims or anti‑squeal clips are in place. Some pads come with a small coat of brake lubricant on the back – apply it if recommended.
7. Re‑assemble. Replace the caliper over the new pads, bolt it back on, and torque the bolts to the manufacturer’s spec (usually around 30‑45 Nm). Put the wheel back, hand‑tighten the nuts, lower the car, then finish tightening in a star pattern.
8. Test the brakes. Pump the pedal a few times to seat the pads against the rotor. Take a short, low‑speed drive and test for firm pedal feel and no abnormal noises. If everything feels right, you’re good to go.
Doing the job yourself isn’t hard, but safety comes first. Always double‑check that the car is securely supported before you crawl underneath, and make sure the bolts are tightened to spec.
Replacing brake pads regularly keeps your stopping distance short and avoids wear on more expensive parts like rotors or calipers. Keep a spare set of pads in your garage, and next time you hear that squeal, you’ll know exactly what to do.

How Much Should 4 Brake Pads Cost in 2025?
Find out how much 4 brake pads should cost in 2025 based on car type, pad material, and location. Get real prices, what to avoid, and how to save without sacrificing safety.
CONTINUE READING
Brake Pad Replacement: What You Need to Know for Safe Braking
Is it OK to just replace brake pads? Find out when replacing only pads is safe, how to check rotor wear, and what mistakes to avoid for effective brake repairs.
CONTINUE READINGRECENT POSTS
-

Is it Cheaper to Install Your Own Car Battery? Costs and Pros and Cons
Discover if installing your own car battery is actually cheaper. We compare DIY costs vs. professional shops, cover core charges, and explain the risks of modern car electronics.
-

Why Upgrade to Alloy Wheels? Benefits, Performance, and Style
Discover why drivers switch to alloy wheels, from improving braking and fuel efficiency to enhancing car aesthetics and resale value.