Brake Maintenance Made Easy: What Every Driver Should Know
Your brakes are the most important safety system on the road, but they don’t have to be a mystery. A quick visual check, a few simple tests, and the right routine can keep them working smoothly for years. In this guide we’ll cover when to inspect, how to spot worn pads and rotors, and step‑by‑step DIY fixes that save you cash.
When to Inspect Your Brakes
Most experts recommend looking at your brakes every 5,000 miles or at least once a year. If you hear squealing, feel a pulsating pedal, or notice the car pulling to one side, it’s time to pull over and check. Start by popping the wheel off (or just look through the lug holes) and glance at the pad thickness. Anything under 3 mm is a clear sign to replace.
Another quick test: press the brake pedal while the car is stationary. It should feel firm, not spongy. A soft pedal often means air in the lines or low fluid – both easy fixes if you catch them early. Also, feel for vibration when you apply the brakes. That usually points to warped rotors, which can be resurfaced or need replacement depending on severity.
DIY Pad and Rotor Care
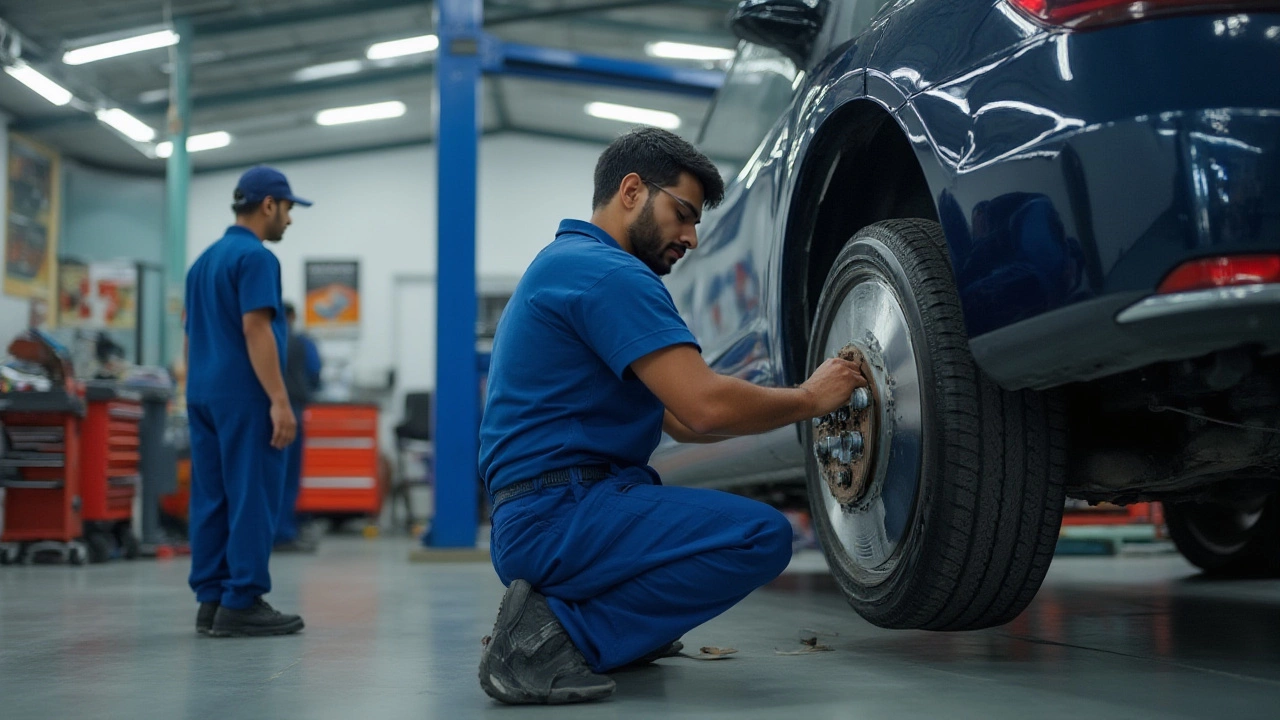
Changing brake pads yourself is cheaper than a shop and not as intimidating as it sounds. First, safely jack up the car, secure it on stands, and remove the wheel. Loosen the caliper bolts, slide the caliper off, and watch how the pads sit against the rotor. Replace them with new pads of the same size, apply a thin layer of high‑temperature brake grease on the back of the pads, then bolt the caliper back.
If the rotor surface looks uneven or you hear a high‑pitched squeal after replacing pads, give the rotor a light sand‑paper scrub with 120‑grit paper. For deeper runs, a professional machine shop can resurface the rotor to within OEM tolerances. Remember to clean all dust with brake cleaner before reassembly – a dirty surface will reduce braking performance.
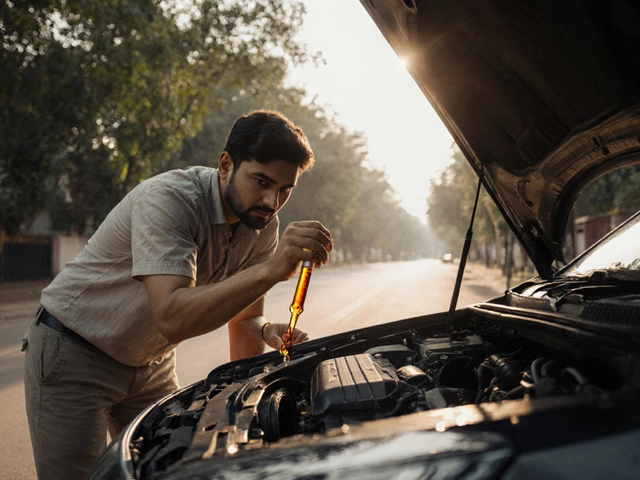
Don’t forget the brake fluid. Over time it absorbs moisture, which weakens its boiling point. Flushing the system every two years keeps the pedal solid and stops corrosion inside the lines. The process is simple: locate the bleed valve on each caliper, attach a clear tube, and pump fresh fluid from the master cylinder while a helper squeezes the pedal. Dispose of old fluid responsibly.
Finally, keep an eye on wear indicators. Many pads have built‑in metal tabs that squeak when the pad is about to wear out. If you hear that noise, replace the pads before they wear down to the metal backing – otherwise you risk damaging the rotors and spending more.
Sticking to this routine – visual checks, fluid flushes, and timely pad swaps – means you’ll avoid costly brake repairs and stay confident on the road. The next time you hear a squeal, treat it as a reminder to give your brakes a quick once‑over. Your car (and wallet) will thank you.
Do I Need New Rotors or Just Brake Pads? How to Tell & What to Do
Not sure if your car needs new rotors or just brake pads? Get the facts on symptoms, lifespan, costs, and expert tips to keep your brakes safe and quiet.
CONTINUE READING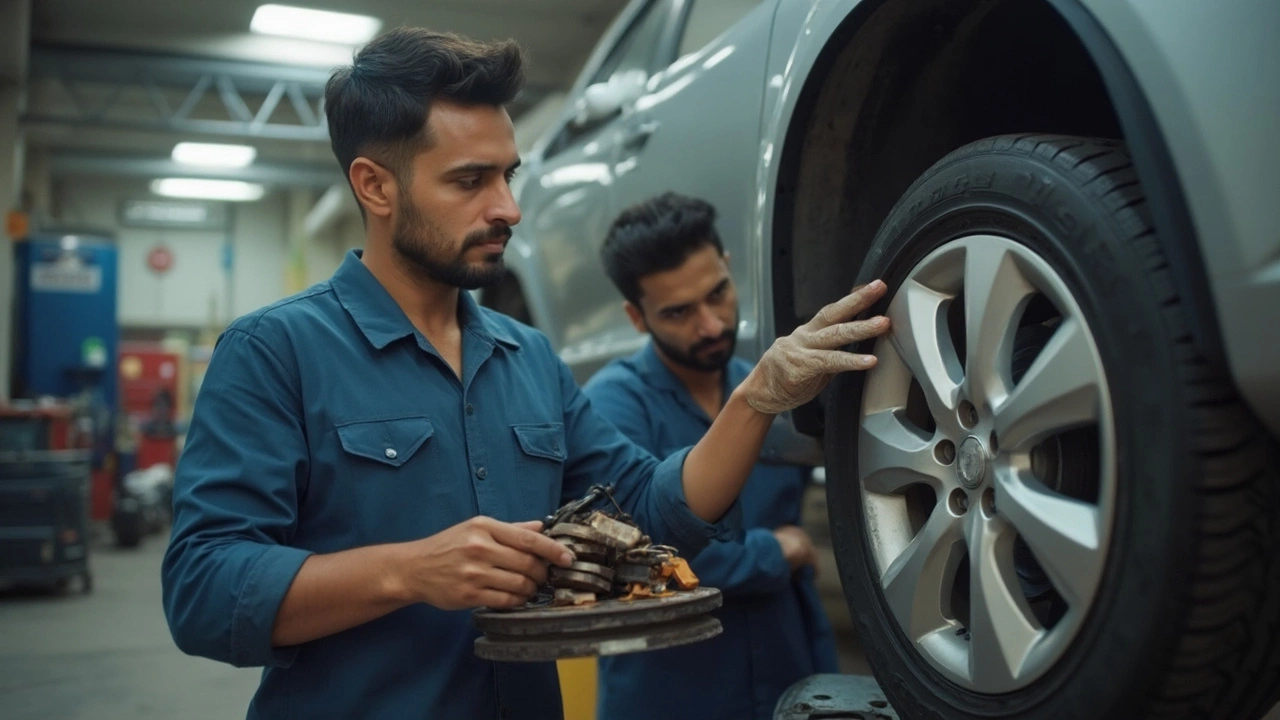
Brake Pad Replacement: What You Need to Know for Safe Braking
Is it OK to just replace brake pads? Find out when replacing only pads is safe, how to check rotor wear, and what mistakes to avoid for effective brake repairs.
CONTINUE READINGRECENT POSTS
-

Why Upgrade to Alloy Wheels? Benefits, Performance, and Style
Discover why drivers switch to alloy wheels, from improving braking and fuel efficiency to enhancing car aesthetics and resale value.
-

Is it Cheaper to Install Your Own Car Battery? Costs and Pros and Cons
Discover if installing your own car battery is actually cheaper. We compare DIY costs vs. professional shops, cover core charges, and explain the risks of modern car electronics.