Changing Brake Pads: Simple Steps, Costs & FAQs
Got a squeak, a grind, or just felt the pedal sink a bit farther? Those are classic signs your brake pads need freshening up. Swapping them yourself can save cash and give you confidence that the brakes will bite when you need them.
Why Change Brake Pads?
Brake pads wear down faster than most other parts because they’re constantly pressing the rotor to slow the car. Ignoring worn pads isn’t just noisy – it can damage rotors, spark pricey repairs, and compromise stopping power. A quick visual check (look through the wheel spokes) usually shows a thin pad surface. If you see less than a quarter‑inch of material, it’s time to act.
Besides safety, replacing pads now avoids the extra labor of rotor resurfacing or replacement later. Our recent post “Is It Cheaper to Buy Brake Pads Yourself? DIY vs Mechanic Costs in 2025” breaks down the price gap – buying the parts and doing the work yourself can shave $150‑$300 off a typical brake job.
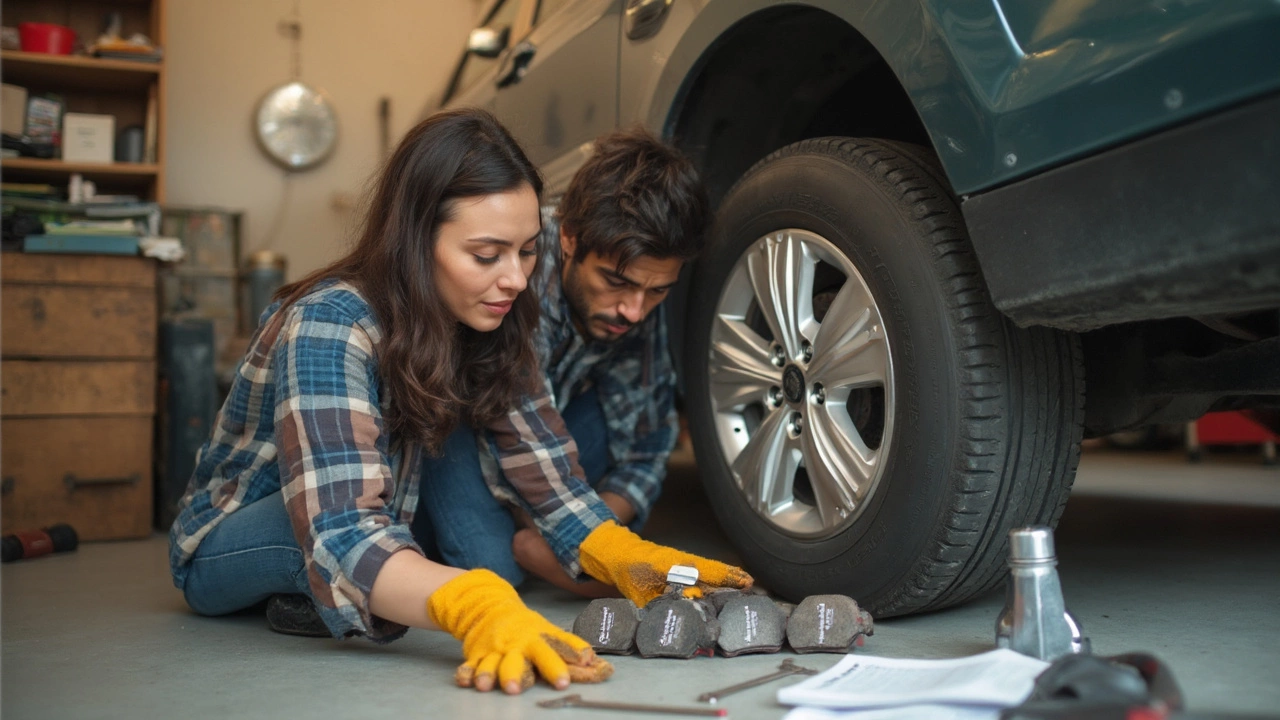
Step‑by‑Step DIY Guide
Here’s a no‑fluff rundown that gets you from jack to road in under an hour for most cars.
1. Gather tools. You’ll need a floor jack, jack stands, lug wrench, socket set (usually 13 mm or 14 mm for caliper bolts), a C‑clamp or brake piston tool, and new pads that match your vehicle’s spec.
2. Lift the car. Loosen the lug nuts before jacking up, then secure the car on jack stands. Remove the wheel and set it aside.
3. Remove the caliper. Unbolt the caliper mounting bolts. Carefully slide the caliper off the rotor – don’t let it dangle by the brake hose; support it with a piece of string or a bungee.
4. Take out the old pads. They’re usually held by retaining clips. Pull them out and note how they sit so the new ones go in the same way.
5. Compress the piston. Use a C‑clamp or dedicated tool to push the caliper piston back into its bore. This creates room for the thicker new pads.
6. Install new pads. Insert the fresh pads, re‑attach any clips, and make sure they sit flush against the rotor.
7. Re‑mount the caliper. Bolt the caliper back, torque the bolts to the manufacturer’s spec (usually around 30 Nm). Double‑check everything is snug.
8. Put the wheel back. Hand‑tighten the lug nuts, lower the car, then tighten the nuts in a star pattern to the final torque.
9. Test brake feel. Pump the brake pedal a few times to seat the pads. Do a low‑speed test in a safe area to confirm the brakes engage firmly.
If you notice vibration or uneven braking, you may need to look at the rotors. Our “Do I Need New Rotors or Just Brake Pads? How to Tell & What to Do” article walks you through checking rotor wear and deciding if they need resurfacing or replacement.
Quick tips to avoid headaches:
- Use anti‑squeal paste on the pad backing plate for quieter stops.
- Replace brake fluid every 2‑3 years – old fluid can affect pedal feel.
- Inspect the brake hardware (shims, clips) and replace if worn.
Changing brake pads isn’t rocket science, but it does demand attention to detail. If the job feels beyond your comfort level, a quick call to a local shop can save time and guarantee safety.
Need more help? Browse the other posts on the changing brake pads tag for deeper dives into costs, rotor vs pad decisions, and common mistakes to dodge. Happy braking!
Brake Pads: Is Changing Them an Easy Job?
Thinking of changing your own brake pads? This article breaks down how simple—or tricky—it really is for the average person. I'll explain what tools you need, common mistakes folks make, and whether you should give it a shot or leave it to a mechanic. Useful tips and real-world advice make it easy to decide for yourself. No fluff, just what you need to know to keep your ride safe.
CONTINUE READINGRECENT POSTS
-

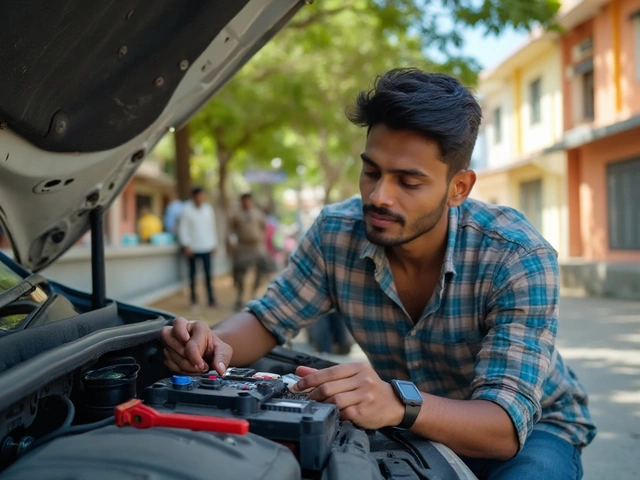
Is it Cheaper to Install Your Own Car Battery? Costs and Pros and Cons
Discover if installing your own car battery is actually cheaper. We compare DIY costs vs. professional shops, cover core charges, and explain the risks of modern car electronics.
-

Why Upgrade to Alloy Wheels? Benefits, Performance, and Style
Discover why drivers switch to alloy wheels, from improving braking and fuel efficiency to enhancing car aesthetics and resale value.