DIY Suspension Repair
When working with DIY suspension repair, the act of diagnosing and fixing a car's suspension system yourself. Also known as home suspension maintenance, it lets you restore ride comfort without a shop bill and gives you a deeper feel for how your car handles.
One of the most frequent culprits is a worn shock absorber, a component that dampens road impacts and keeps tires in contact with the road. When shocks lose their oil or seals, you’ll notice a "bouncy" ride, longer stopping distances, and uneven tire wear. DIY suspension repair therefore starts with spotting these symptoms and swapping out the bad unit.
Key components you’ll work with
Another red flag is a bent suspension, a distorted control arm, strut or mounting bracket caused by impacts or corrosion. A bent part can throw off wheel alignment, create pulling to one side, and make the steering feel loose. Checking for bends is quick: look for visible twists, listen for clunks when turning, and test ride on a smooth surface. If you catch it early, straightening or replacing the component saves you from a costly alignment later.
Effective suspension troubleshooting, the systematic process of identifying why a suspension isn’t performing as it should, hinges on a few basic tools: a jack, jack stands, a pry bar, and a reliable bounce test. Start by lifting the wheel, then push down on the tire to see how many times it rebounds. One bounce means good shocks; multiple bounces point to wear. Combine this with visual inspections for leaks, rust, or broken bushings to narrow down the problem.
All these pieces tie together: DIY suspension repair encompasses identifying worn shock absorbers, checking for bent suspension components, and applying systematic suspension troubleshooting. When those steps line up, you can confidently replace a shock, straighten a control arm, or tighten a loose strut without guessing.
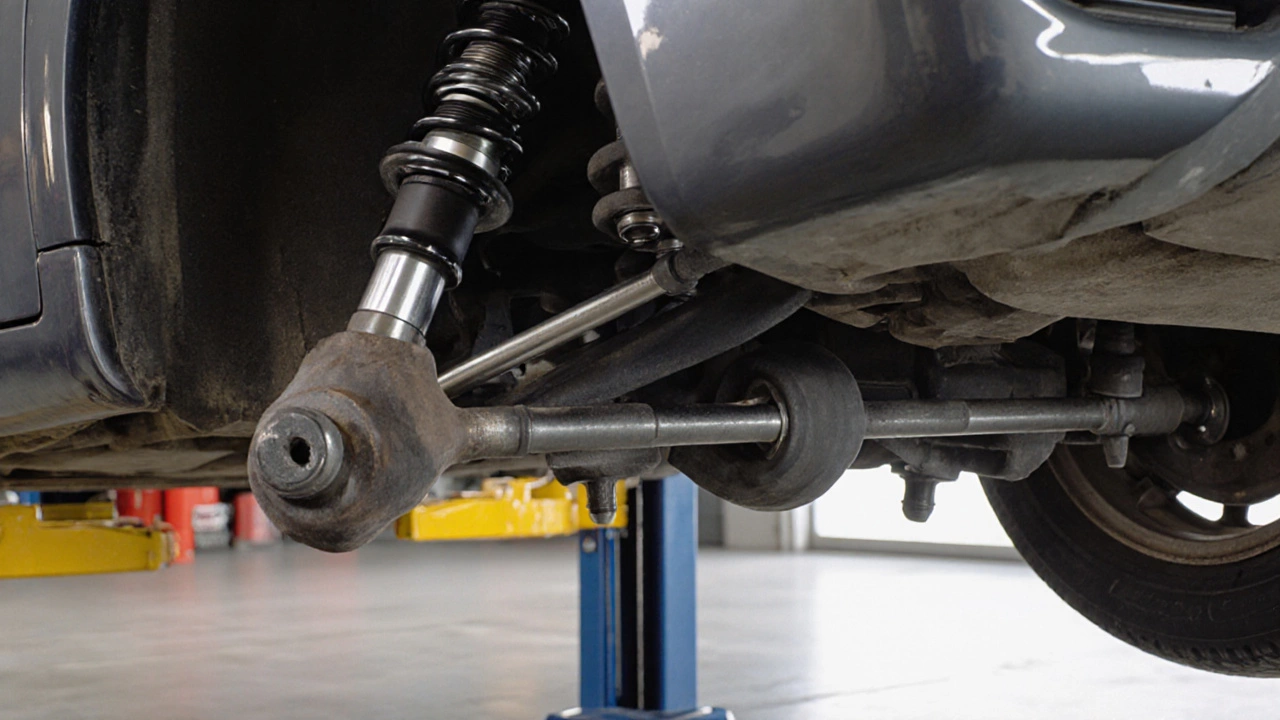
Beyond the basics, many enthusiasts upgrade their suspensions for better handling. Installing performance struts or adding coil‑over kits changes spring rates and damping curves, which in turn affects ride height and cornering grip. Even if you’re not chasing track times, knowing how these upgrades interact with stock parts helps you avoid over‑hard setups that trash comfort.
Safety always comes first. Never work under a car supported only by a jack; always use sturdy jack stands and wheel chocks. Double‑check torque specs for bolts—most suspension bolts call for between 80 Nm and 130 Nm, depending on the model. A torque wrench is a cheap investment that prevents stripped threads and broken parts.
Now that you’ve got the fundamentals, the articles below walk you through specific fixes: from the most common shock absorber wear to spotting a bent suspension, plus a full troubleshooting guide. Dive in for step‑by‑step instructions, tool lists, and tips you can apply to any make or model.
Front Suspension Replacement: Parts to Swap and Why
Learn exactly which parts to replace during a front suspension overhaul, how to spot wear, tools you'll need, step-by-step DIY instructions, cost estimates, and post‑repair alignment tips.
CONTINUE READINGRECENT POSTS
-

Why Upgrade to Alloy Wheels? Benefits, Performance, and Style
Discover why drivers switch to alloy wheels, from improving braking and fuel efficiency to enhancing car aesthetics and resale value.
-

Is it Cheaper to Install Your Own Car Battery? Costs and Pros and Cons
Discover if installing your own car battery is actually cheaper. We compare DIY costs vs. professional shops, cover core charges, and explain the risks of modern car electronics.