Sealant Guide: Types, Uses & Tips for Car Repairs
If you’ve ever patched a leak, you know a good sealant can save you time and money. In cars, sealants keep coolant, oil, air and even sound where they belong. Below you’ll find the most common sealants, when to use each, and step‑by‑step tips for getting a solid seal without a mess.
Common Types of Automotive Sealants
Silicone sealant – Flexible, water‑proof and easy to spread. Ideal for windshields, headlights and any place that needs to move a bit with temperature changes.
Gasket maker (RTV silicone) – Thicker than regular silicone, it cures into a rubbery gasket. Use it on engine covers, intake manifolds and oil pans where a permanent seal is required.
Epoxy sealant – Hardens into a rock‑like finish. Great for fixing cracks in radiators, exhaust manifolds or metal panels. It’s not flexible, so only choose epoxy where the part won’t bend.
Anaerobic sealant – Cures without air, perfect for threaded connections like fuel lines, brake lines and oil fittings. It fills tiny gaps and prevents leaks under pressure.
Fiberglass wrap sealant – A cloth‑like tape backed with resin. Use it on exhaust manifolds or turbo housings where you need extra reinforcement.
How to Apply Sealant Correctly
1. Clean the surface. Wipe away oil, dirt and old sealant with a rag and a suitable cleaner. A clean surface gives the sealant something to stick to.
2. Mask the area. Use painter’s tape to protect surrounding parts. This keeps the sealant from spreading onto paint or rubber.
3. Apply the right amount. A thin, even bead is usually enough. Too much can squeeze out and create a mess; too little leaves gaps.
4. Spread it out. Use a gloved finger or a small tool to press the sealant into the joint. Make sure it fills the entire gap.
5. Let it cure. Follow the product’s cure time – most silicone needs 24 hours, epoxy may need 30 minutes to a few hours. Don’t run the engine or pressurize the system until it’s fully set.
6. Check for leaks. After curing, start the car and look for any drips or air bubbles. If you spot a leak, re‑apply a small amount and let it cure again.
Common mistakes to avoid: using the wrong type for the job, skipping the cleaning step, and not giving the sealant enough cure time. Even a small oversight can turn a simple fix into a costly repair.
When buying sealant, read the label for temperature range, cure time and compatible materials. If you’re unsure, a universal silicone gasket maker works for most non‑structural jobs, while an epoxy kit is your go‑to for metal cracks.
Now you’ve got the basics – pick the right sealant, prep the surface, apply carefully, and let it cure. With these steps you’ll stop leaks, keep your car running smooth, and save a trip to the shop.

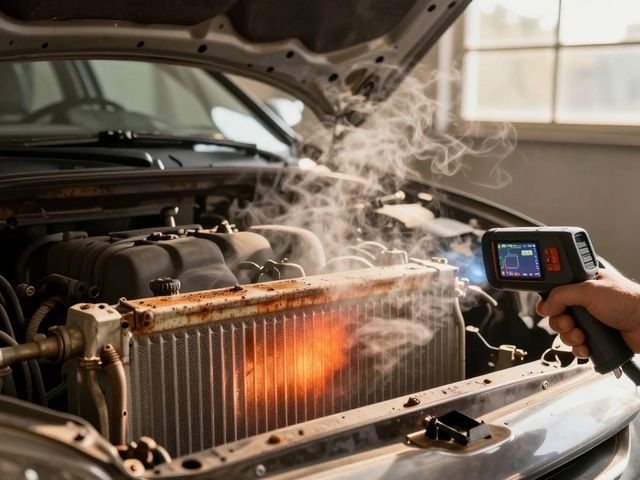
Can You Seal a Cracked Radiator? Know Your Options
Wondering if you can fix a cracked radiator without dropping hundreds at a mechanic? This article breaks down whether sealing a crack is possible, when it's safe to try, and the types of products you can use. You'll find out what actually works, what to avoid, and what can put your engine at risk. Get some tips for patching things up in a pinch and learn when you should call it quits and just replace the radiator. No nonsense, just straightforward car advice.
CONTINUE READINGRECENT POSTS
-

Why Upgrade to Alloy Wheels? Benefits, Performance, and Style
Discover why drivers switch to alloy wheels, from improving braking and fuel efficiency to enhancing car aesthetics and resale value.
-

Is it Cheaper to Install Your Own Car Battery? Costs and Pros and Cons
Discover if installing your own car battery is actually cheaper. We compare DIY costs vs. professional shops, cover core charges, and explain the risks of modern car electronics.