Suspension Wear: Signs, Causes, and Fixes
When dealing with suspension wear, the gradual degradation of a vehicle’s suspension components that leads to reduced comfort and handling. Also known as suspension degradation, it can affect everything from ride smoothness to safety. Most drivers notice it as a wobble, clunk, or a suddenly harsh ride. Understanding why it happens saves you money and avoids unsafe driving situations. In the sections below we’ll break down the main culprits and show you how to address them before they turn into costly repairs.
Key Players Behind the Wear
One of the biggest contributors is shock absorber wear, the loss of damping ability in the shock absorbers that results in excessive bounce and poor road contact. When the oil inside a shock thins out or the seals fail, the car can’t absorb bumps properly. That’s why you’ll feel every pothole and why your steering may feel loose during cornering. Keeping an eye on the condition of the shocks can stop the cascade of wear that spreads to other suspension parts.
Another frequent issue is a bent suspension, a deformed suspension arm or frame component caused by impacts such as hitting a curb or pothole. A bent arm throws off wheel alignment, leading to uneven tire wear and a pulling sensation when you drive straight. Spotting a bent suspension early means you can straighten or replace the part before it damages the steering rack or tire.
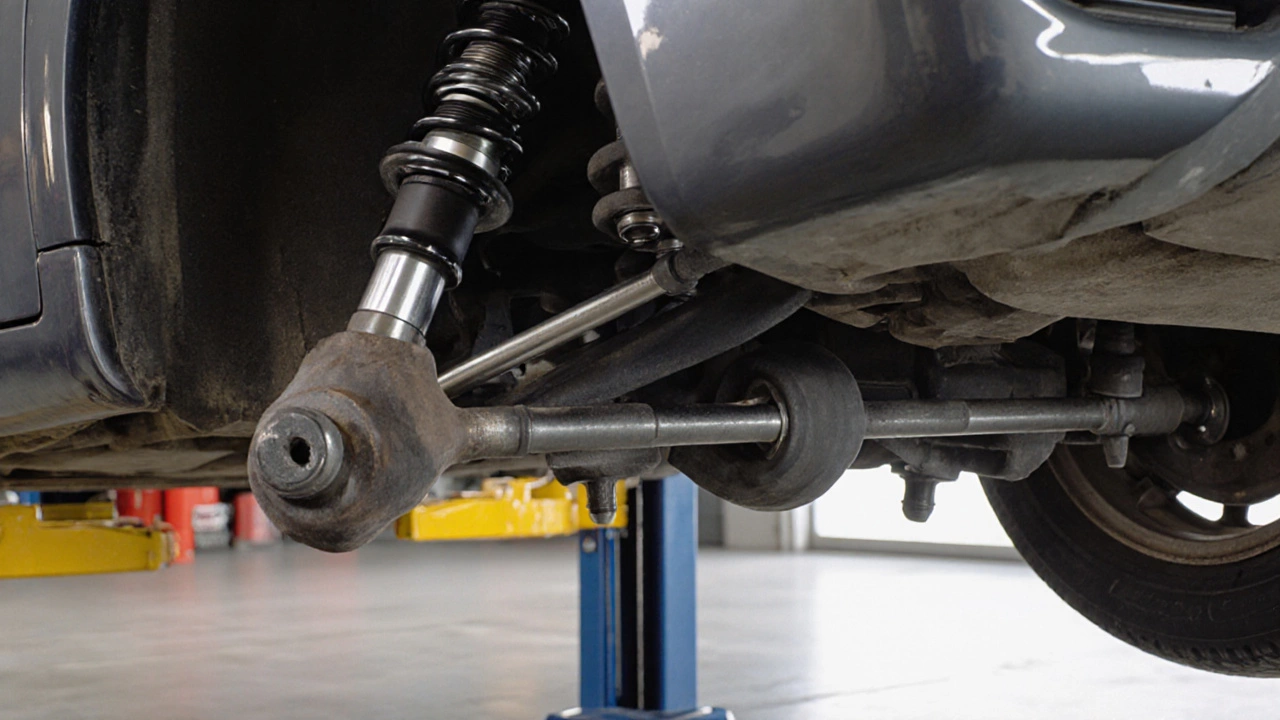
Most modern cars use the MacPherson strut, a compact suspension design that combines a shock absorber and a coil spring into a single unit. Because the strut handles both damping and structural support, any wear in its components—like a worn bearing or cracked housing—quickly translates into overall suspension wear. If you hear clunking from the front of the car, the strut is a prime suspect.
When any of these parts fail, the result is often labeled as suspension failure, the complete loss of suspension function that can cause dangerous handling, loss of control, and vehicle instability. Failure can stem from a single broken component or from a chain reaction where worn shocks overload the strut mounts, which then crack. Recognizing early warning signs prevents the whole system from breaking down.
To keep your ride smooth you need a solid suspension troubleshooting, a systematic approach to diagnosing suspension problems using visual checks, road tests, and simple measurements. A good troubleshooting routine starts with listening for noises, feeling for uneven ride quality, and inspecting visible parts for leaks or damage. From there you can narrow down the culprit—whether it’s shock absorber wear, a bent arm, or a failing strut.
Common signs that point straight to suspension wear include a pronounced wobble while braking, excessive body roll during turns, uneven tire wear patterns, and a “sinking” feeling when you drive over bumps. If the car seems to drift to one side without steering input, that’s often a clue that a component is bent or misaligned. These symptoms form a clear semantic triple: suspension wear leads to handling issues, which in turn signals component degradation.
Preventive maintenance is simple but effective. Check your shock absorbers for fluid leaks and ensure the pistons move smoothly. Inspect each suspension arm for bends or cracks, especially after hitting a curb. Rotate your tires regularly and monitor tread wear; uneven wear often mirrors suspension problems. A quick bounce test—pressing down on each corner of the car—can reveal a soft spot that indicates a weak shock.
Deciding between DIY fixes and professional service depends on the severity. Replacing a worn shock absorber or a cracked strut mount is a doable weekend project for most car enthusiasts with basic tools. However, diagnosing a bent suspension or fixing a collapsed MacPherson strut often requires specialized equipment and alignment machines. If you’re unsure, it’s wiser to let a technician handle the alignment after any major component replacement.
Now that you understand what suspension wear looks like, why it happens, and how to tackle it, you’re ready to dive into the detailed articles below. Whether you need a step‑by‑step repair guide, a checklist for spotting bent parts, or expert tips on choosing the right shocks, the collection offers practical insights you can apply right away.
Front Suspension Replacement: Parts to Swap and Why
Learn exactly which parts to replace during a front suspension overhaul, how to spot wear, tools you'll need, step-by-step DIY instructions, cost estimates, and post‑repair alignment tips.
CONTINUE READINGRECENT POSTS
-

Why Upgrade to Alloy Wheels? Benefits, Performance, and Style
Discover why drivers switch to alloy wheels, from improving braking and fuel efficiency to enhancing car aesthetics and resale value.
-

Is it Cheaper to Install Your Own Car Battery? Costs and Pros and Cons
Discover if installing your own car battery is actually cheaper. We compare DIY costs vs. professional shops, cover core charges, and explain the risks of modern car electronics.